Brew Day: How to Brew with Malt Extract
By DANIEL J. LEONARD
Although it can make for a long day, for me, brew day is the most exciting part of homebrewing. As with cooking, concentration, timing and technique will play a big role in how your beer will turn out in the end. Whether you’re working with an extract kit, partial mash, mini-mash or all grain, much of the brewing process is the same across the board, and to what degree you master each step of the process will largely determine the overall quality of your beer.
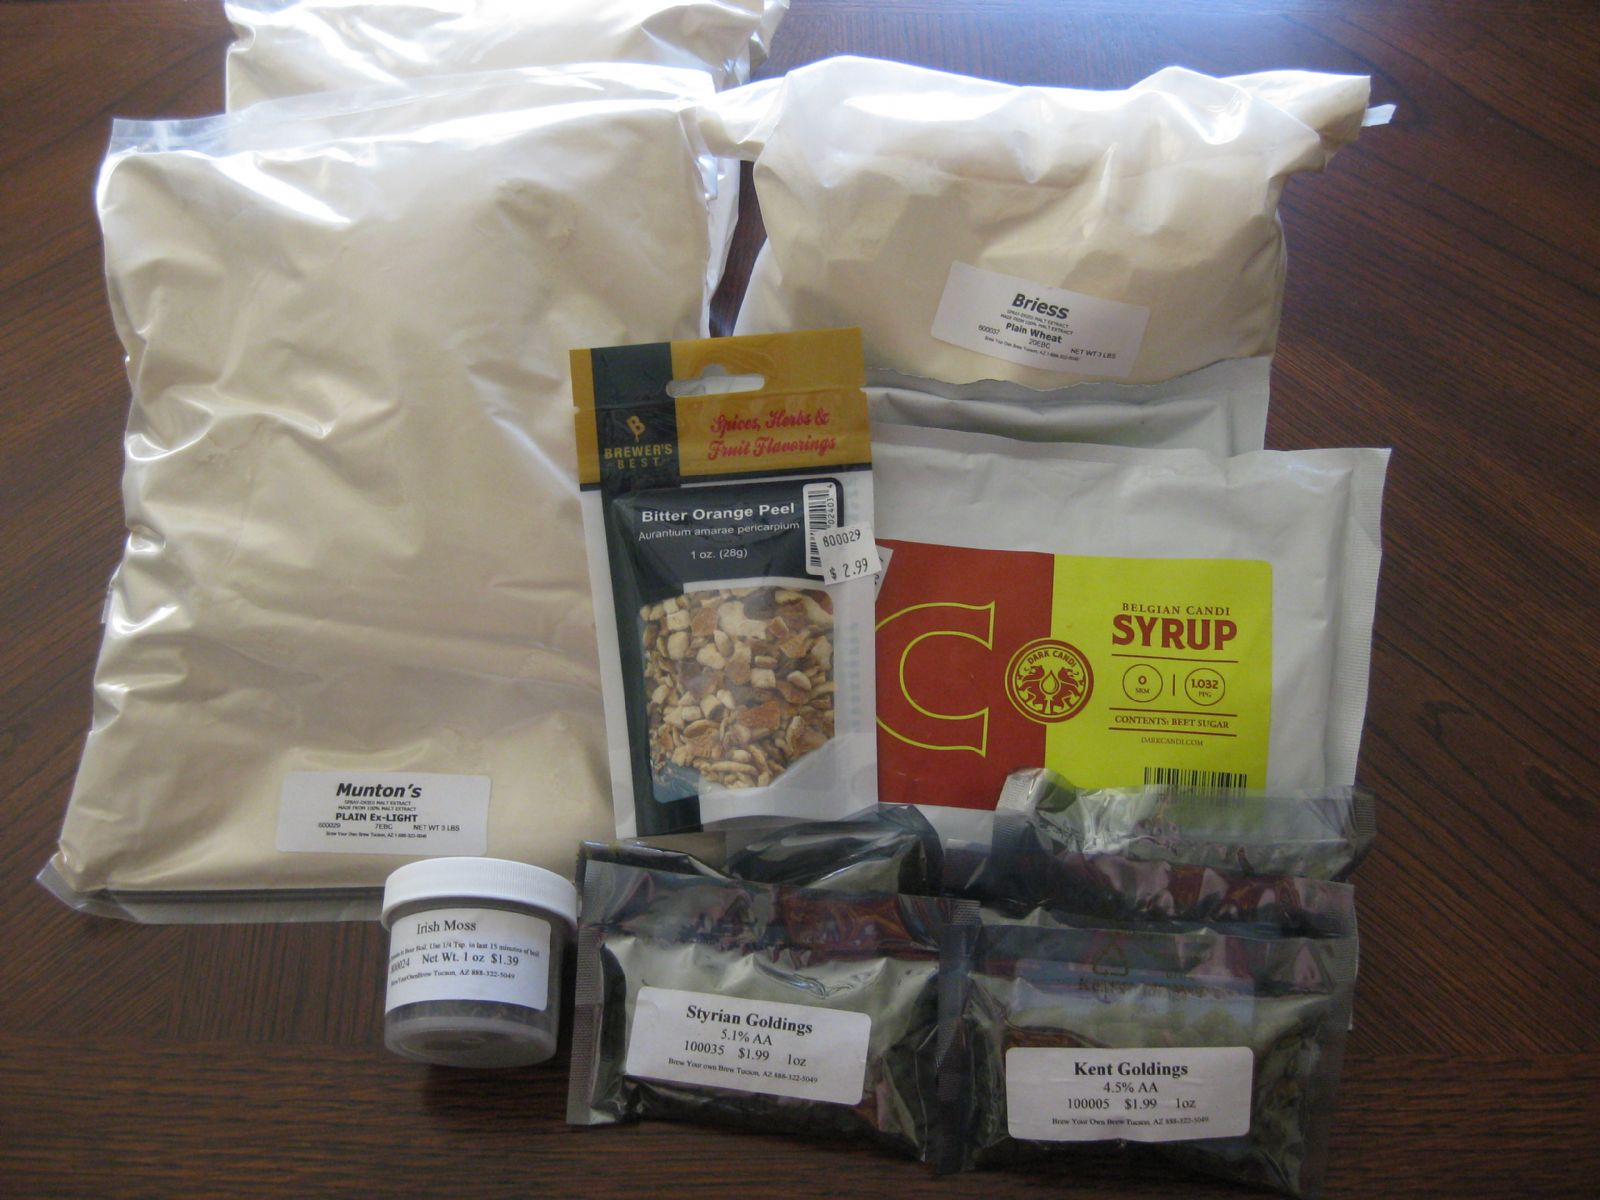
Preparation: You should have your homebrew extract kit and recipe ready to go at this point (most extract kits come with a recipe). I would keep my brewing instructions or recipe out as a reference while brewing and follow them as closely as possible, but if you happen to make any changes to the process or recipe, make sure to note them down for repeatability sake especially if you really like how the brew turned out.
When brewing a standard 5 gallon batch, only one vial of liquid yeast or packet of dry yeast is necessary to ferment the wort. If you're brewing a 10+ gallon batch, then you'll either have needed to have made a yeast starter at least 24-36 hours prior to pitching (see our article on yeast starters), or you should have two vials or packets of yeast for pitching. Remember, if brewing a 10 gallon batch, you'll need to have two fermentation vessels (Ale Pails or carboys) to split the batch--- you definitely don't want to get to the end of brew day and realize you don't have enough buckets or carboys to ferment your beer!
Tip: One technique brewers like to use when brewing a 10 gallon batch in a large kettle is once the batch has been boiled and split into two different fermenters, tweak one ingredient or process with one of the 5 gallon batches in the fermenter and leave the batch in the other fermenter as the baseline or control batch.
For example, you can boil the exact same batch of wort in one large kettle, but pitch one type of yeast into one fermenter, and a different type of yeast in the other to determine the different effects of the yeasts. You could experiment with dry hopping this way by dry hopping one batch during secondary fermentation and not the other, or dry hop with one type of hops in one fermenter, and a different type of hops in the other.
Technically, you could split a 5 gallon batch into two 2 ½ gallon batches and experiment the same way, which is great for primary fermentation as there is the addition of extra head space in the fermenter bucket for additional oxygen for the yeast, however it’s recommended there be less head space in the secondary to reduce the chance of oxidation.
[Wanna pimp your keg? Check out our article on How To Polish A Keg.]
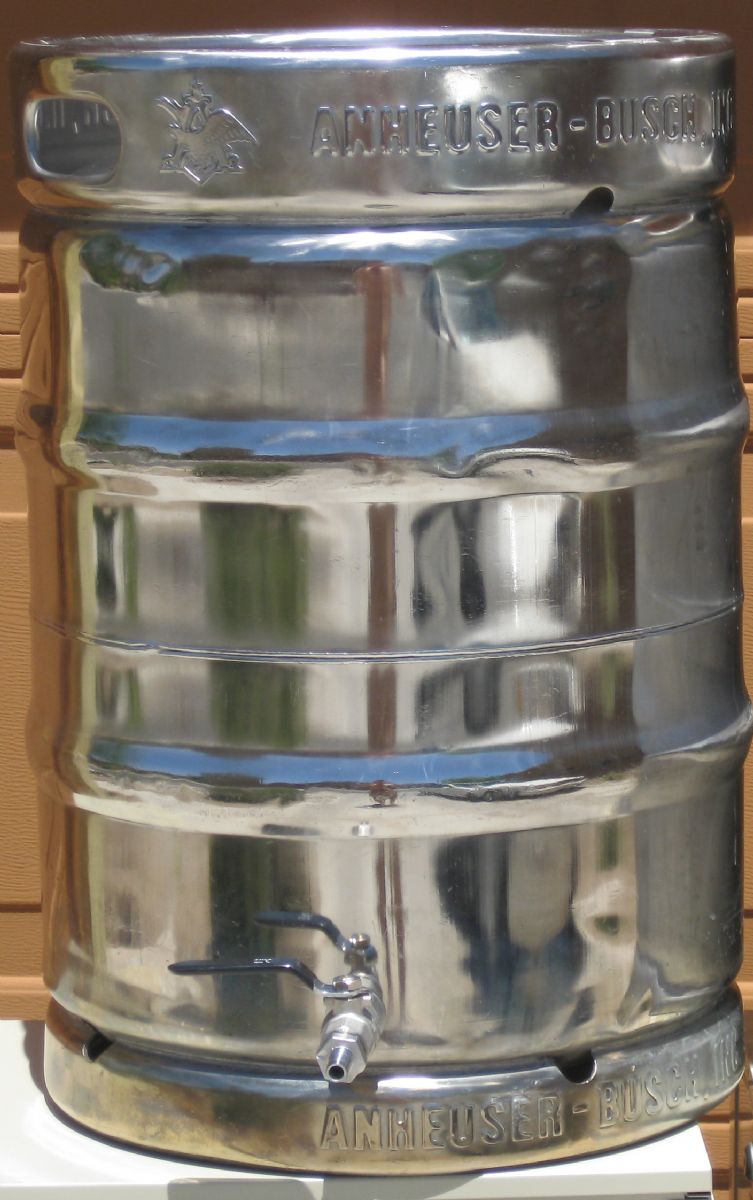
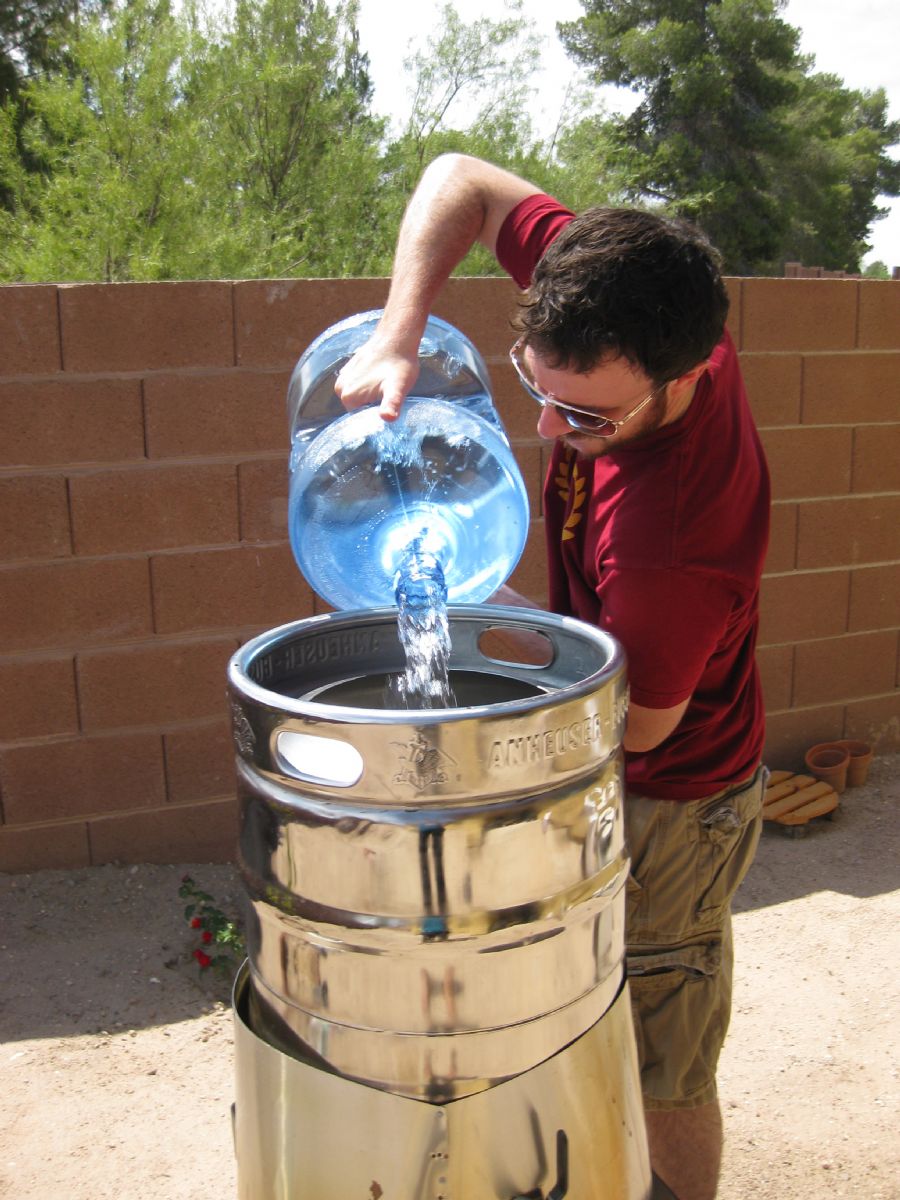
At this point, you’ll want to ensure that your brewing vessel is clean, and if you’re using a kettle with any type of mechanical seal that your vessel is tightened and leak-proof. Of course your boil kettle should already be sanitized, wiped down, cleaned and dried after your last use, but I always would give it a quick clean just prior to use either way. For cleaning a large stainless steel keggle, wash the inside with water, remove any dust or other particles with a clean cloth, then rinse again with a precarbonate solution, wiping the inside with a cloth and then rising one last time with water to wash the precarbonate solution out. If using a stock pot that has already been through the dishwasher, just a quick wipe down with a wet cloth or paper towel should be sufficient.
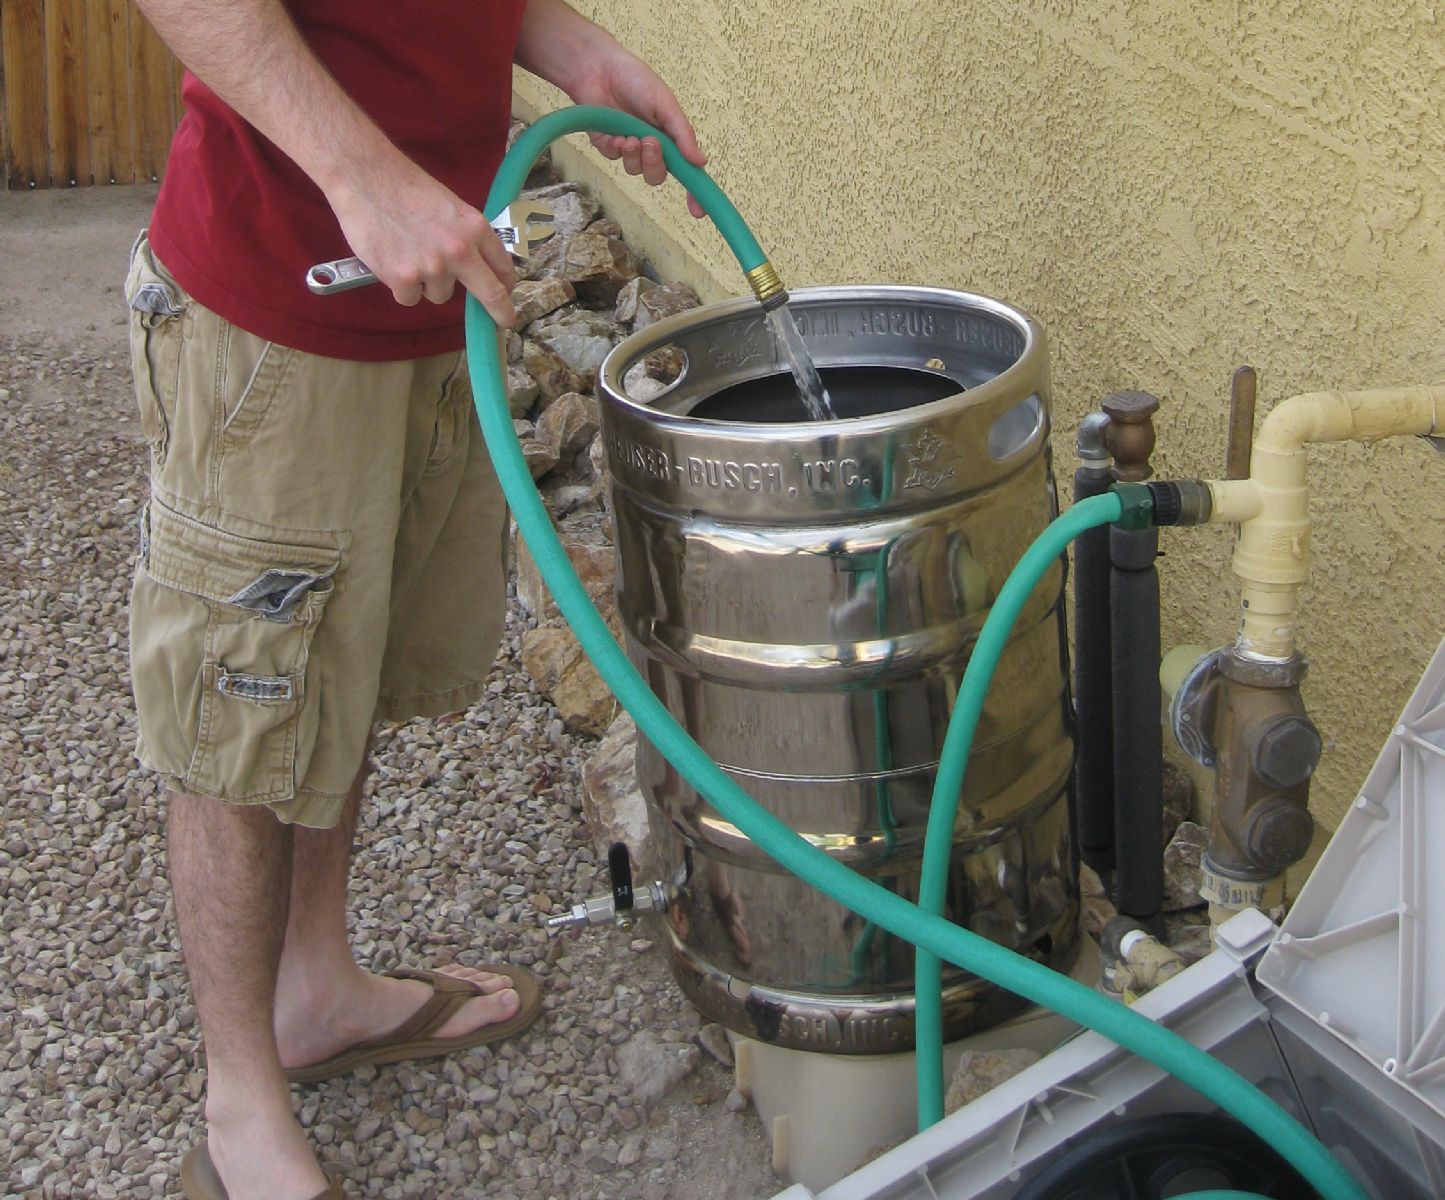
[If brewing with a keggle where the spigot isn't welded on, make your spigot is sealed tight by filling the keg just above the spigot and checking the outside of the keg around the seal for leaks. Oh, and please don't brew with water from your garden hose.]

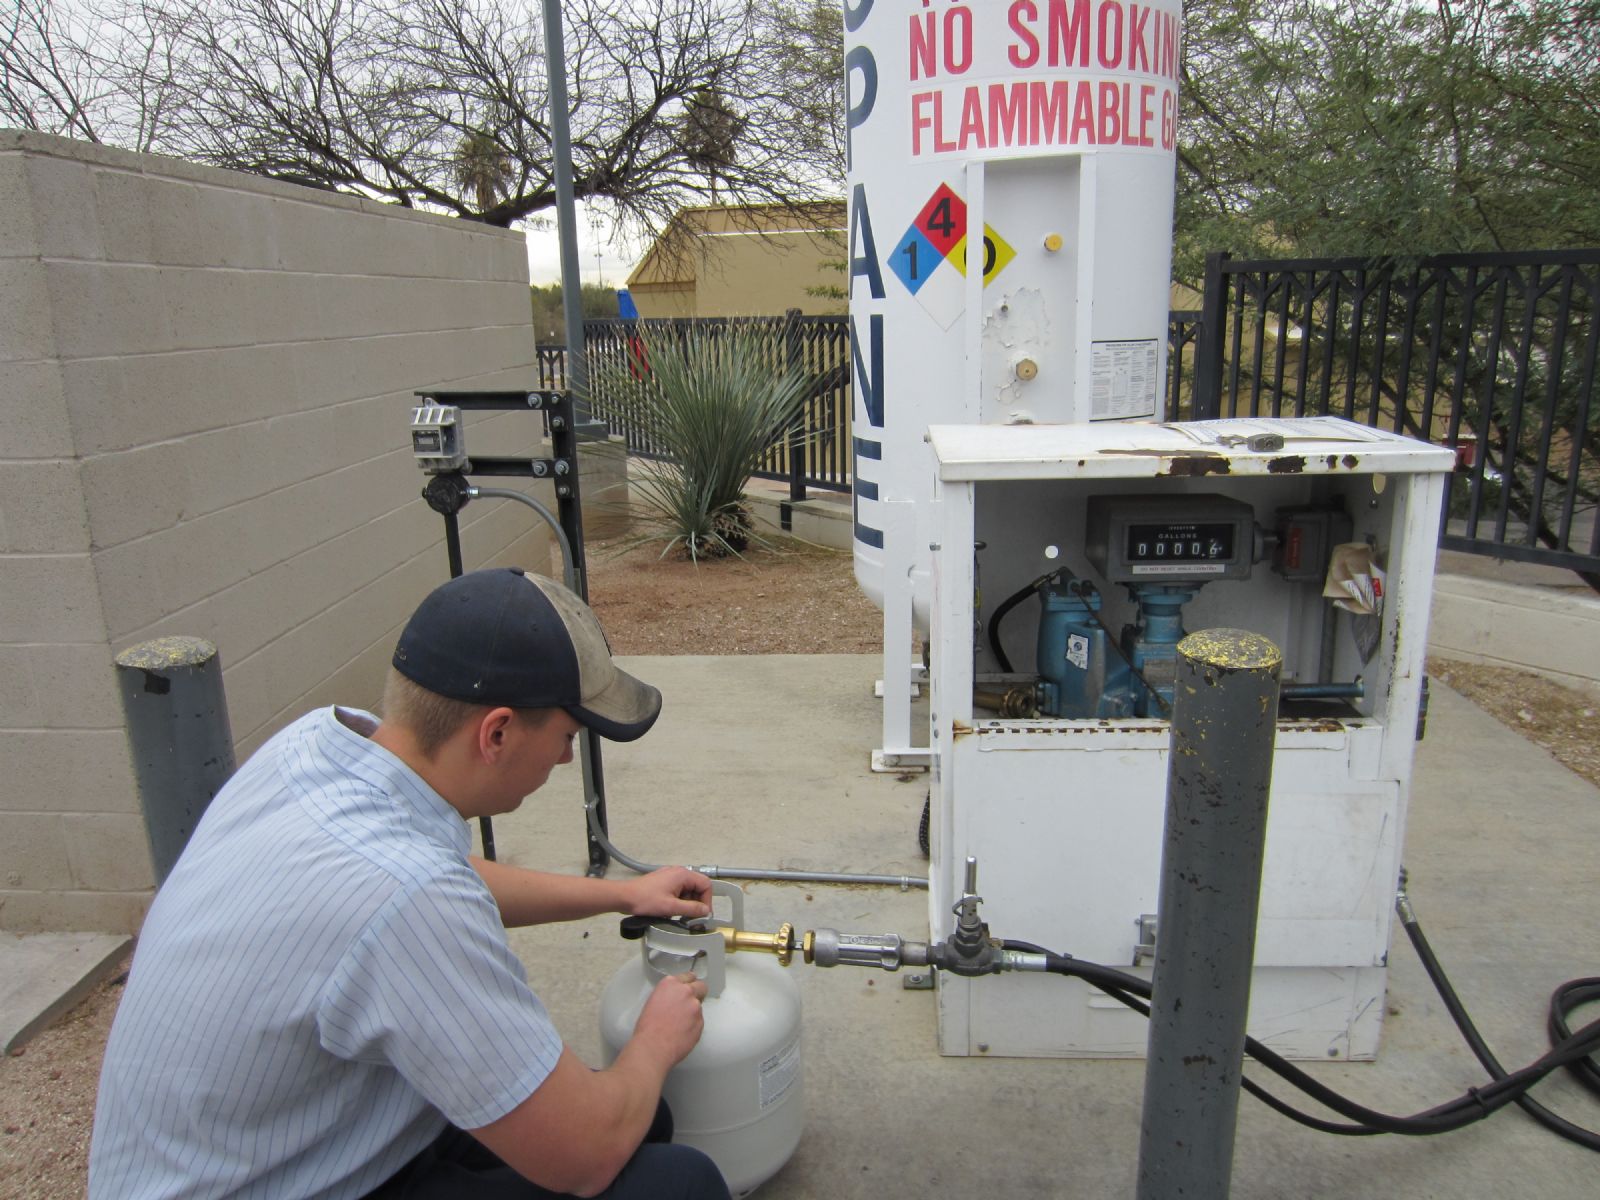
Another reminder item to keep in mind if you're brewing outside with a burner and propane tank is to make sure you've got enough propane to keep your fire going for at least 1-2 hours! If you're running low on fuel, figure in a trip to your nearest propane dispensary into your brew day. I keep an extra filled propane tank in reserve, just in case.
Water Choice… Not the sexiest of topics, and although water geeks will tell you great beer rises or falls based on water, at the beginner to intermediate level, brewing with purified water is fine. Yes, you’ll probably be fine with tap water, but you may eventually want to figure out what the composition of your tap water is which can be done by requesting a report from your local water company; the reports are often free. Your tap water may be more suitable for brewing some styles but not others, however if you know your particular water composition, you can make adjustments to match various water profiles.
After adding your water to the brew kettle, turn on the heat, and begin heating your brew water.
If you are planning on using steeping grains to increase complexity, body or add color, read our article on How To Steep as a quick reference. I don’t believe I’ve ever brewed a batch of beer without using steeping grains, and I would highly recommend incorporating steeping as a standard homebrewing practice especially for extract brewers.
If you plan on steeping, make sure your water is heated to about 160°F (71.11°C), and soak your grains for 30 to 45 minutes ensuring that your water temperature does not exceed 170°F (76.67°C). Unless you’re a fantastic judge of temperature or are adept at calculating temperature solely utilizing the principles of thermodynamics, you’ll probably want to pick up a suitable thermometer. For increased extraction, do not add more than one pound of steeping grain per steeping bag. It’s ok to steep more than one pound of steeping grains, just use multiple steeping bags.
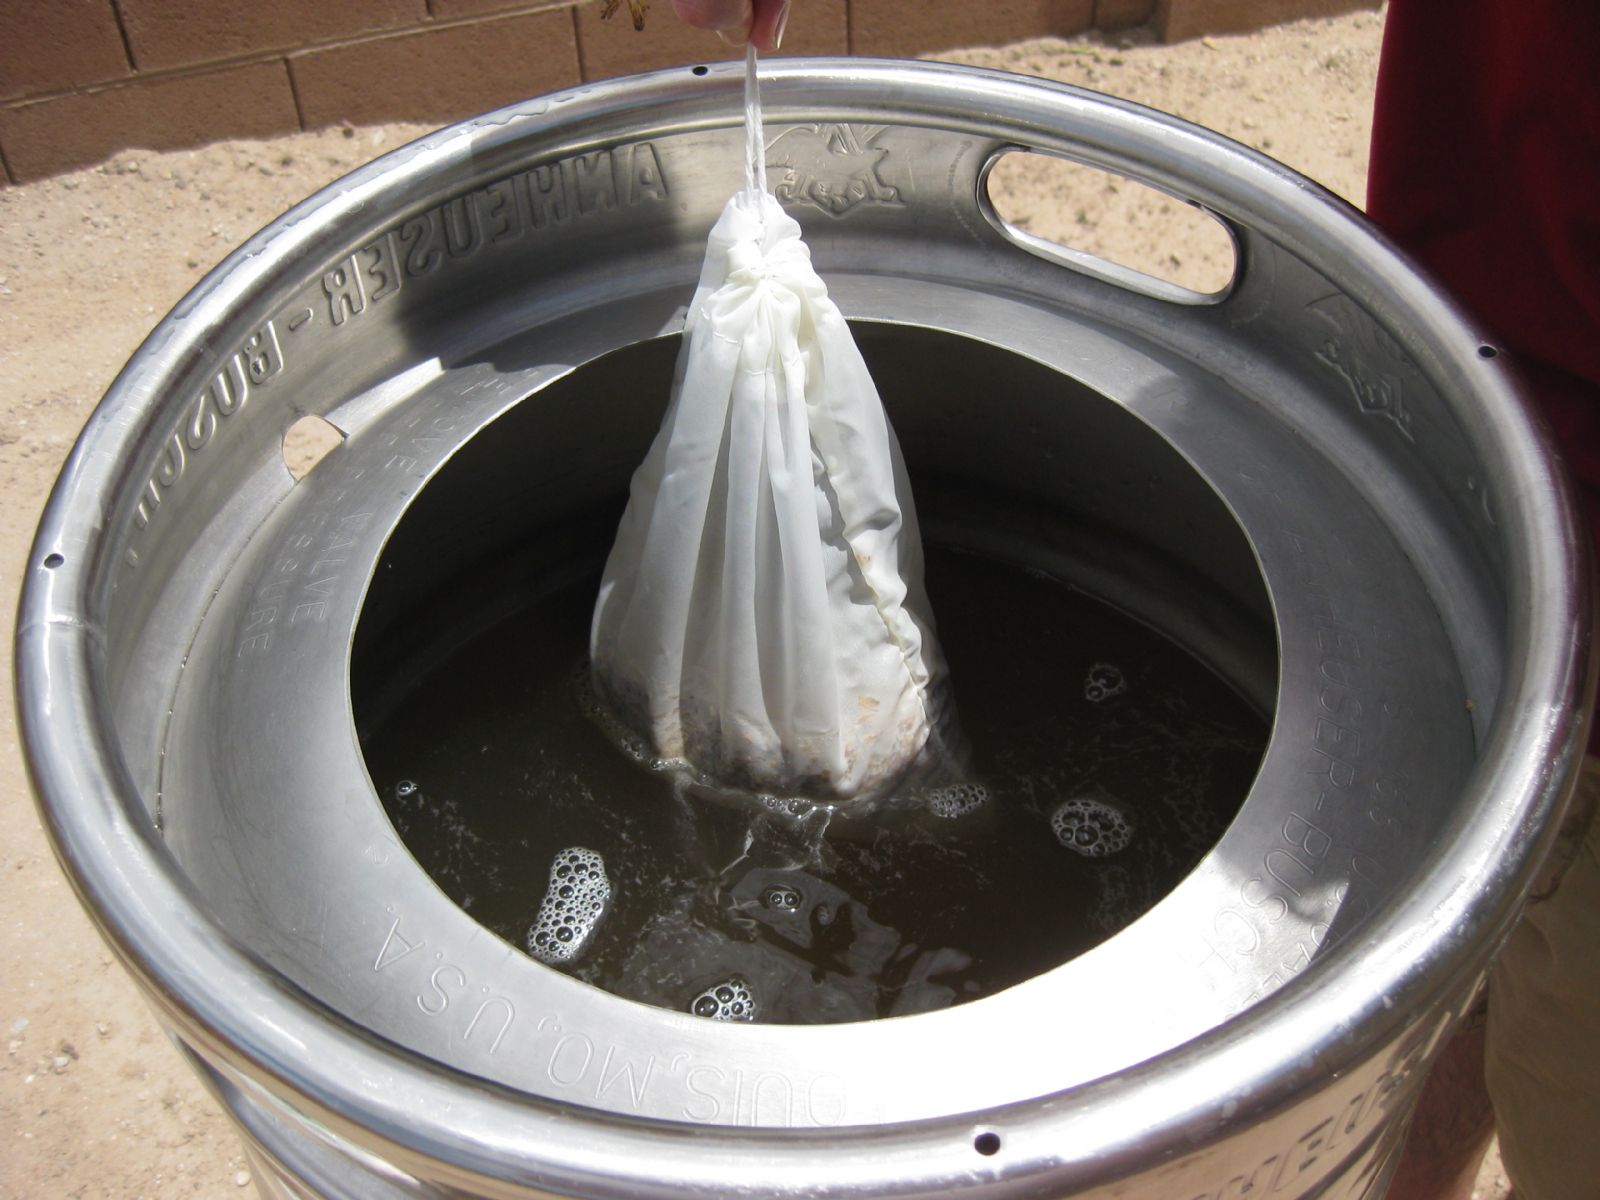
If you decided to steep specialty grains, remember to remove the steeping bag before bringing your kettle temperature up to a boil, otherwise you'll be adding plenty of unwanted tannings to your beer.
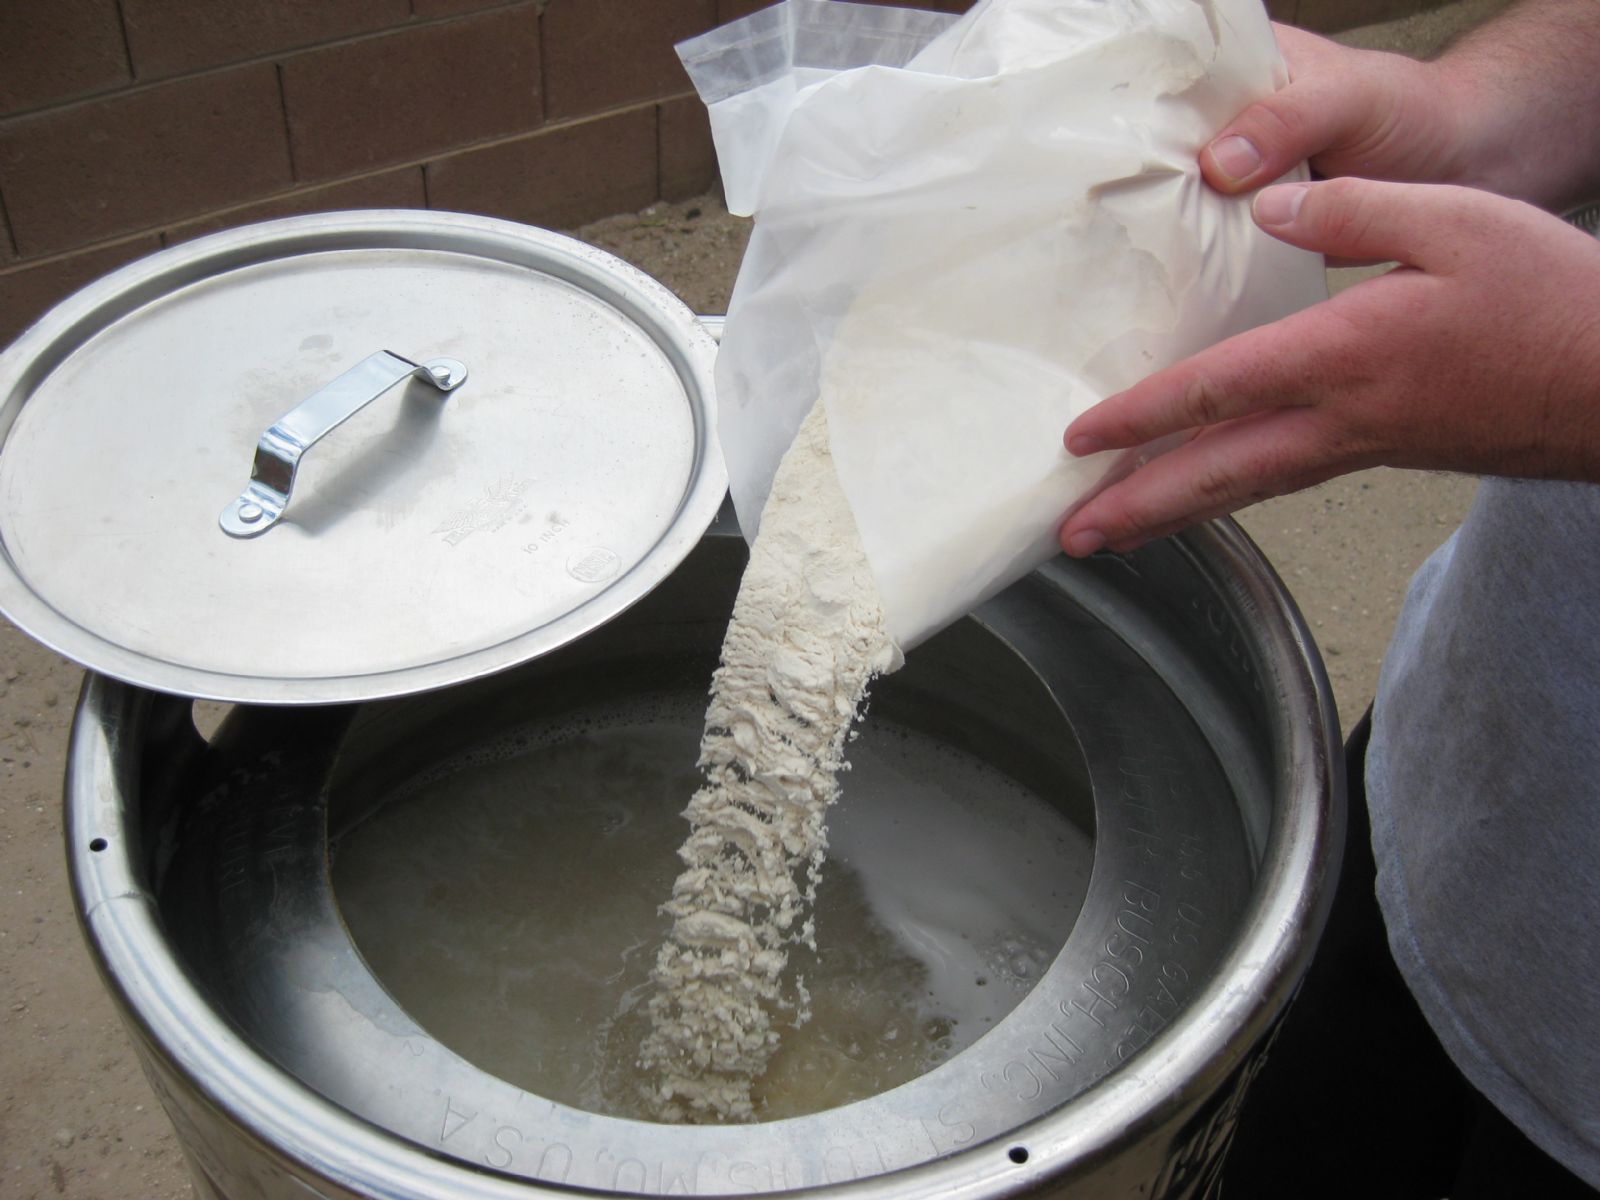
Once you've reached boiling temperature, turn off the heat BEFORE adding any dry malt extract in order to avoid an instant boil over. Once the heat is off, add one bag at a time, stirring and dissolving the powder malt before adding the next bag. This prevents clumping and scorching the malt at the bottom of the kettle.

Add your hops according to your recipe, boil and stir. Remember, brewing recipes usually incorporate a 60 boil time, and when the recipe calls for a first addition of hops at 60 minutes, it means to boil the hops for 60 minutes, which is usually at the beginning of your boil. Likewise, if the recipe calls for a certain amount of hops for 5 minutes, that means that you will add the hops 5 minutes before the end of the boil, or just 5 minutes before you kill the heat for good (a.k.a. flame out).

Chill the wort. Here, an immersion chiller is being used.
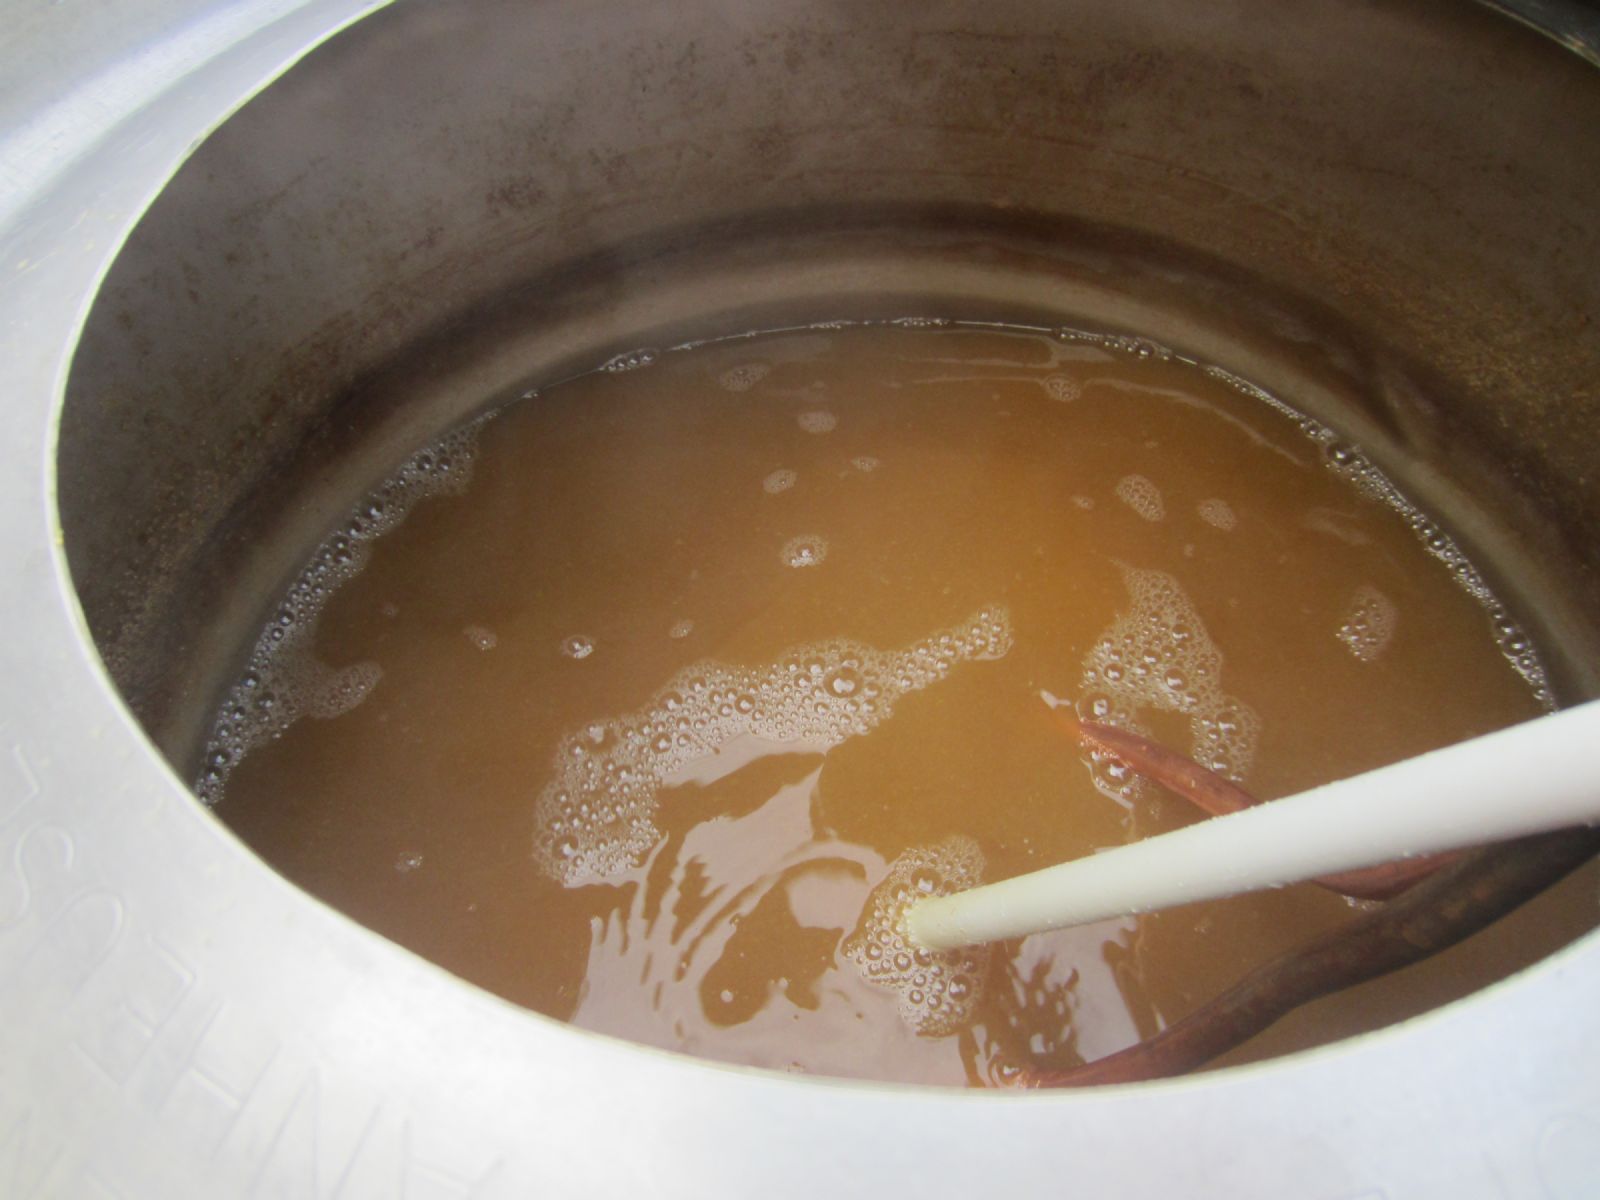
Notice the cloudy caramel color of the wort BEFORE the immersion chiller has begun to chill and clarify the wort.

Notice the nearly clear reddish amber color of the wort AFTER the immersion chiller has been chilling and clarifying the wort. This is why a wort chiller comes in handy.
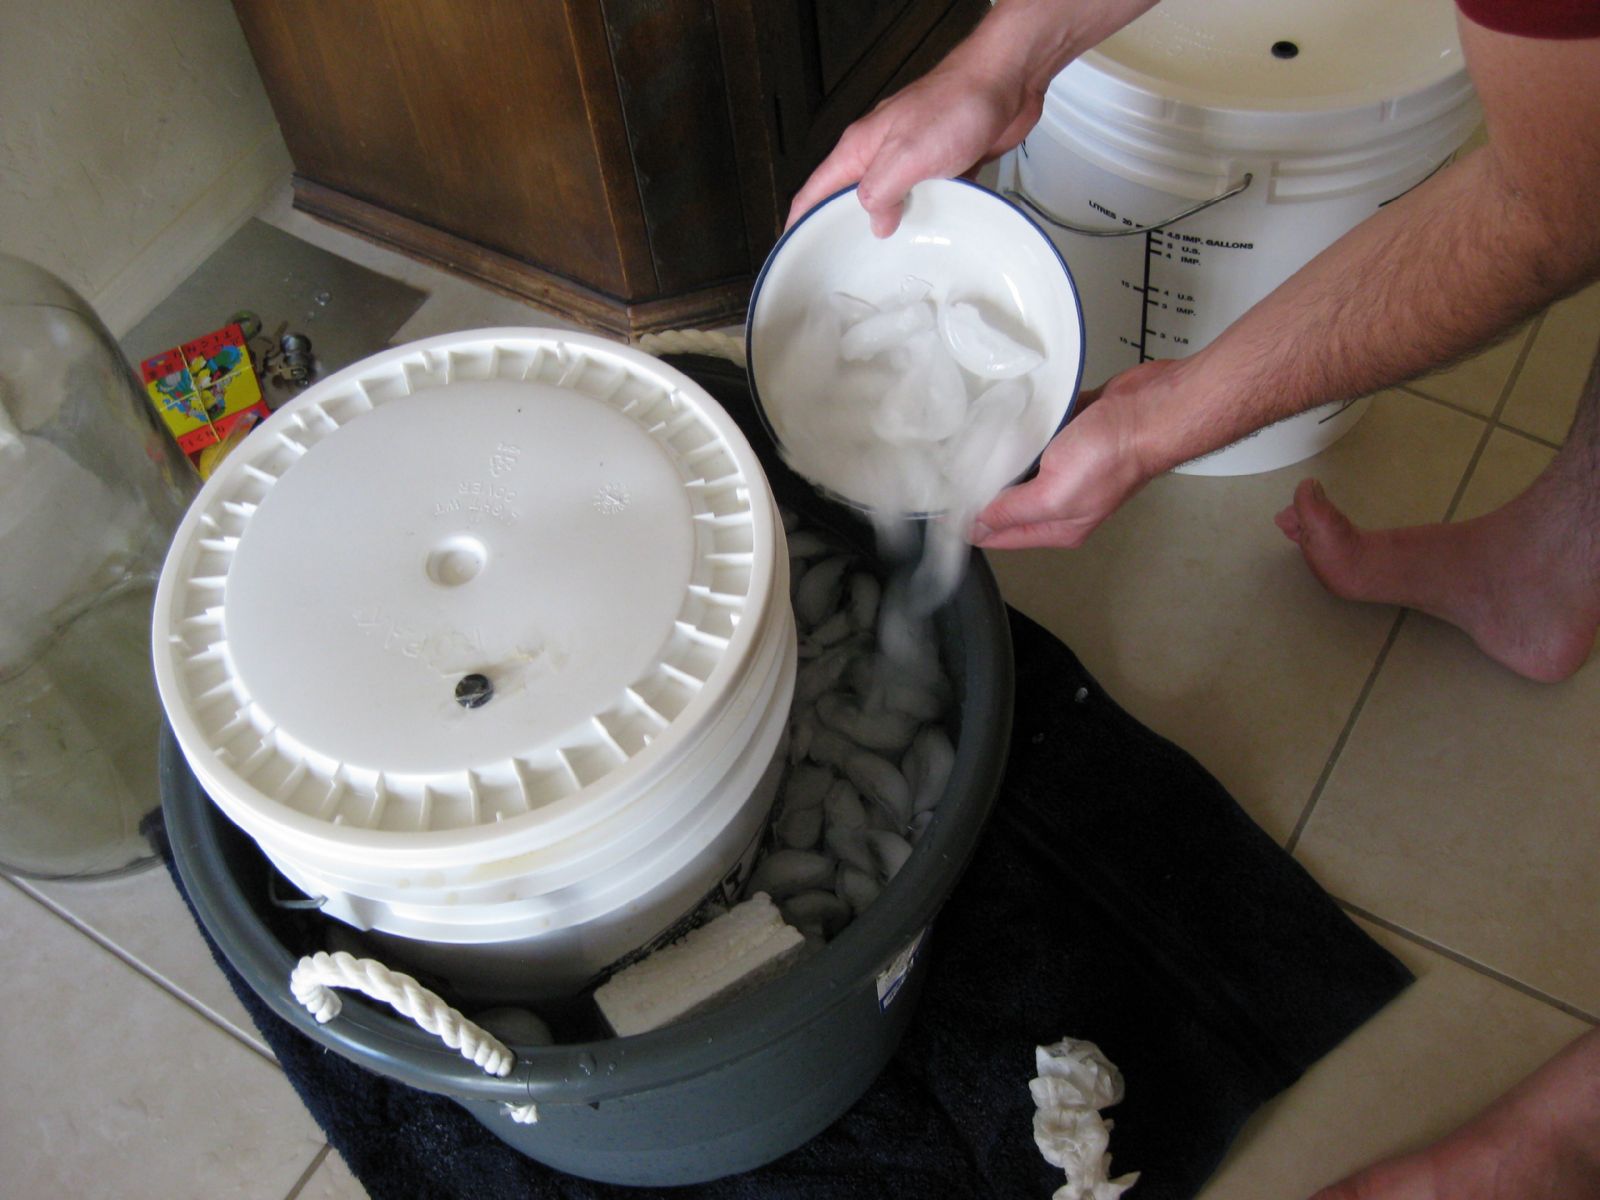
To get your wort temperature even colder, employ the ice bucket method.
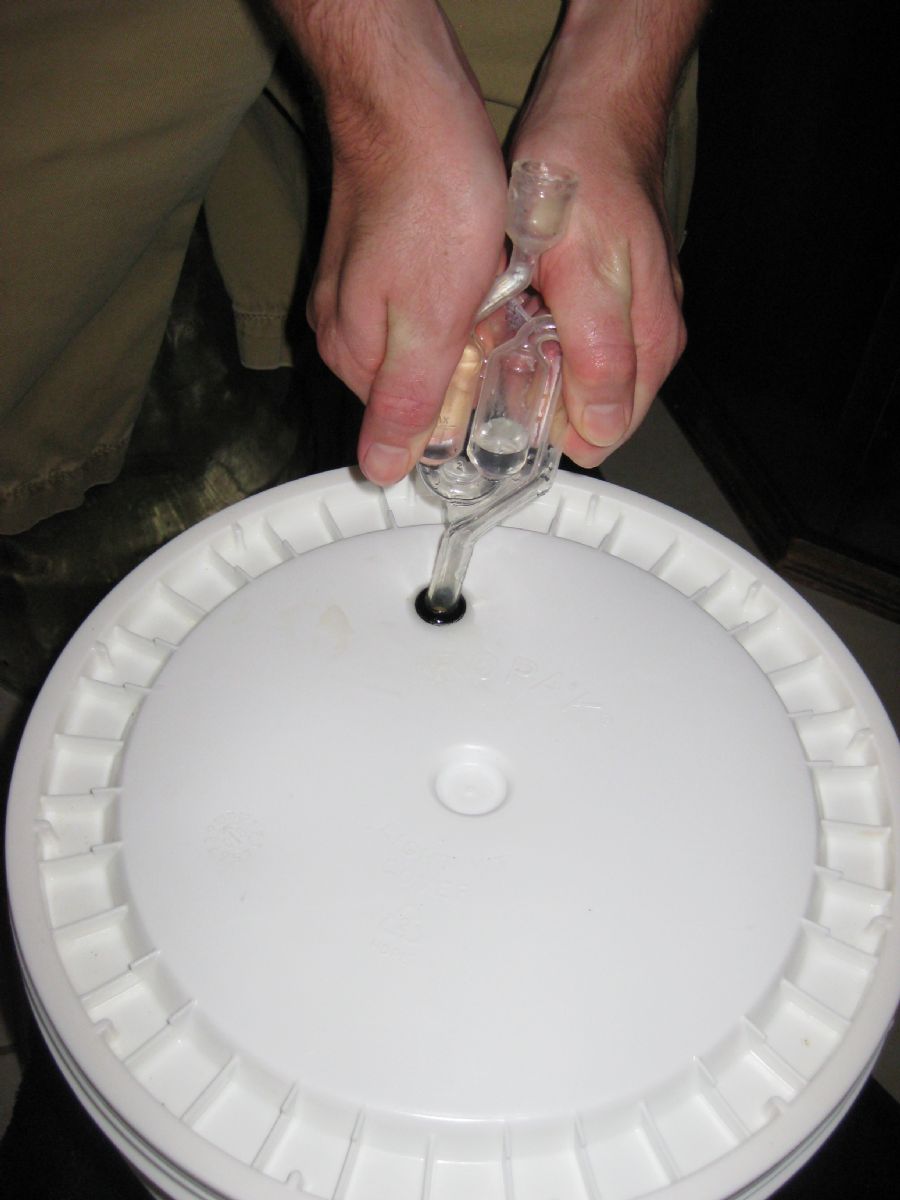
Cool to the recommended temperature of the particular yeast being used, add yeast, put your air lock in place, and ferment away until terminal gravity is reached (2-3 weeks is generally sufficient).
Need more tips on how to make the best beer possible?
Then check out the Top 40 Ways to Improve Your Homebrew.
Like this tutorial? Questions, comments, free beer? Feel free to drop me a line at dan@beersyndicate.com, or follow us on Twitter at twitter.com/beersyndicate.
From The Blog
Tips for Craft Brewery Success
The best business secrets wikileaked from the private records of the most successful craft breweries in the United States.
Beer Names You Might Be Saying Wrong
Enlighten yourself, but please don't correct others. It's just one of those Catch-69 situations, like when somebody has ketchup on their face.
The Beer Quiz
What's your beer IQ? This test measures an individual’s beer knowledge through a series of questions of varying levels of difficulty: Normal, Hard, and Insane.
Homebrewing Techniques
Beat the Stuck Fermentation Monster
You've brewed the perfect wort. You bullseyed your strike temp, you had a most excellent cold break, your OG was right on the money...
How to Cork Belgian Beer Bottles
So you wanna up your bottling game, huh? Well, you've come to the right place.
Top 40 Ways to Improve Your Homebrew
Admit it: No matter if in a DeLorean, TARDIS, or a hot tub, we’ve all thought about what advice we might give our younger selves if we could go back in time.
DIY Projects
How to Polish a Keg
Shining up your keg will probably not improve the taste of your beer, but it looks cool and inspires epic brewing sessions!
Convert a Refrigerator Into a Fermentation Chamber
Decided to take a huge step in improving your homebrew and set up a temperature controlled fermentation system, have ya? Smart thinking.
How to Convert a Keg Into a Brew Kettle
Convert that old keg into a brewing kettle. The advantages of using a keg for homebrewing pretty much come down to quality and cost.
|
|