Convert a Refrigerator Into a Fermentation Chamber
By DANIEL J. LEONARD
Decided to take a huge step in improving your homebrew and set up a temperature controlled fermentation system, have ya? Smart thinking. Next to mindful sanitation practices, temperature control is one of the single most important ways to improve the quality of your beer. Heck, it might be the most important way to improve the quality of your beer. The exact temperature at which you ferment your beer can have a profound effect on the finished product. Want a cleaner, crisper brew? Try holding your fermentation temps on the cool side of your yeasts ideal temperature range. Want more fruity esters in your beer? Then a warmer ferment is where it’s at, but drift too warm and you risk imparting strong rubbing alcohol notes into your brew.
By the way, temperature control is just one of about, let's say, 40 things it pays to be doing to ensure you're on top of your brewing game. Check out the other 39 here: Top 40 Ways to Improve Your Homebrew
Prior to the advent of modern refrigeration and temperature control, the average homebrewer was often at the mercy of the ambient and ever-changing temperature conditions of wherever the fermentor bucket happened to be sitting, often yielding inconsistent beers from one batch to the next. Yes, there are a few low-tech methods of keeping your fermentation cool, like the Ghetto Bucket, or the Son of a Fermentor Chiller, but those other options usually end up costing about the same as the frige & temp control setup, and are considerably more frustrating to manage.
Those refrigeratorless alternatives remind me of the types of schemes old time commercial breweries employed in attempts to reign in their fement temps, like cutting large blocks of ice from nearby lakes and schlepping them back to the brewery, Egyptian-slave style. And what happened when those massive slabs of ice melted on the dirt floors? Let's just say there was a really good reason why brewers boots were invented. Fortunately, brewers boots weren't the only invention that working in a swampy mud filled brew house inspired: Yep, you can thank brewers for dumping fortunes into research that led to the advent of modern refrigeration! Of course nowadays, nearly all commercial breweries keep very close tabs on their fermentation temperatures, usually holding the fermentor tanks at a constant temperature, or to a precisely controlled changing temperature schedule. If the big boys have left the Middle Ages of brewing, it's probably time we all did.
Oh, almost forgot to mention: Welcome to the wonderful world of Lagering! Yes sir, you can now properly brew any of the bottom fermenting family of beers which require controlled, low fermentation temperatures.
As far as your list of items needed for this project goes, it pretty much boils down to choosing (1) a type of refrigerator and (2) some sort of temperature control in order to override the thermostat in the refrigerator to your desired fermentation temperature. But so many choices, so many decisions, where to start... Don't worry my fellow brewer, I've got you covered.
This article was designed to help you figure out which refrigerator/ temp controller setup is right for you, but if you want a quick recommendation to get you started, I’d suggest an upright freezer model with a pre-wired Ranco Dual-Step Temperature Controller. I like this setup because the upright freezer offers more fermenting space compared to other models and the Ranco Dual-Step is a user-friendly, versatile controller which means no matter your brewing skill level or your local climate conditions, you have a temp controller which can handle it all. Is this setup the right one for you? Maybe. Maybe not. Either way, we’ll break down the options so that when it comes time to pull the trigger, you’ll be better equipped to make the decision that best meets your needs.
Choosing a Refrigerator
As far as choosing a refrigerator goes, there are basically three or four common designs out there and each has their own set of pros and cons. Let’s look at a few:
A) The Classic ‘Frige on the bottom, freezer on top’ model: These models are a good choice because they’re more common and probably the cheapest to buy used on craigslist, yardsale, etc. From my experience, they also seem to cool down faster compared to the upright freezer model, especially if you keep ice in the freezer compartment up top because cold air from the freezer is used to cool the lower frige compartment. This suggests the classic models are more energy efficient and put less strain on the thermostat.
Another benefit to this model is that when it's not being used as a fermentation chamber, it can be used for other things like storing beer.
One drawback with the classic frige is the space issue, meaning that you’ll probably only be able to ferment two fermentor vessels (carboy/ Ale Pail) at a time. Measure before you buy, but in my case, there was no way I was going to be able to fit two 6.5 gallon carboys in my refrigerator; at best, I can squeeze in one 6.5 gallon carboy and one Ale Pail. Speaking of space, remember to take out any plastic drawers at the bottom of the refrigerator in order to make a little extra room AND to prevent those plastic drawers from breaking under the weight of gallons of heavy fermenting beer.
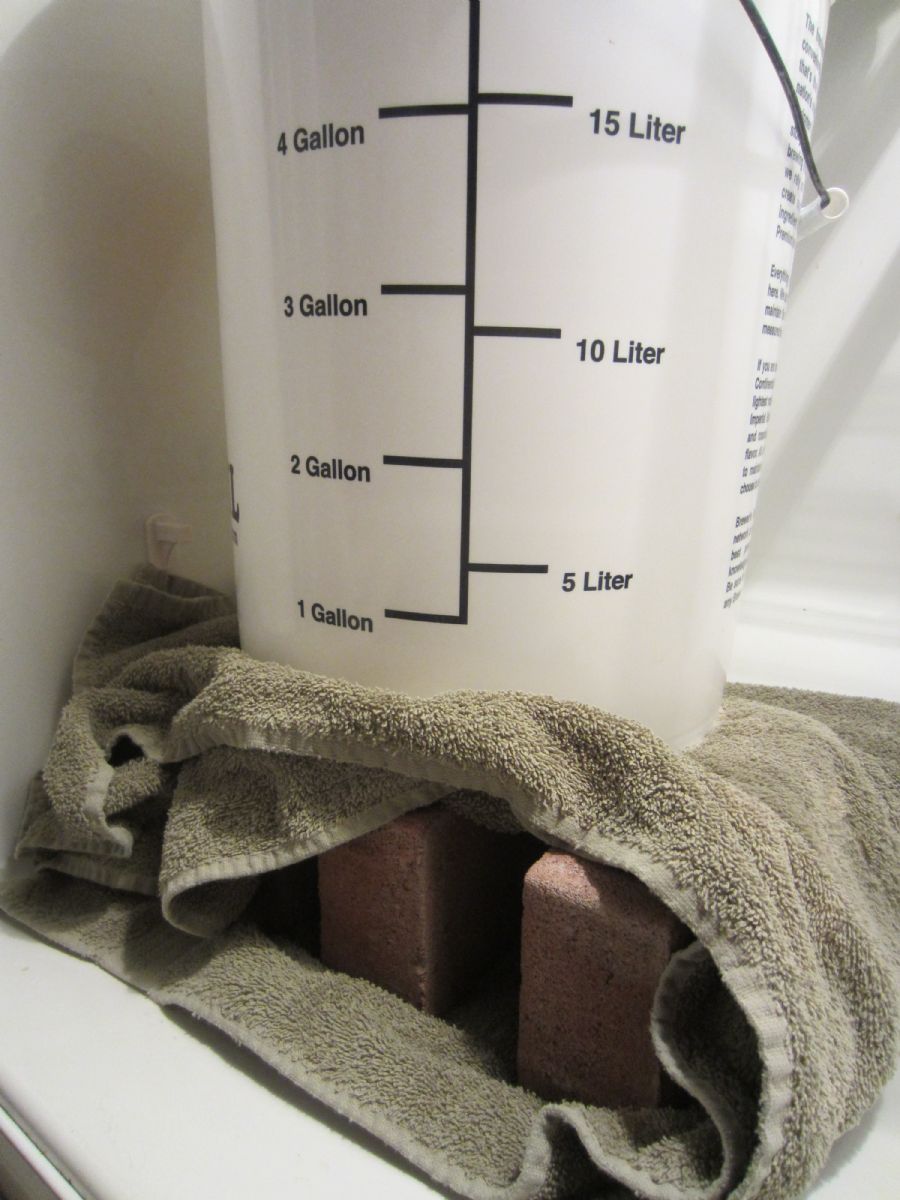
The other thing to consider about space with these refrigerator models is that often the compressor is built under the back side of the lowest shelf of the refrigerator which takes up space. The problem here is that if you remove all the interior refrigerator drawers and place the fermentor on the bottom of the refrigerator's interior, there is often not enough space to close the refrigerator door fully. The easy solution is to place some sturdy objects like books or flat pieces of wood on the bottom interior of the refrigerator in order to raise the fermentor vessel up enough so that it can be pushed back enough in order to close the door fully. I usually just wrap three or four clean bricks up in a bath towel and place them on the bottom of the refrigerator to act as a little ghetto shelf for the fermentors. Works like a charm.
B) The somewhat Classic ‘Frige on top, freezer on the bottom’ model: Similar to the model above, the thing to keep in mind with this one is how strong the bottom shelf inside the refrigerator compartment on top is (can they support at least 100 lbs?), and since cold air falls, energy has to be used to pump the cold air from the freezer compartment on the bottom to the top which uses more energy. Between those two worries, the ability to support the weight of the fermentors is probably the more critical, which means you might need to build a support structure. Personally, I'm too lazy for all that, so I'd personally either just risk not building a support shelf if I were stuck with this style of frige, or skip this model altogether.
C) The Chest Freezer: A favorite among homebrewers, especially for those with kegging systems, a chest freezer offers two main benefits: (1) space maximization inside the unit, and (2) energy conservation. Because there are no shelves in a chest freezer, you can snuggly fit multiple carboys or corny kegs inside the unit. And since cold air falls, you lose less cold air when opening a chest freezer as compared to an upright unit, thus saving you money and energy, which are basically the same thing according to my Special Theory of Financial Relativity: E = $2
On the other hand, if you aren’t kegging yet, there a few drawbacks to consider with the chest freezer option: (1) there are no shelves in a chest freezer, which doesn’t exactly make them ideal for stacking bottled beer, unless the beer is kept in 12 pack boxes, or you come up with some clever shelving method. (2) Chest freezers aren’t ideal for storing anything on top of the freezer door because (do you really need me to finish this sentence?) you have to remove whatever you have resting on top of the freezer if you want to open the door. (3) Picking up and lowering a filled 6 gallon glass carboy, even with a carboy handle, is just a heavy pain in the pooper. And (4) chest freezers usually take up more horizontal pace than a standing refrigerator, which may create some space issues in your house or garage; consider installing some shelves above the chest freezer if space is really a sticking point. For all of these reasons, chest freezers probably make better kegerators than fermenting chambers, but if space is an issue, take the 'pint is half full' approach and just consider the chest freezer as a two-in-one.
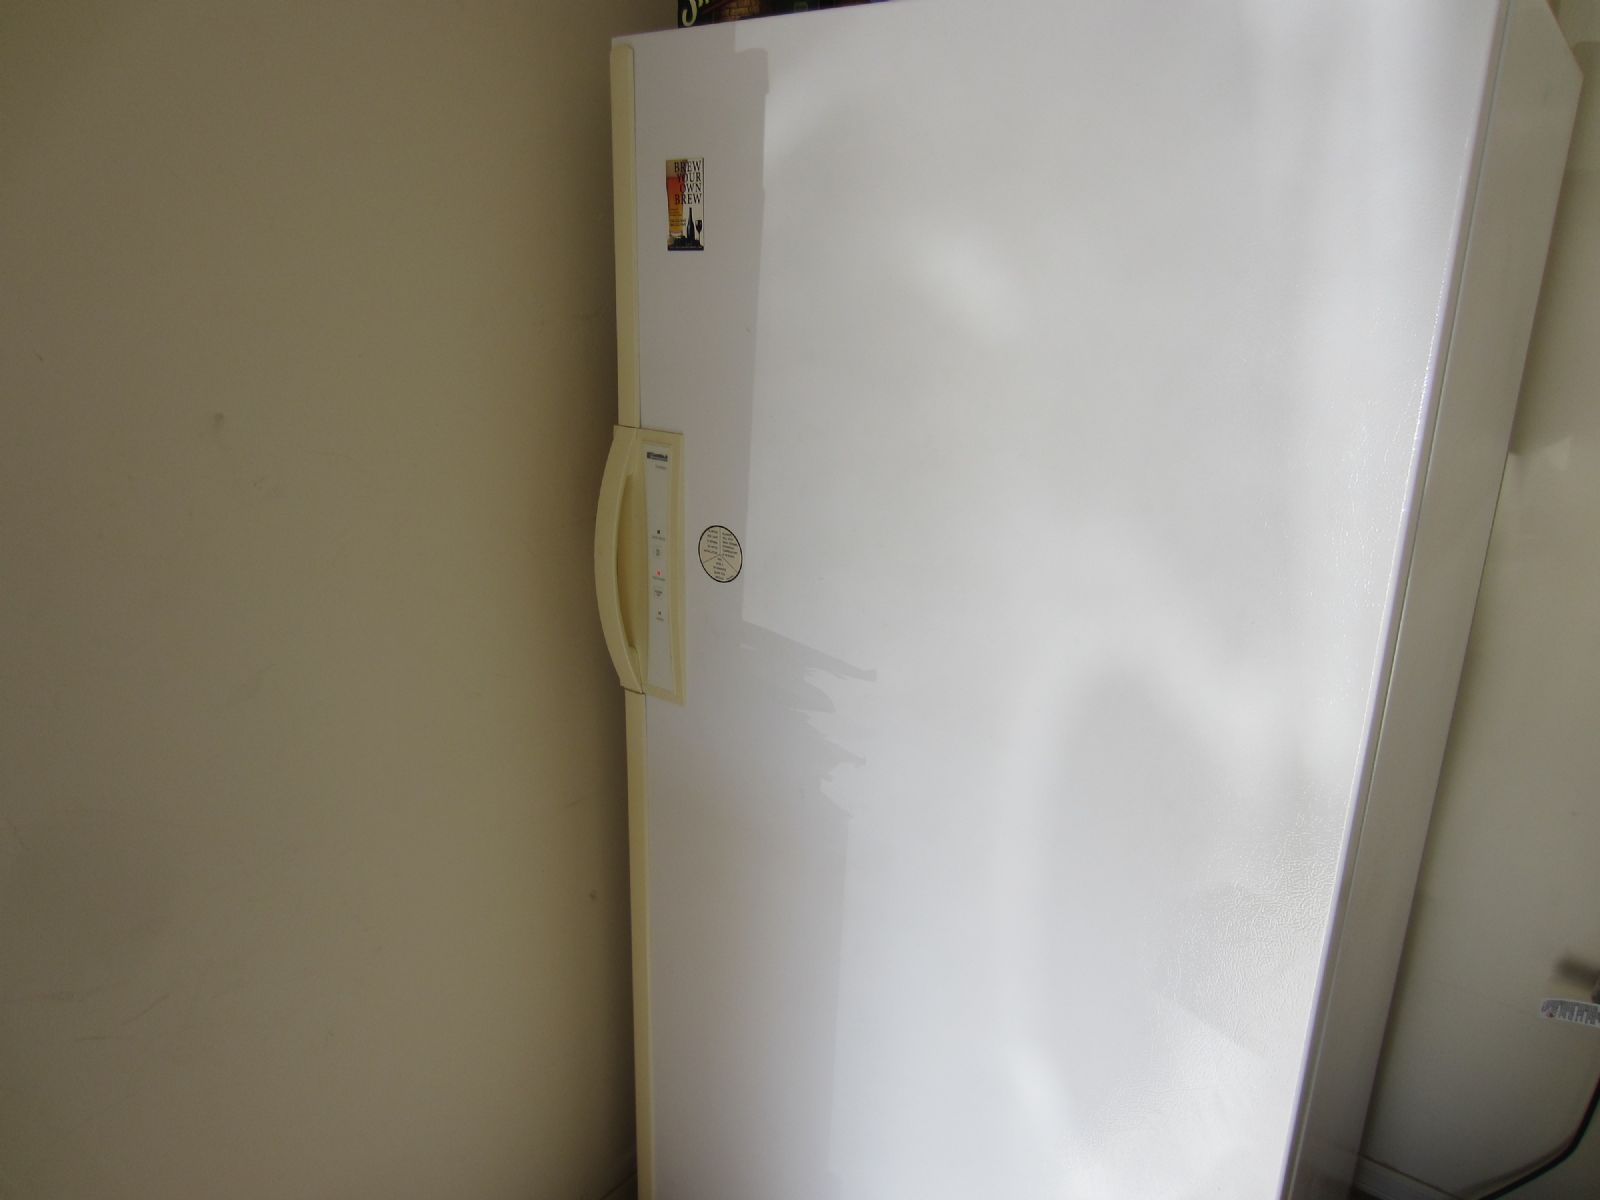
D) The Upright Freezer: This option allows you to maximize your fermenting/storage space, which means that you can usually fit two 6.5 gallon carboys right next to each other on the bottom shelf with room to spare, but always measure before you buy! Heck, you could even use your upright freezer to ferment 4 carboys or Ale Pail buckets at once, two on the bottom, and two on a re-enforced shelf on top. How’s about that for efficiency? If you do plan on fermenting four carboys/buckets at once, just keep in mind you’ll be fermenting at the same temperature for each beer, so make sure you’re brewing with a yeast that performs best at that temperature.
On the flip side, these freezers tend to put out a lot of heat, partly because there is no ice box compartment to borrow cold air from, like with the classic refrigerator model. You’ll notice that the sides of your refrigerator or freezer, no matter which one you choose, will become hot when the thermostat kicks on, however the upright freezer model can become so hot that the thermostat shuts down until the system cools down again, especially if it’s 100 degrees F in your garage and you’re trying to cool your beer from 80 degrees down to 65; which is a bad idea for more than one reason. This is not as big of an issue in the winter, but you’re probably not just planning on being a winter brewer.
E) The side-by-side ‘French Door’ model: Rounding out the bottom of the list, this style of refrigerator is probably the least desirable mainly because of the space issue. If you’re planning on fermenting more than one Ale Pail bucket or carboy at a time with the French door model, you’ll end up having to stack your fermentors on top of each other which would most likely require you to build some sort of support structure to carry the weight of, say, a 6.5 gallon glass carboy (15 lbs) filled with 6 gallons of beer (48 lbs), assuming you could even fit a carboy in this type of refrigerator. If this is the only type of refrigerator you can get your hands on, go with it; a temp controlled fermentation chamber is better than none at all.
Word to the Wise! If using a standard refrigerator (either option A, B or E from above), it helps to know that when overriding your refrigerator thermostat with a temp. controller as discussed below, it's possible that the ENTIRE REFRIGERATOR INCLUDING THE FREEZER will be the same temperature. In other words, if you use your temperature controller to set the refrigerator thermostat to 65°F, then the entire refrigerator will be 65°F. This means that if you have frozen goods in the freezer compartment, those frozen goods won't stay frozen for long, so remove whatever items from the freezer compartment that you see fit.
Choosing a Temperature Controller
Next on the decision list is what type of temperature controller to buy, and there are a few factors in making your decision, primarily price, brand, digital or analog, and single or dual-stage control. Price is a simple enough consideration: a proper temperature controller will run you anywhere from $40-$120, it’s up to you to figure out what features you want; the more features, the more expensive the controller, and we’ll consider a few of the features you might want later on in this article.
As far as the brand goes, there are a few different choices to consider, however the main brands most common in homebrewing are Ranco, Johnson and Love, though we’ll just be looking at the two most popular, Ranco and Johnson; Love controllers are great, but, unlike the Ranco or Johnson controllers, they usually require being mounted to the refrigerator. Many brewers who have both Ranco and Johnson controllers like them pretty much equally, particularly the digital versions. Digital models tend to have more features and offer more control over their analog counterparts, and the price difference between the two is pretty reasonable.
The last consideration is whether you’ll want either a single-stage or dual-stage temperature control. A single-stage controller allows the brewer to keep a refrigerator at a certain temperature, usually below a certain temperature, though some single-stage controllers can control either a heating element (like an electric blanket or a fermwrap inside your refrigerator) or your refrigerator's thermostat for cooling, but not both at the same time.
A dual-stage control can be useful for those who keep their fermenting refrigerator out in the garage where there can be significant temperature swings that can effect the temperature of your beer. For example, let's say you want to ferment your beer at a steady 65°F, and the high of the day is somewhere around 75°F, but the low is somewhere in the low 50s. Your problem is to keep both your beer cooler than 66°F during the high of the day, and warmer than 64°F during the nighttime low. Because temperatures can change in either one of two directions, the dual-stage controller enables the brewer to control the entire playing field. You can get both pre-wired too. If you're really only concerned about preventing the temperature inside your refrigerator from getting either too warm or to cool, then a single stage control may be all you need. Either way, you will TASTE the difference in the quality of beers you brew using a temperature control.
Word to the Wise! For goodness' sake, no matter which temp controller you decide on, do yourself a favor and make sure that the frigerator door is completely closed when in use. True story: I know of a longtime homebrewer who was having a major refrigeration problem recently. (This guy also happens to be the author of the article you're currently reading). Anyways, this guy couldn't figure out why his temp controlled refrigerator wasn't cooling properly. After reading the user manual and desparately scowering the internet for techincal answers, he went back to his refrigerator and noticed that the door was ajar. He closed the refrigerator door, and miracilously the refrigerator began to cool again. But in this homebrew's defense, he forgot to shave with Occam's razor that day.
Enough of all that; it's review time.
Let’s start with the Johnson Controls A19AAT-2C Freezer Temperature Controller:
This is probably your least expensive option which will work for the majority of your brewing needs. Unlike other models, this Johnson Control comes pre-wired and box-ready, which means that you simply plug it in and you’re off to the races. One drawback to this controller is that it uses an analog dial control instead of a digital one. But it’s not just a matter of ‘digital is cooler than analog’ (which goes without saying), this model does not have a temperature reading on it so you don’t really know what the actual temperature of the beer is without a separate thermometer, which is highly recommended. Furthermore, this analog controller is programmed to kick on with a +/- 6 degree swing, whereas other digital controllers give the brewer +/- 1 degree precision over the fermentation temperature. Further, unlike other controllers, you can only use the Johnson analog for cooling, not for heating, which can become an issue in very cold climates, or during the winter, where you’d need to heat your refrigerator in order to maintain the appropriate temperature. The other potential consideration is that the temperature range on this model is only between 20 and 80°F. This is not really a problem for nearly all styles of beer with the exception of brewing a Saison, where the fermentation temperature should go well into the upper 80s, 90s, or higher. Also, some sour ales are brewed using a technique where the bacteria, in particular lactobacillus, is added before the yeast, and the temperature is held around 100°F allowing the bugs (bacteria) to sour the beer up to the brewers liking. Afterwards, the brew is cooled to about 65 degrees and the yeast is pitched. If you're not planning on brewing much Saison or using this souring technique, then no big deal.
Next up is the Johnson Controls A419ABC-1C Electronic Temp Controller:
A step above the Johnson analog controller listed above due to the ability to have even more precision control over the fermentation temperature (+/- 1 degree), and has a LCD display. It can also be used for heating, not just cooling, which can be good for other purposes such as controlling kettle temps when brewing. That said, if you are planning on switching between heating and cooling mode often enough, you will need to reposition the jumpers inside the unit itself, which can be a hassle. The trade-off with this controller is that you may have to either pay more to have it wired for you, or you’ll have to wire it yourself which entails splicing an extension cord into the unit. Personally, I’m not particularly electrically inclined or interested, so I’d pay the extra money to get it wired. Keep in mind, this is a single-stage controller, so it can only be used to control heating or cooling separately, but not both simultaneously as with other dual-stage controllers.
Johnson Controls A419ABG-3C Digital Thermostat Control Unit
Essentially the same as the Johnson A419ABC above, except the unit comes pre-wired. Some complain the user manual that comes with this controller is hard to follow, but on the whole, a favorite among homebrewers and commonly found at most homebrew shop retailers.
Ranco Digital Temperature Control: ETC-211000-000
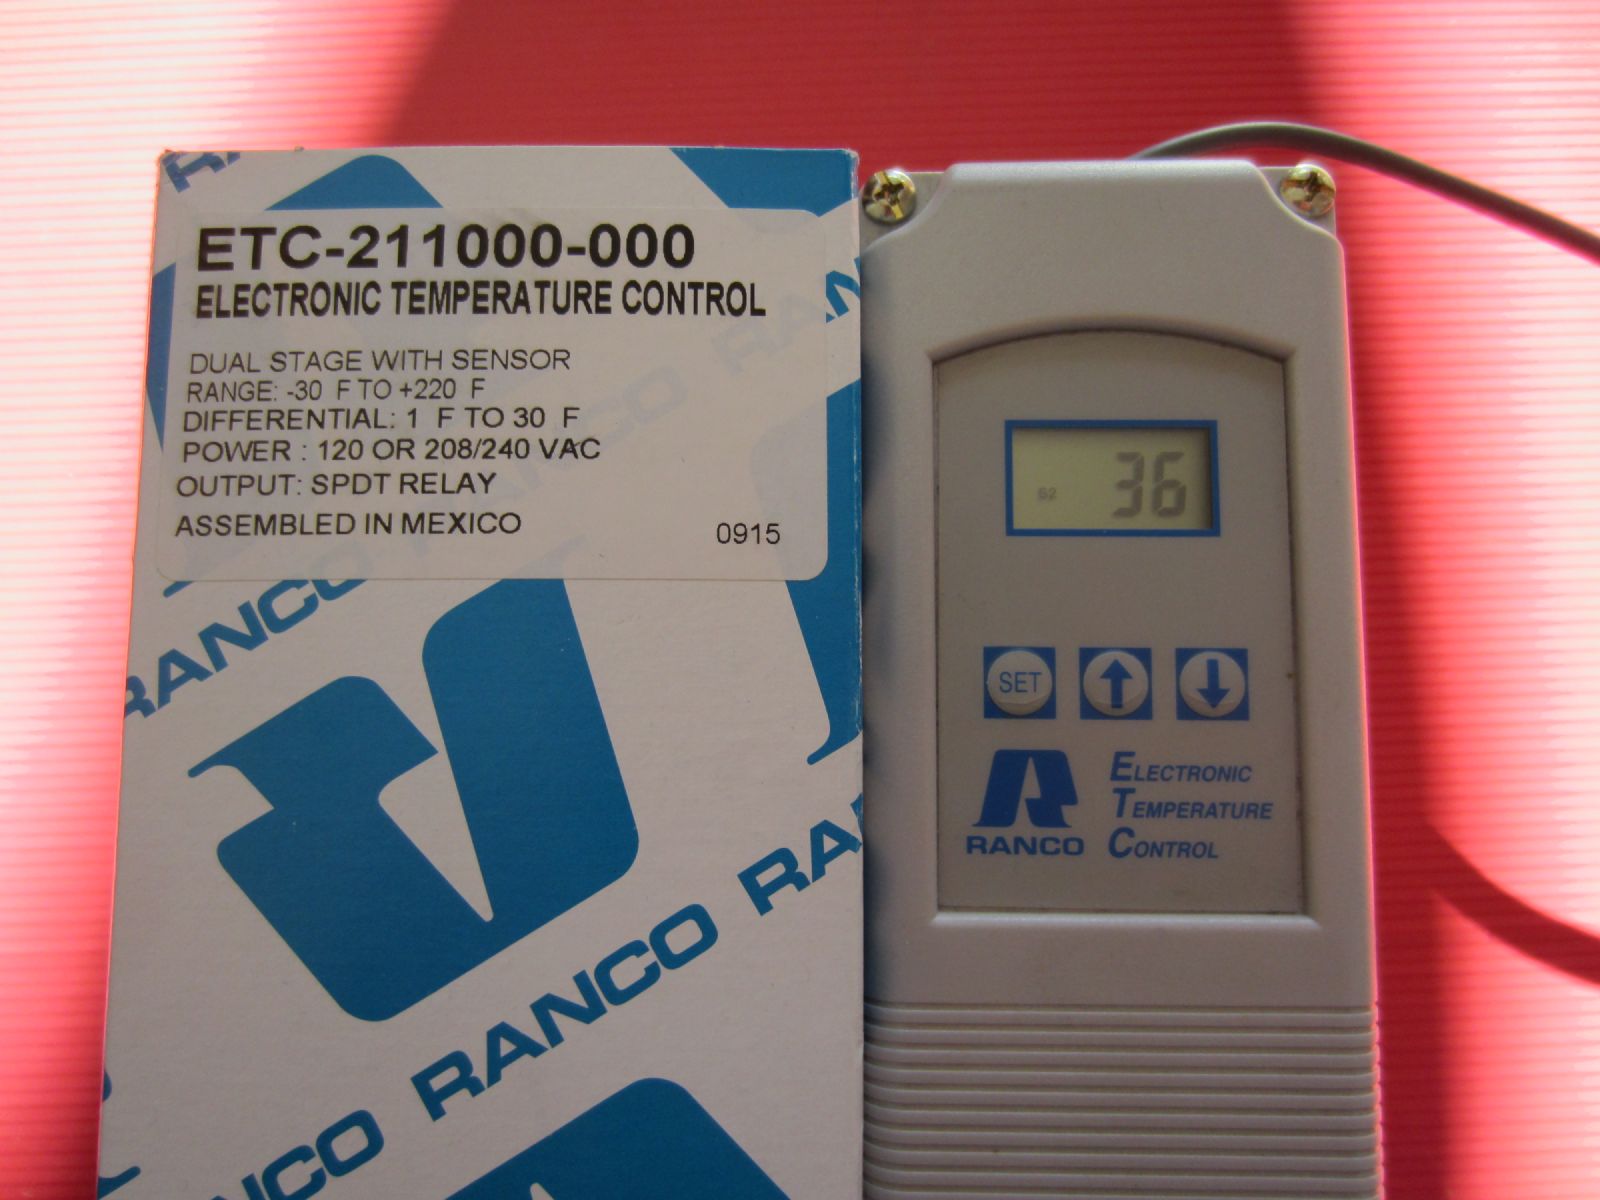
Often dubbed ‘The Cadillac of Temp Controllers’, the Ranco Dual Stage Digital Temperature Controller is a versatile, easy to use, all around great temperature controller for the price. Digital control and display with easy to program target temp and temperature range settings in Fahrenheit and Celsius, and the ability to control your temperatures within a one degree variance. Easily switch between heating and cooling mode without the need to open and fiddle with the unit. Flexible insulated wiring on the temperature probe can be easily modified as a thermowell, whereas the Johnson probe is larger and attached to a less flexible metal wire. Control both a heating element, such as a fermwrap, and a cooling element (your refrigerator) at the same time. The only drawback here is that Ranco’s tend to be a bit more pricy. Ringing up at around $120 (pre-wired), this Ranco unit can be more than double the price of the Johnson analog controller, but to use a vacuous cliché, you get what you pay for (unless you're stealing it).
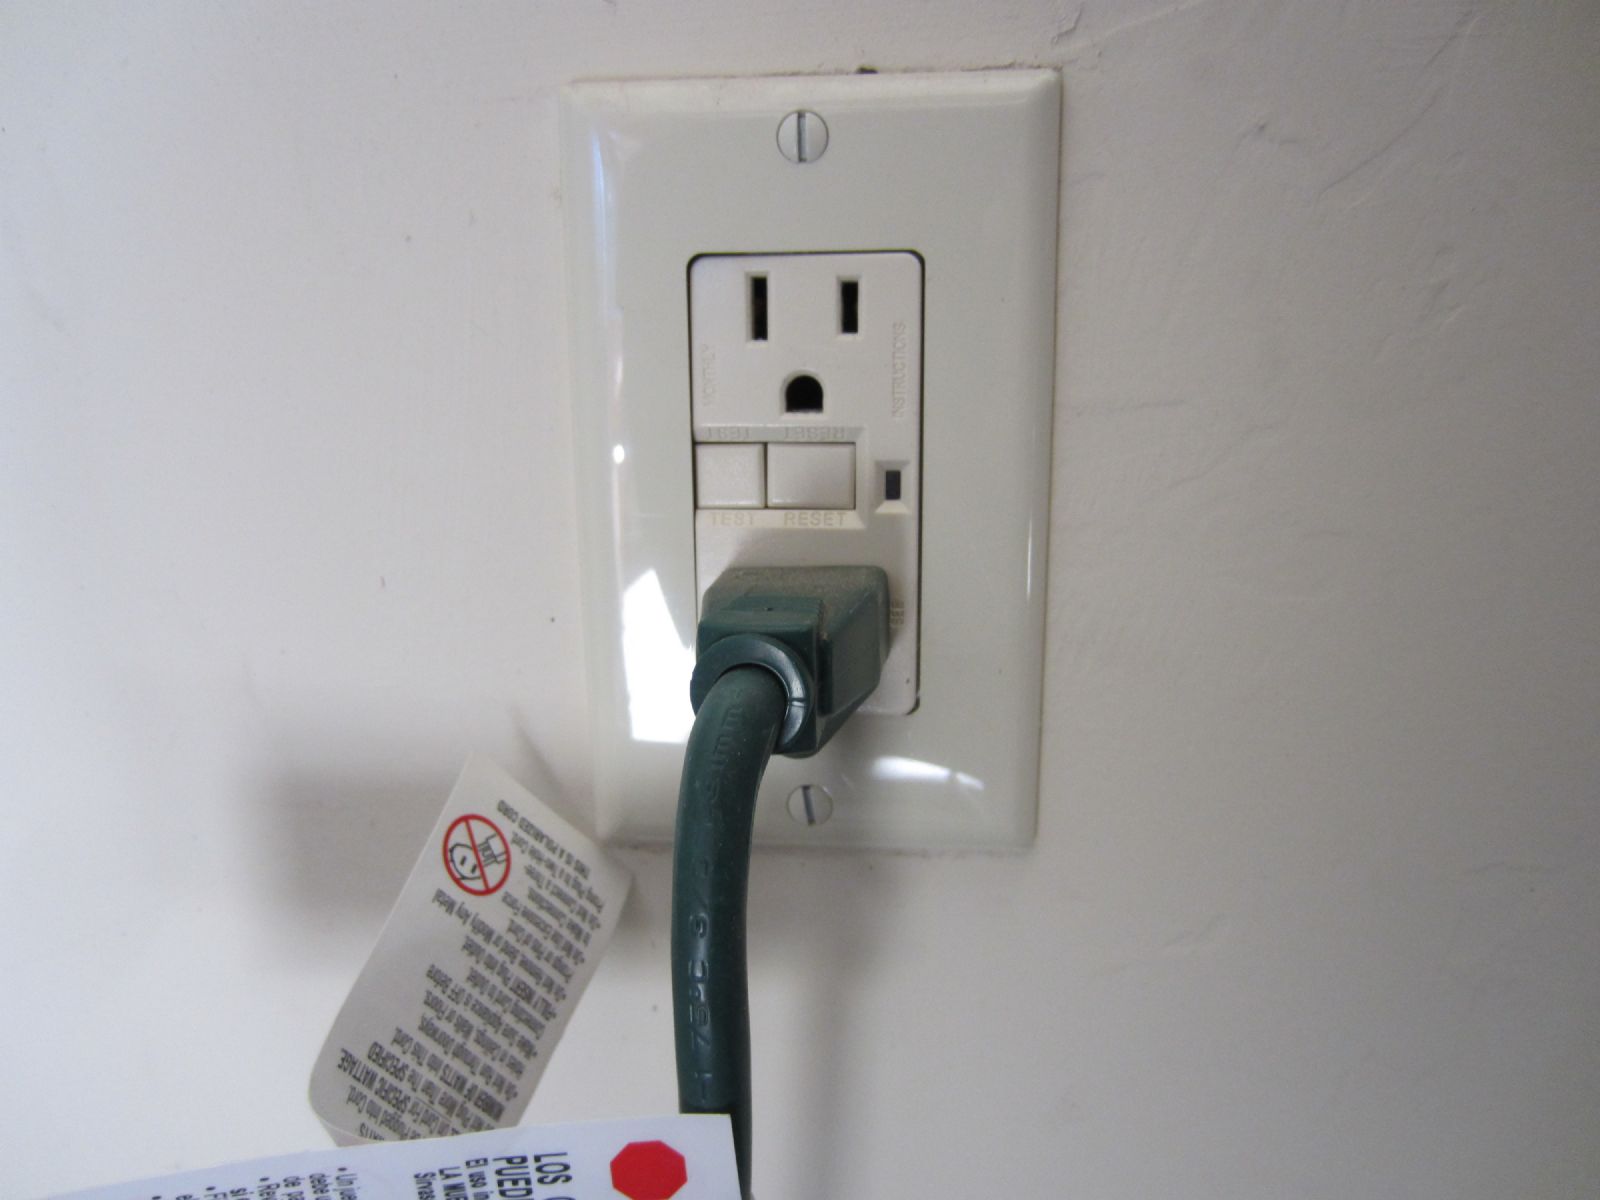
The Ranco controller shown below was purchased pre-wired, which means the three green extension type cords extending out from the base of the device were already wired in. One of these green cords has a plug on the end, while the other two have socket ends. The gray cord (temperature probe) extending from the top of the controller comes already wired in on all models.
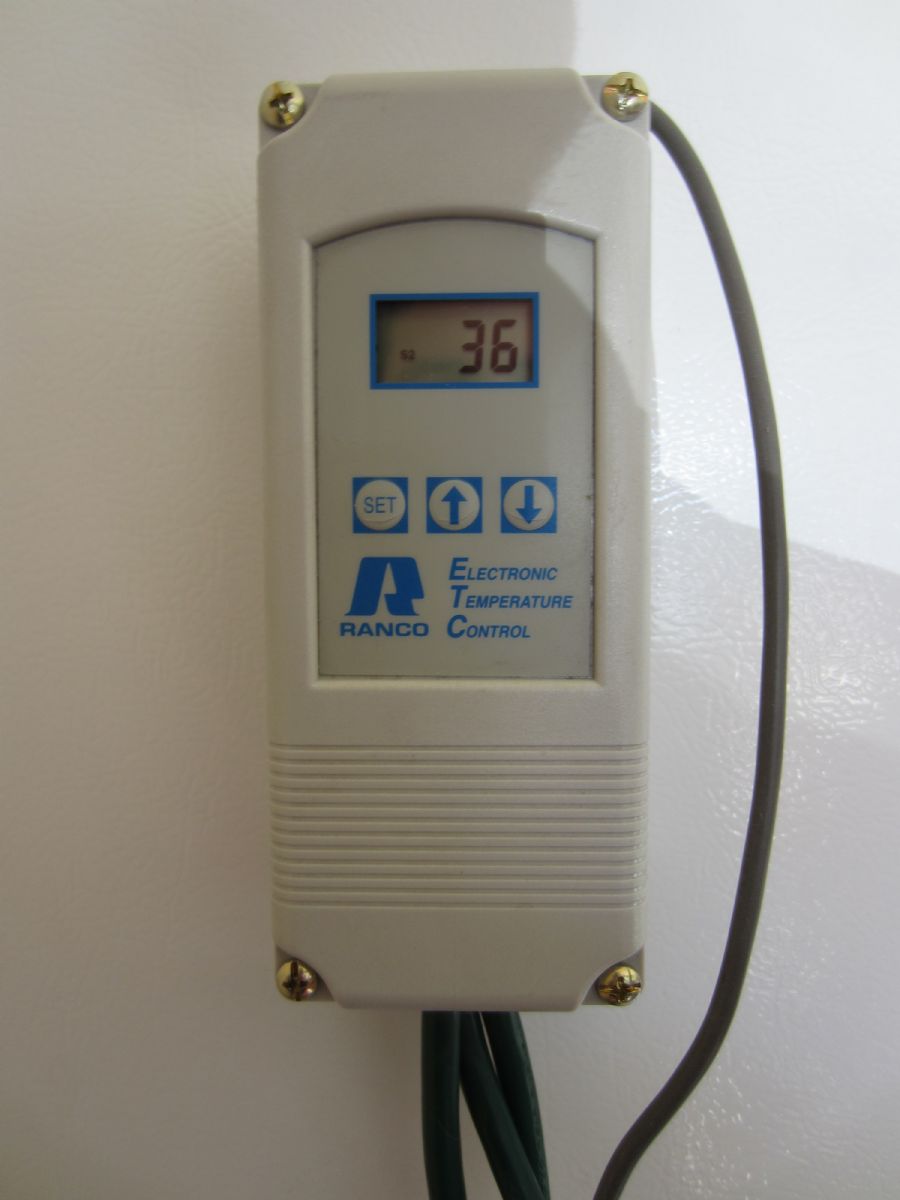
You will plug your refrigerator plug into one of the temperature controller’s socket in order to have your temperature controller override the thermostat in your refrigerator (see below).

The other green extension cord attached to the temperature controller will be plugged into an outlet.
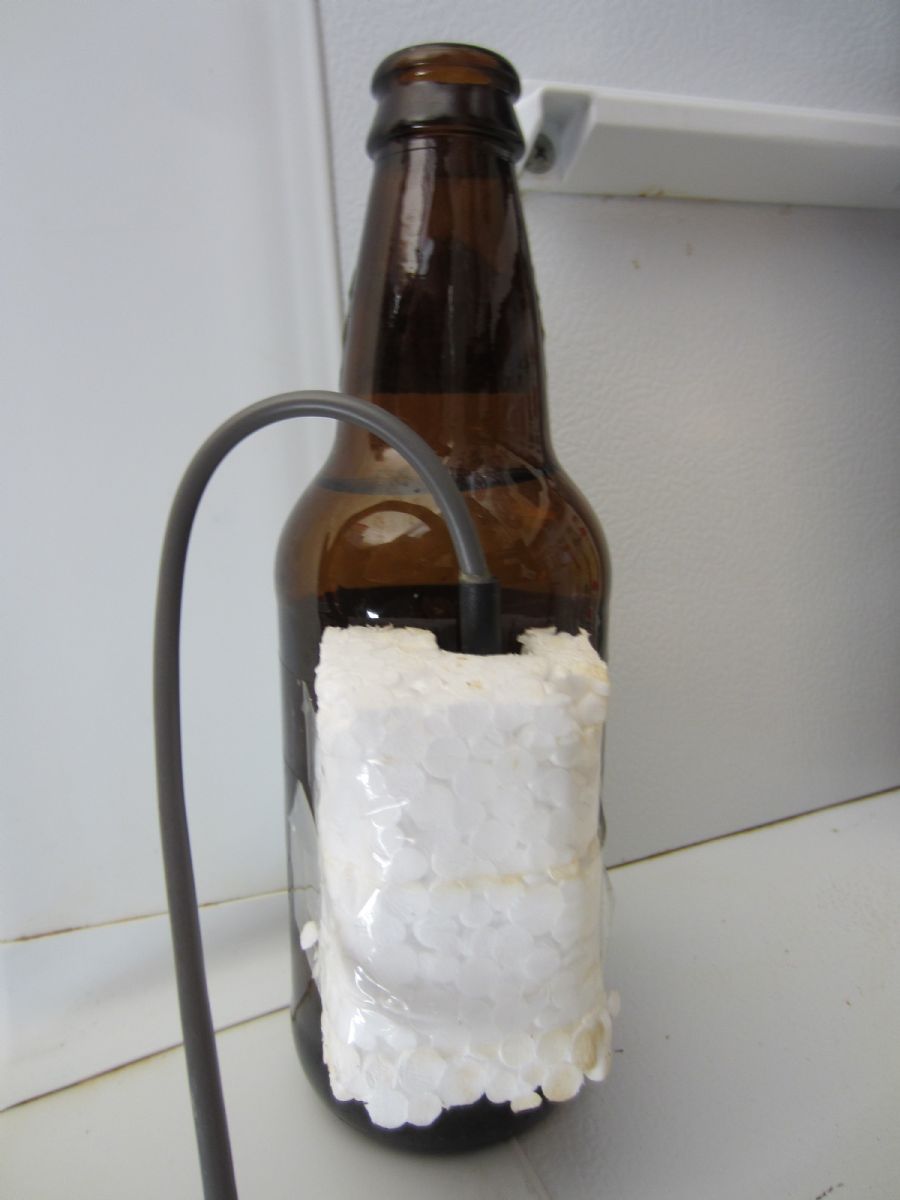
When I’m not using my temperature controller to monitor and control my fermentation bucket or carboy, I’ll place the temperature probe inside of a piece of Styrofoam that’s taped onto a water filled bottle to keep my beer at a precise serving temperature (usually about 48°F).
No matter how you slice it, with a temperature controlled fermentation chamber, you'll be able to hit the mark more often, creating consistent, fine-tuned brews with extraordinary flavor profiles. You’ll also be able to explore various temperature schedules, experiment with cold crashing and other techniques.
Like this tutorial? Questions, comments, free beer? Feel free to drop me a line at dan@beersyndicate.com, or follow us on Twitter at twitter.com/beersyndicate.

From The Blog
Tips for Craft Brewery Success
The best business secrets wikileaked from the private records of the most successful craft breweries in the United States.
Beer Names You Might Be Saying Wrong
Enlighten yourself, but please don't correct others. It's just one of those Catch-69 situations, like when somebody has ketchup on their face.
The Beer Quiz
What's your beer IQ? This test measures an individual’s beer knowledge through a series of questions of varying levels of difficulty: Normal, Hard, and Insane.
Homebrewing Techniques
Beat the Stuck Fermentation Monster
You've brewed the perfect wort. You bullseyed your strike temp, you had a most excellent cold break, your OG was right on the money...
How to Cork Belgian Beer Bottles
So you wanna up your bottling game, huh? Well, you've come to the right place.
Top 40 Ways to Improve Your Homebrew
Admit it: No matter if in a DeLorean, TARDIS, or a hot tub, we’ve all thought about what advice we might give our younger selves if we could go back in time.
DIY Projects
How to Polish a Keg
Shining up your keg will probably not improve the taste of your beer, but it looks cool and inspires epic brewing sessions!
Convert a Refrigerator Into a Fermentation Chamber
Decided to take a huge step in improving your homebrew and set up a temperature controlled fermentation system, have ya? Smart thinking.
How to Convert a Keg Into a Brew Kettle
Convert that old keg into a brewing kettle. The advantages of using a keg for homebrewing pretty much come down to quality and cost.
|
|