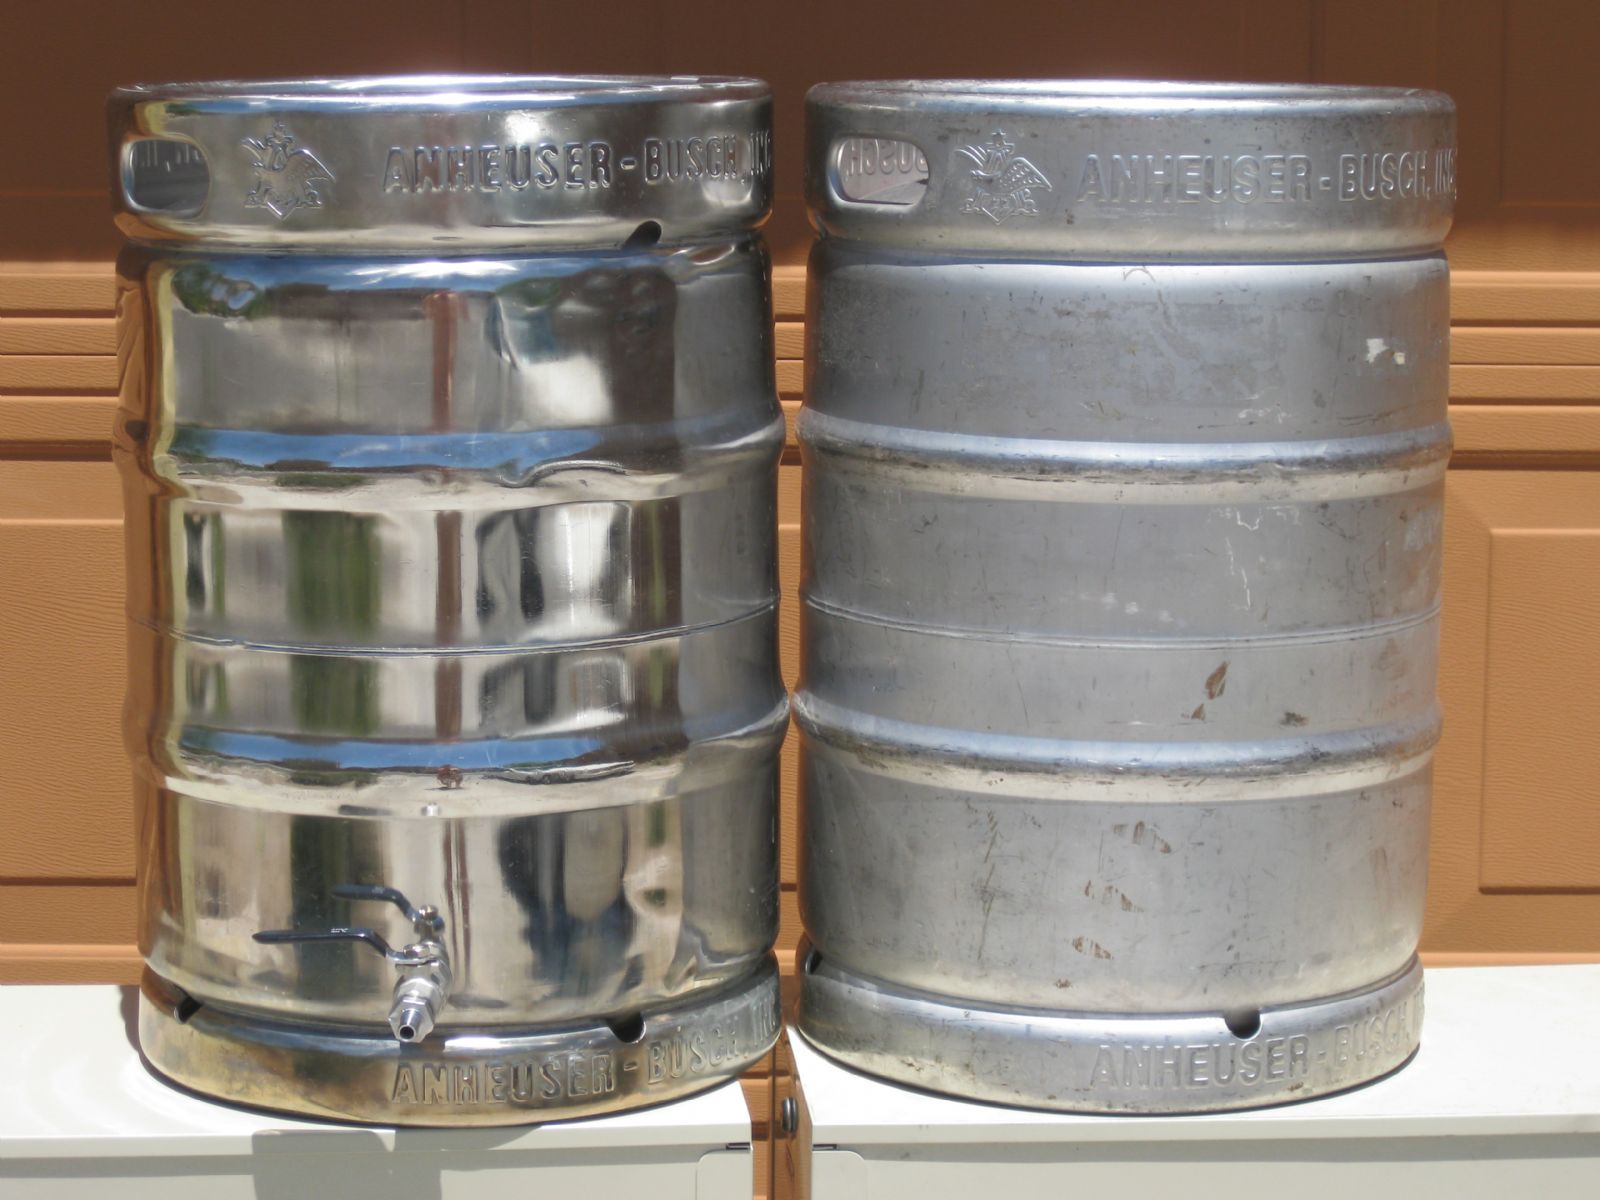
How to Polish a Keg
By DANIEL J. LEONARD
WARNING: It is understood that any of the information listed below is for educational purposes only, and that the reader is responsible for any injury that may occur as a result of carrying out these procedures. We strongly recommend that all safety precautions be observed, and that all equipment is used as recommended by the manufacturer. Do not drink alcoholic beverages while operating power tools. Proceed at your own risk.
MATERIALS NEEDED/ RECOMMENDED:
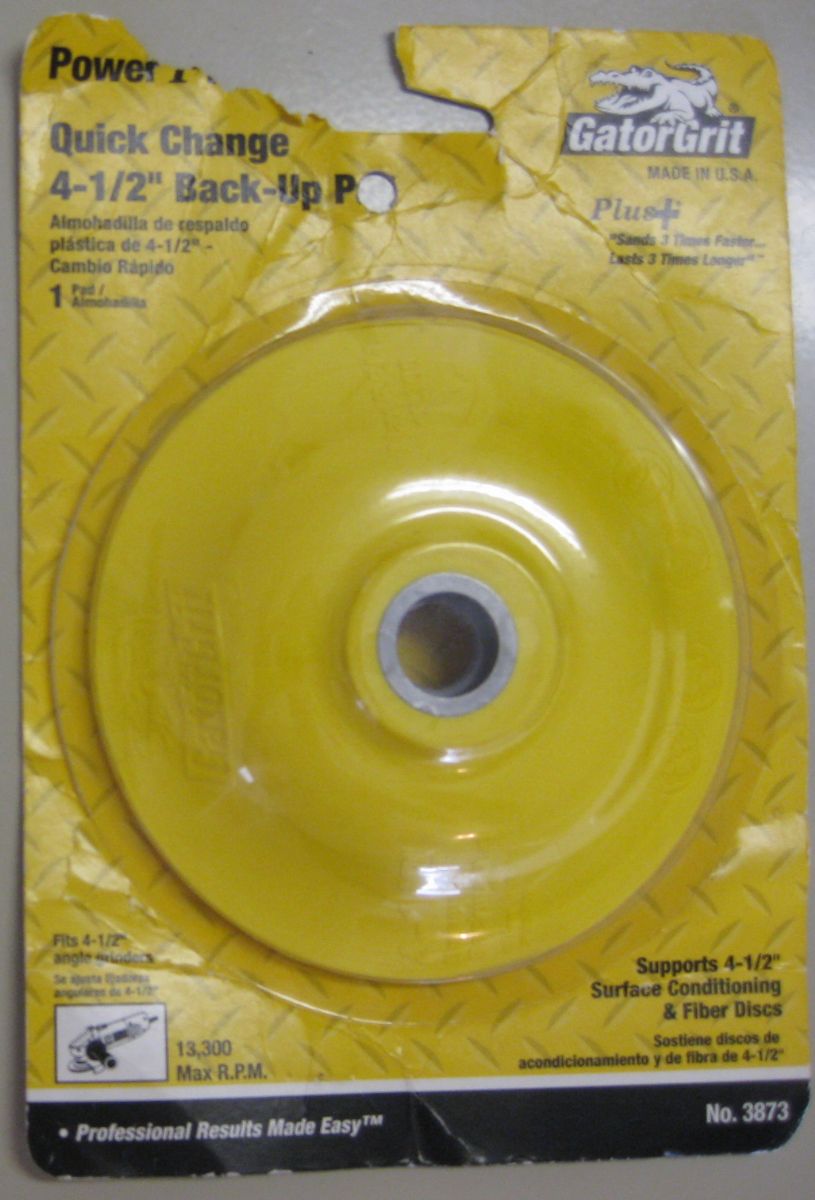
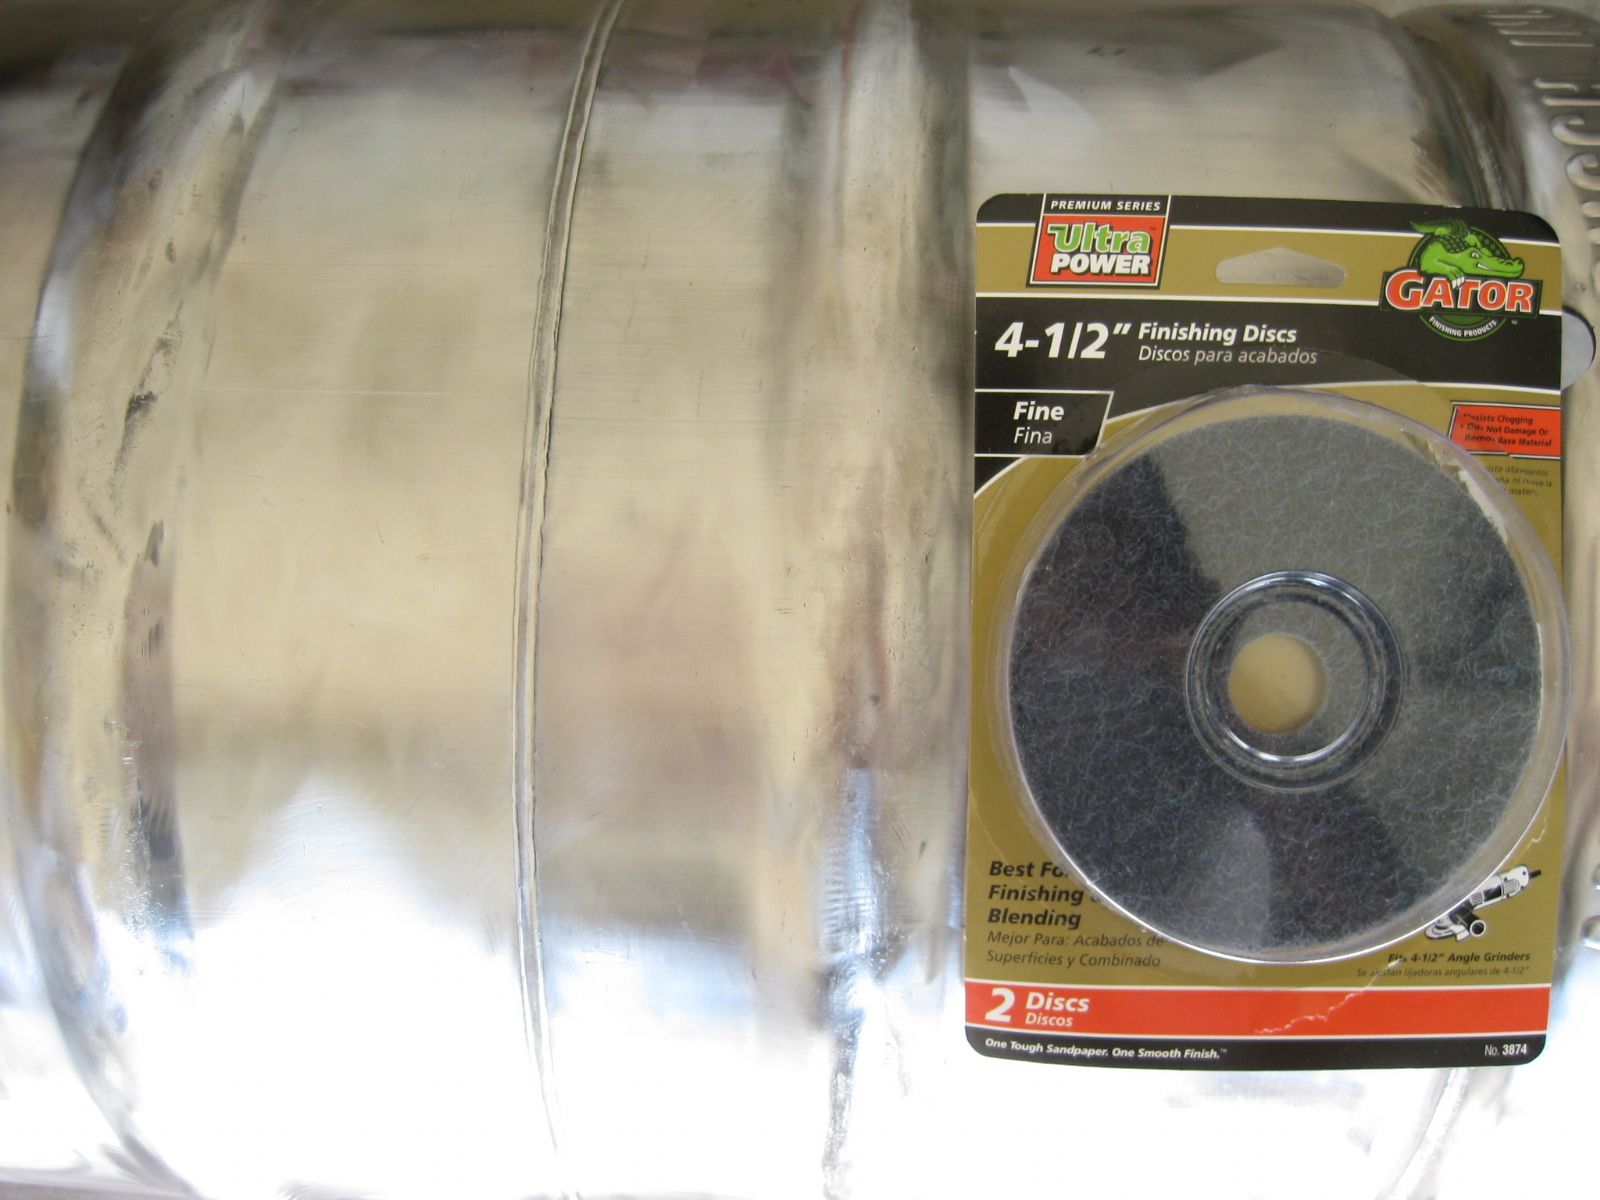
2. Back-Up Pad for use with your angle grinder. I recommend the 4 ½ inch Quick Change Back-Up Pad from Gator; just make sure you get the right size pad for your particular grinder. This pad works well with a 4 or 4 ½ inch angle grinder. I originally bought a DeWalt brand 4 ½ Backer pad at Home Depot, but I found that there was no way of tightening the backer pad onto the angle grinder, which made polishing more or less impossible. Lowe's ended up saving the day, which is where I also purchased my finishing dics.

.jpg)
.jpg)
.JPG)
NOTE: If the keg being polished has already been cut open for use as a keggle or otherwise, cover any openings so that no polishing chemicals find their way into the inside of your keg. Also, this process may take 1 – 3 hours depending on the quality of work being done, but it will move along faster once you establish your technique.
TIP: When polishing, little black clumps of spent polish will fly off of your angle grinder and can make a little mess right around your work area. So, if possible, polish your keg outside over a surface you don't mind getting dirty or place a drop cloth or throw-away sheet/paper down under your work area in order to avoid those little black clumps of polish from sticking to the surface of your floor. You can sweep the clumps up afterwards, but they often smear a bit on the floor's surface when you do.
1. Scrape off any stickers or labels from the keg with a scrapper.
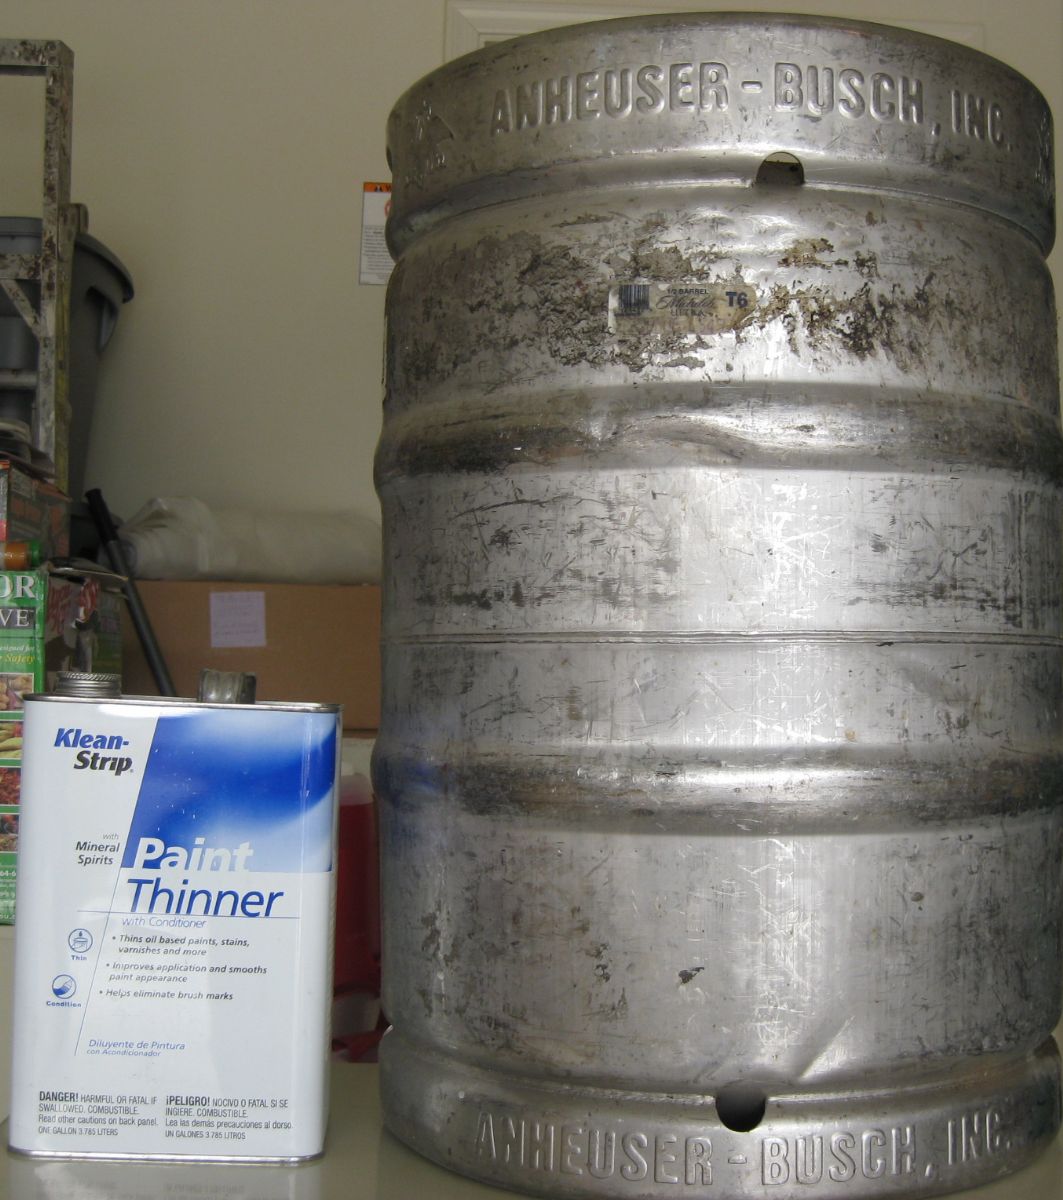
2. Clean the surface of the keg with a rag and paint thinner removing any paint or adhesive.
3. Place keg on a clean surface, securing it between two pieces of lumber on either side of the keg to help prevent the keg for rolling while you’re polishing. If you are working outside on a dirt or grass surface, place a towel or sheet under the keg to prevent dirt from getting on the surface of the keg as you work.
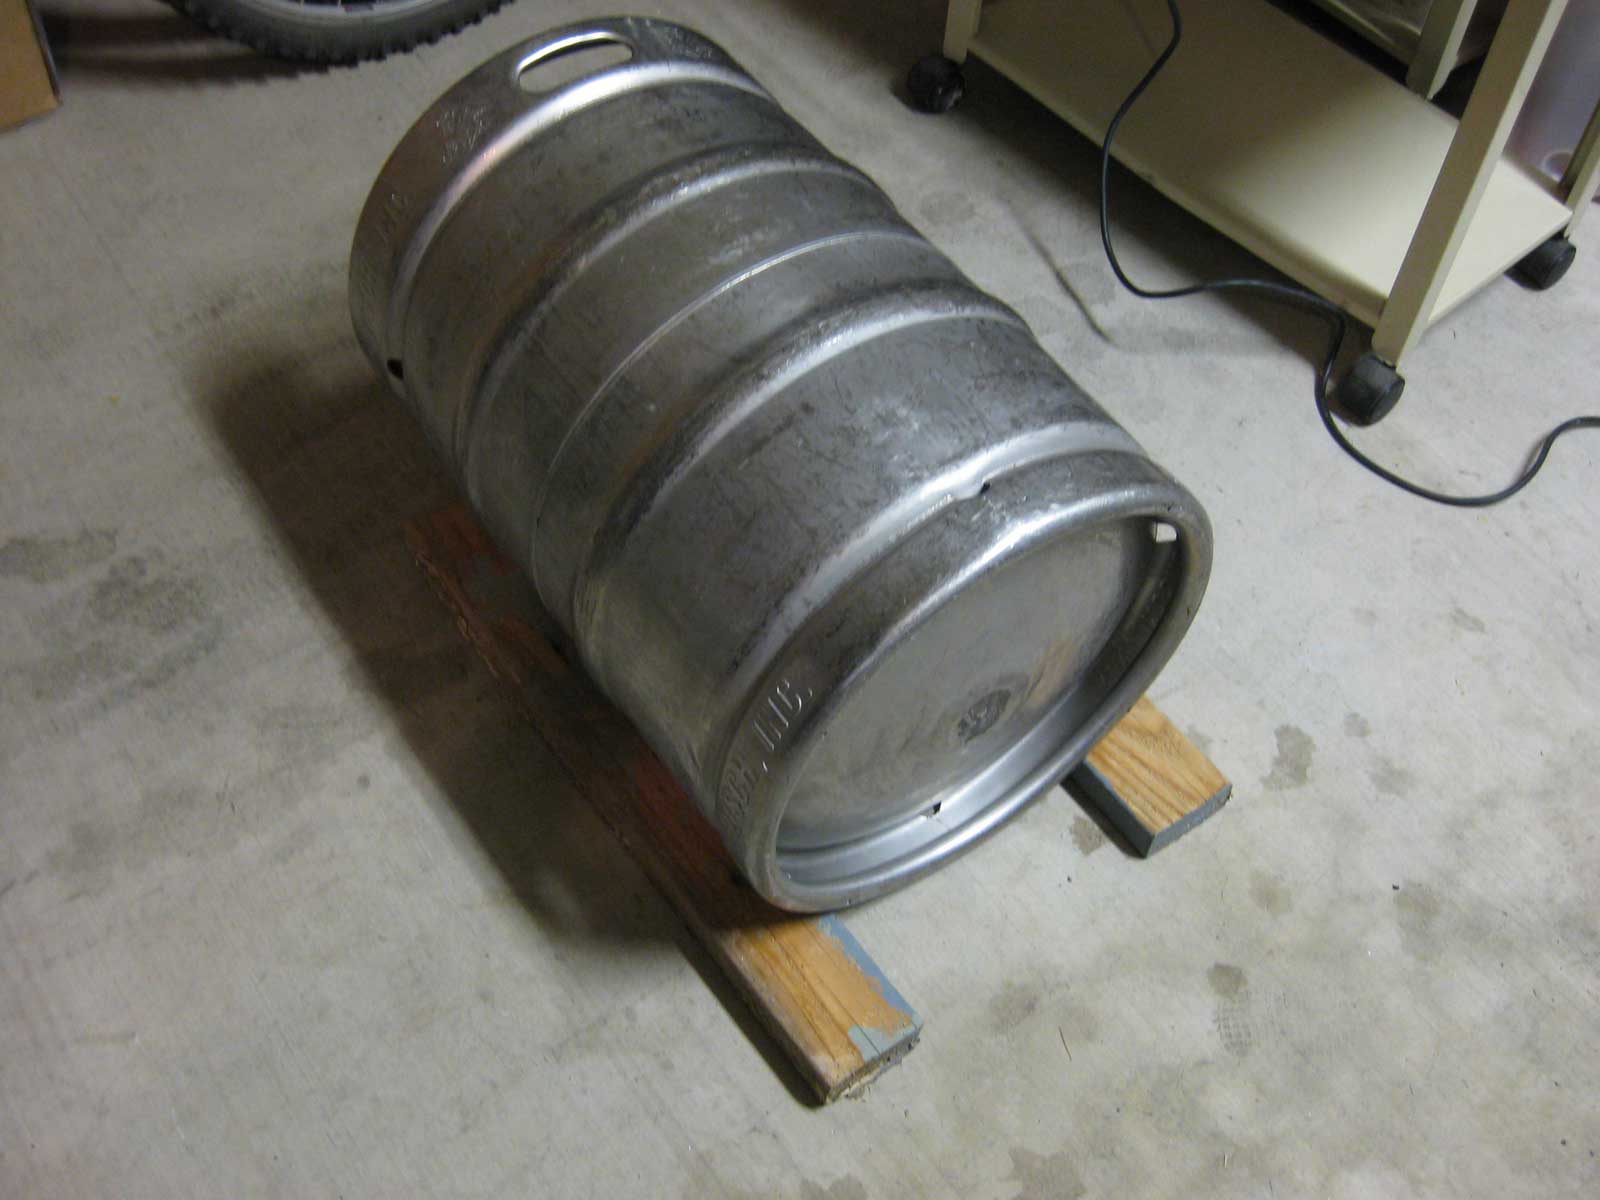
[Placing two pieces of lumber on either side of the keg helps prevent the keg from rolling.]
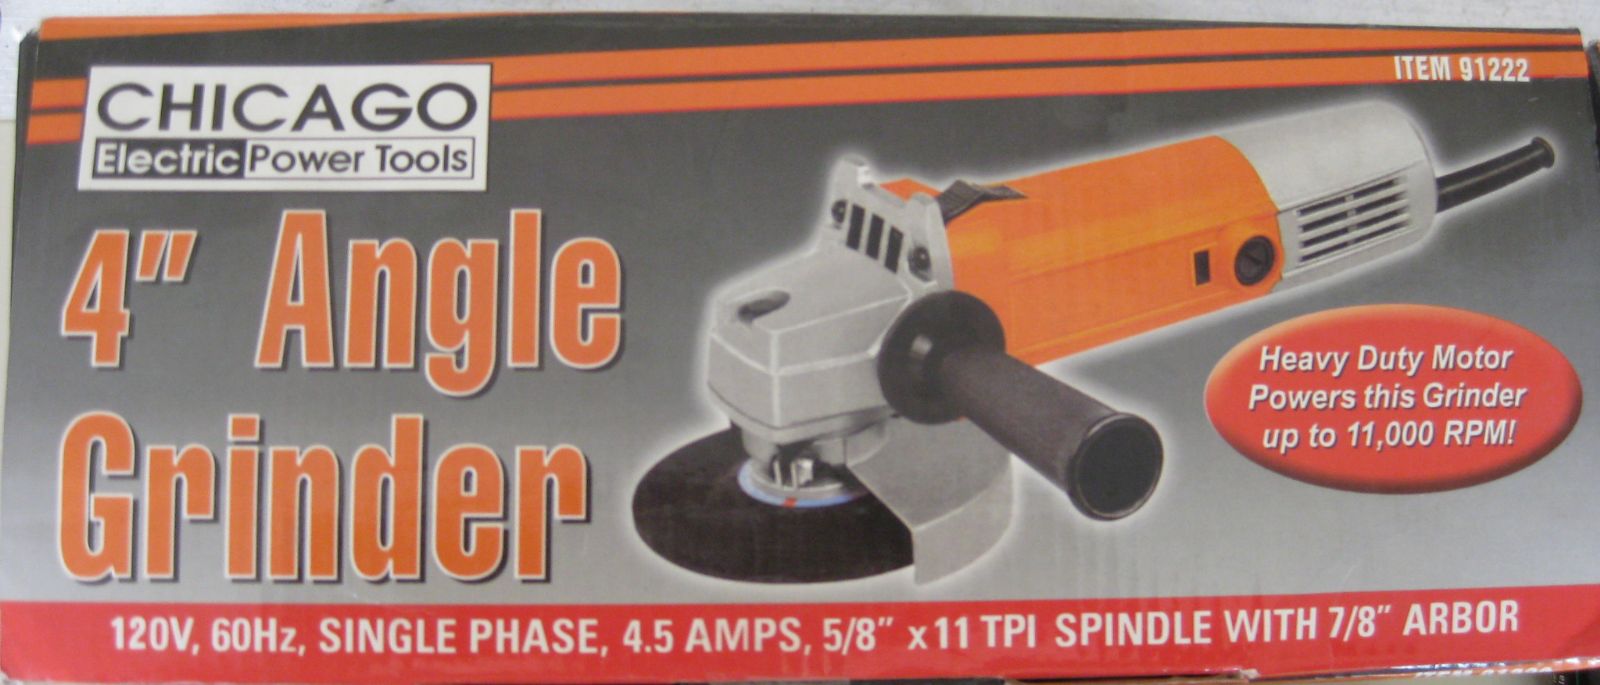
4. I removed the safety guard from the angle grinder for convenience in this project because I was working with polishing discs and not blades, and because more surface area is covered without the guard on. But this is a personal choice, so proceed with caution. I would NOT recommend removing the safety guard on an angle grinder if working with any type of blade.
5. Attach Back-Up Pad and a FINE finishing disc onto an angle grinder. Tighten with an adjustable spanner wrench.
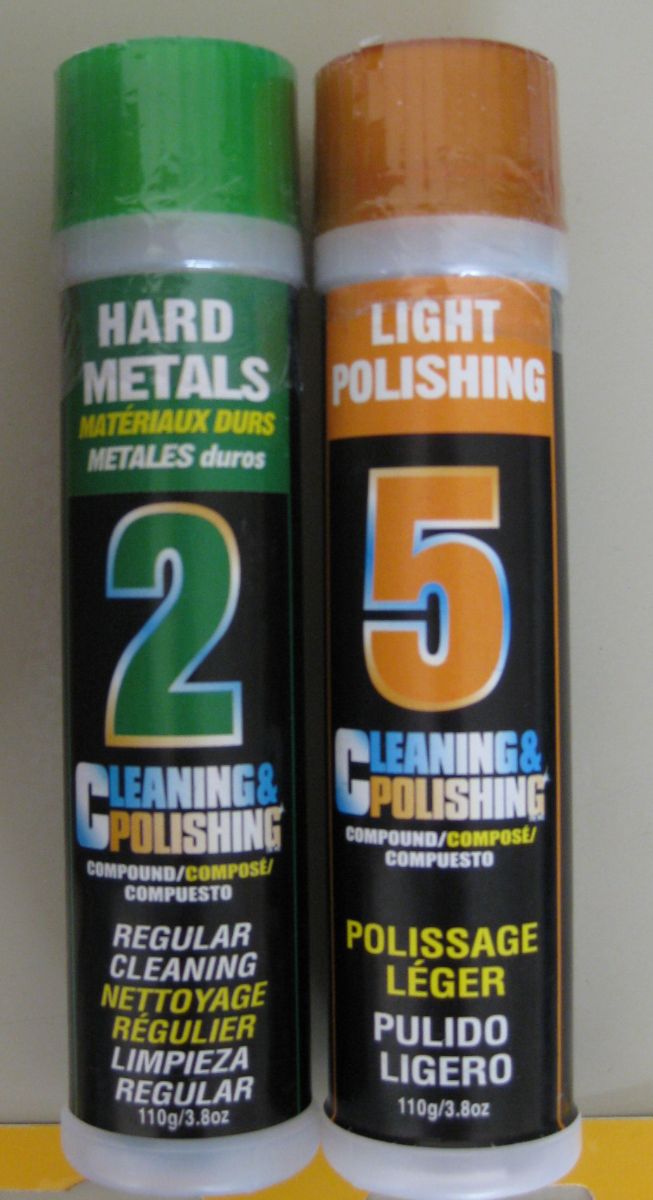
6. Apply Mibro’s metal polish compound # 2 onto a FINE finishing disc from Gator. You can do this by turning the angle grinder on and allowing the compound to coat the finishing disc as the disc spins. Remember to always wear safety glasses and gloves when working with an angle grinder.
7. Begin polishing the keg with the angle grinder, focusing on any minor scratches or marks. You will notice that as your FINE finishing disc comes in contact with the keg, a layer of polish compound will become visible on the keg. Apply this layer of polish compound to a section of the keg and polish this area until you notice the compound residue is no longer visible, and you are left with a dull gloss. You will need to apply additional polish compound to the finishing disc as you move on to another section of the keg. During this process, you will most likely use up two FINE discs, and about ½ of the # 2 polish compound. Keep in mind that any small scratches you wish to be removed should be done during this step because you will only be polishing during the next and final step. You may choose to cover the entire keg more than once. By the way, as you wear down your finishing disc, your back-up pad may come in contact with the keg leaving dark gray streaks behind. This may be a sign that you need to replace your finishing disc.
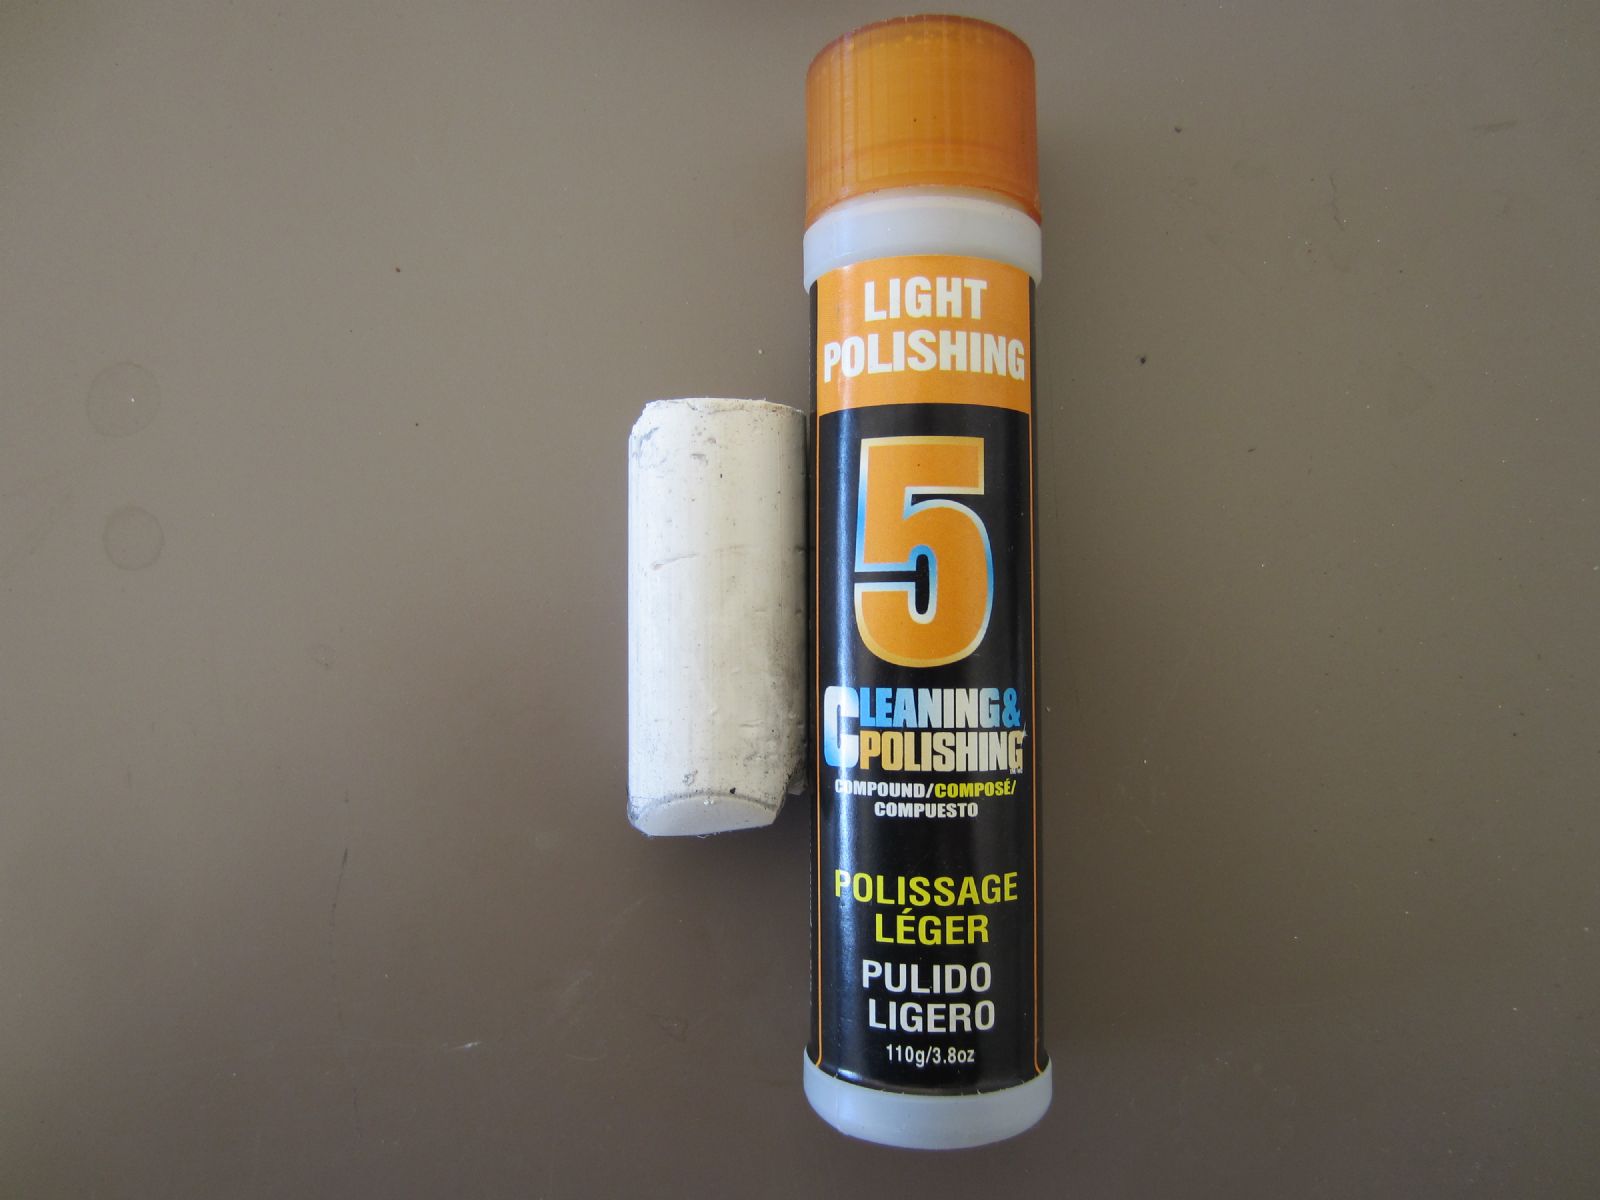
8. After you are satisfied with the level of polish you have achieved, making sure that you have evenly covered all parts of the keg you wish to polish (excluding the very top of the keg which will either be cut away if you are making a keggle, or is already cut away), replace the FINE disc with the POLISH disc from Gator and apply Mibro’s metal polish compound # 5 onto the POLISH disc. The polish compound itself looks like a piece of sidewalk chalk (see below).
Again, you can turn on the grinder and apply the polish compound directly to the polishing disc. Begin polishing. As before, you will notice that as your polishing disc comes in contact with the keg, a layer of polish compound will become visible on the keg. Apply this layer of polish compound to a section of the keg and polish this area until you notice the compound residue is no longer visible, and you are left with a high gloss. Continue to polish until you have evenly covered all parts of the keg you wish to polish (with the exception of the very top where the keg stem is) and you are satisfied with the level of gloss.
9. Rub a clean, dry cloth over the entire surface of the keg removing any polishing compound residue.
10. Unplug your grinder, appreciate your work, and reward yourself with a homebrew or two- you've earned it.
Like this tutorial? Questions, comments, free beer? Feel free to drop me a line at dan@beersyndicate.com, or follow us on Twitter at twitter.com/beersyndicate.
From The Blog
Tips for Craft Brewery Success
The best business secrets wikileaked from the private records of the most successful craft breweries in the United States.
Beer Names You Might Be Saying Wrong
Enlighten yourself, but please don't correct others. It's just one of those Catch-69 situations, like when somebody has ketchup on their face.
The Beer Quiz
What's your beer IQ? This test measures an individual’s beer knowledge through a series of questions of varying levels of difficulty: Normal, Hard, and Insane.
Homebrewing Techniques
Beat the Stuck Fermentation Monster
You've brewed the perfect wort. You bullseyed your strike temp, you had a most excellent cold break, your OG was right on the money...
How to Cork Belgian Beer Bottles
So you wanna up your bottling game, huh? Well, you've come to the right place.
Top 40 Ways to Improve Your Homebrew
Admit it: No matter if in a DeLorean, TARDIS, or a hot tub, we’ve all thought about what advice we might give our younger selves if we could go back in time.
DIY Projects
How to Polish a Keg
Shining up your keg will probably not improve the taste of your beer, but it looks cool and inspires epic brewing sessions!
Convert a Refrigerator Into a Fermentation Chamber
Decided to take a huge step in improving your homebrew and set up a temperature controlled fermentation system, have ya? Smart thinking.
How to Convert a Keg Into a Brew Kettle
Convert that old keg into a brewing kettle. The advantages of using a keg for homebrewing pretty much come down to quality and cost.
|
|