How to Bottle Beer & Other Bottling Tips
By DANIEL J. LEONARD
Ah, bottling... The reason why some homebrewers quit the game. The necessary evil of the keg-challenged home brewer. The mind numbing, time consuming, repetitive zen of bottling. On the plus side, bottling brings you one step closer to finally enjoying your long awaited homebrew, makes your beer more transportable and shareable, and in my humble opinion, simply tastes better than a beer that’s been force carbonated.
Bottling is the relatively simple process of getting your fully fermented and conditioned beer from the fermenting vessel to the bottle. Let’s take look at a few tools of the trade that can come in handy when bottling, and a couple tips we’ve picked up along the way.
Below is a list of items you’ll want that will make bottling day a bit less of a hassle:
Bottling Bucket:
.JPG)
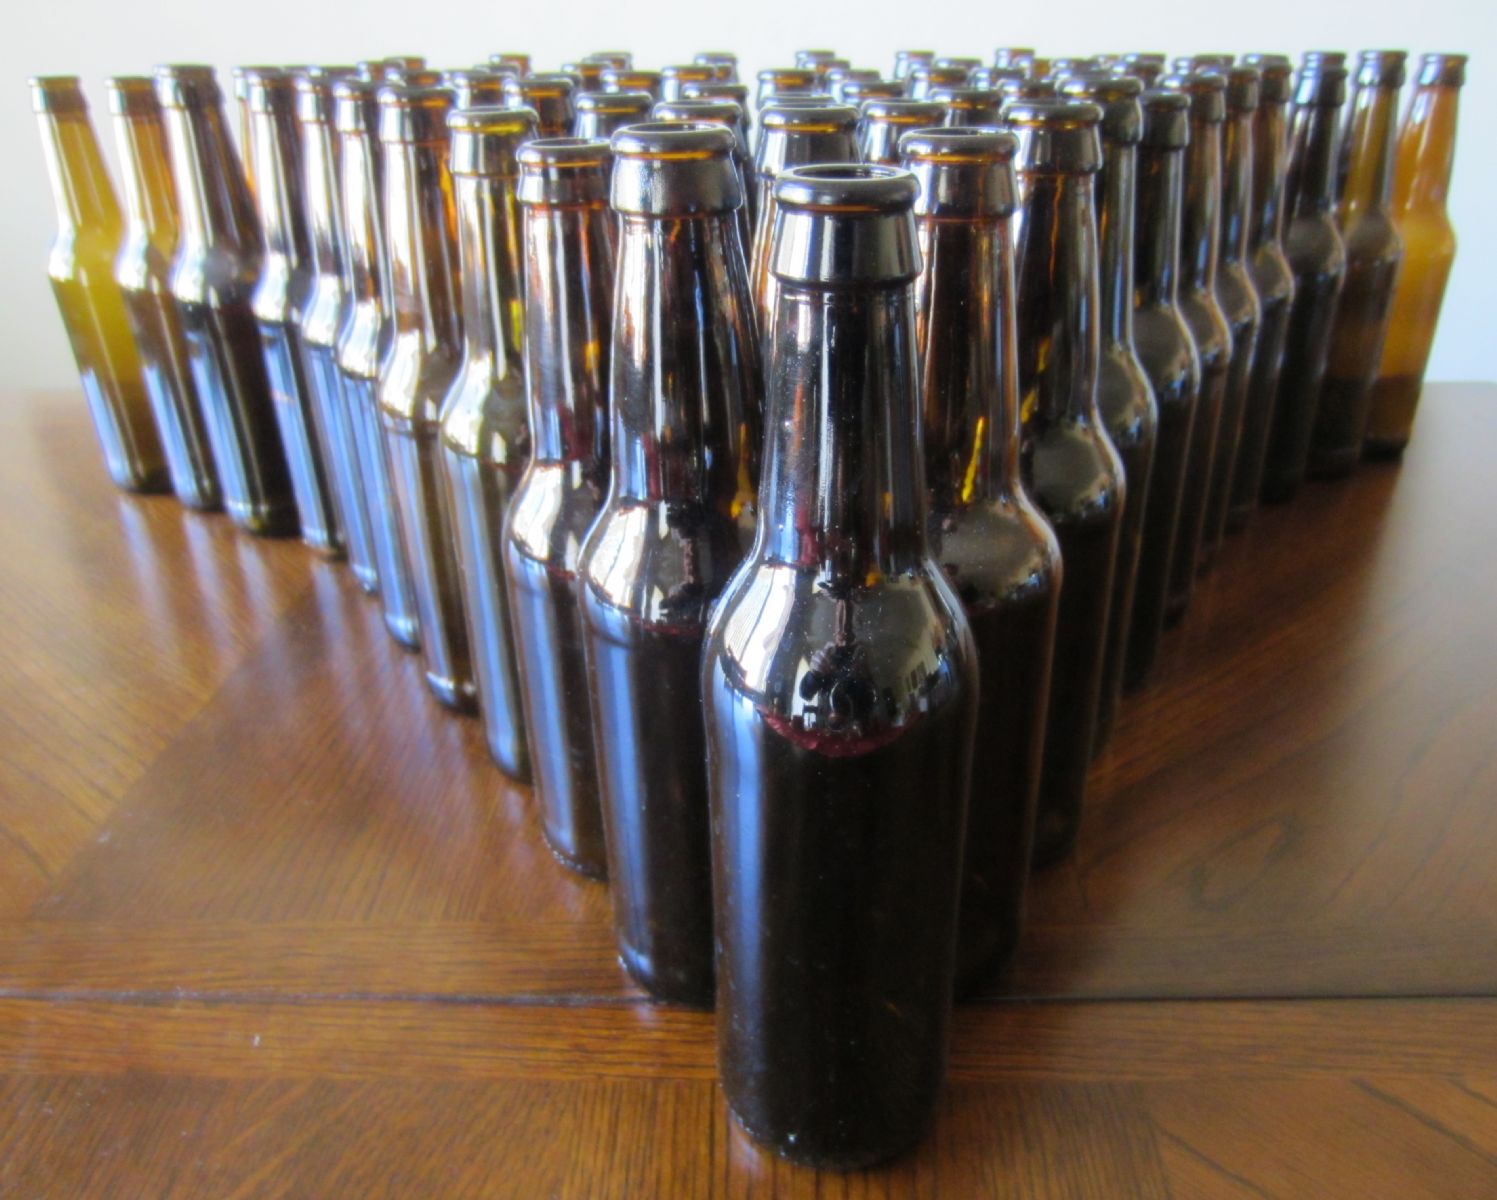
Bottles:
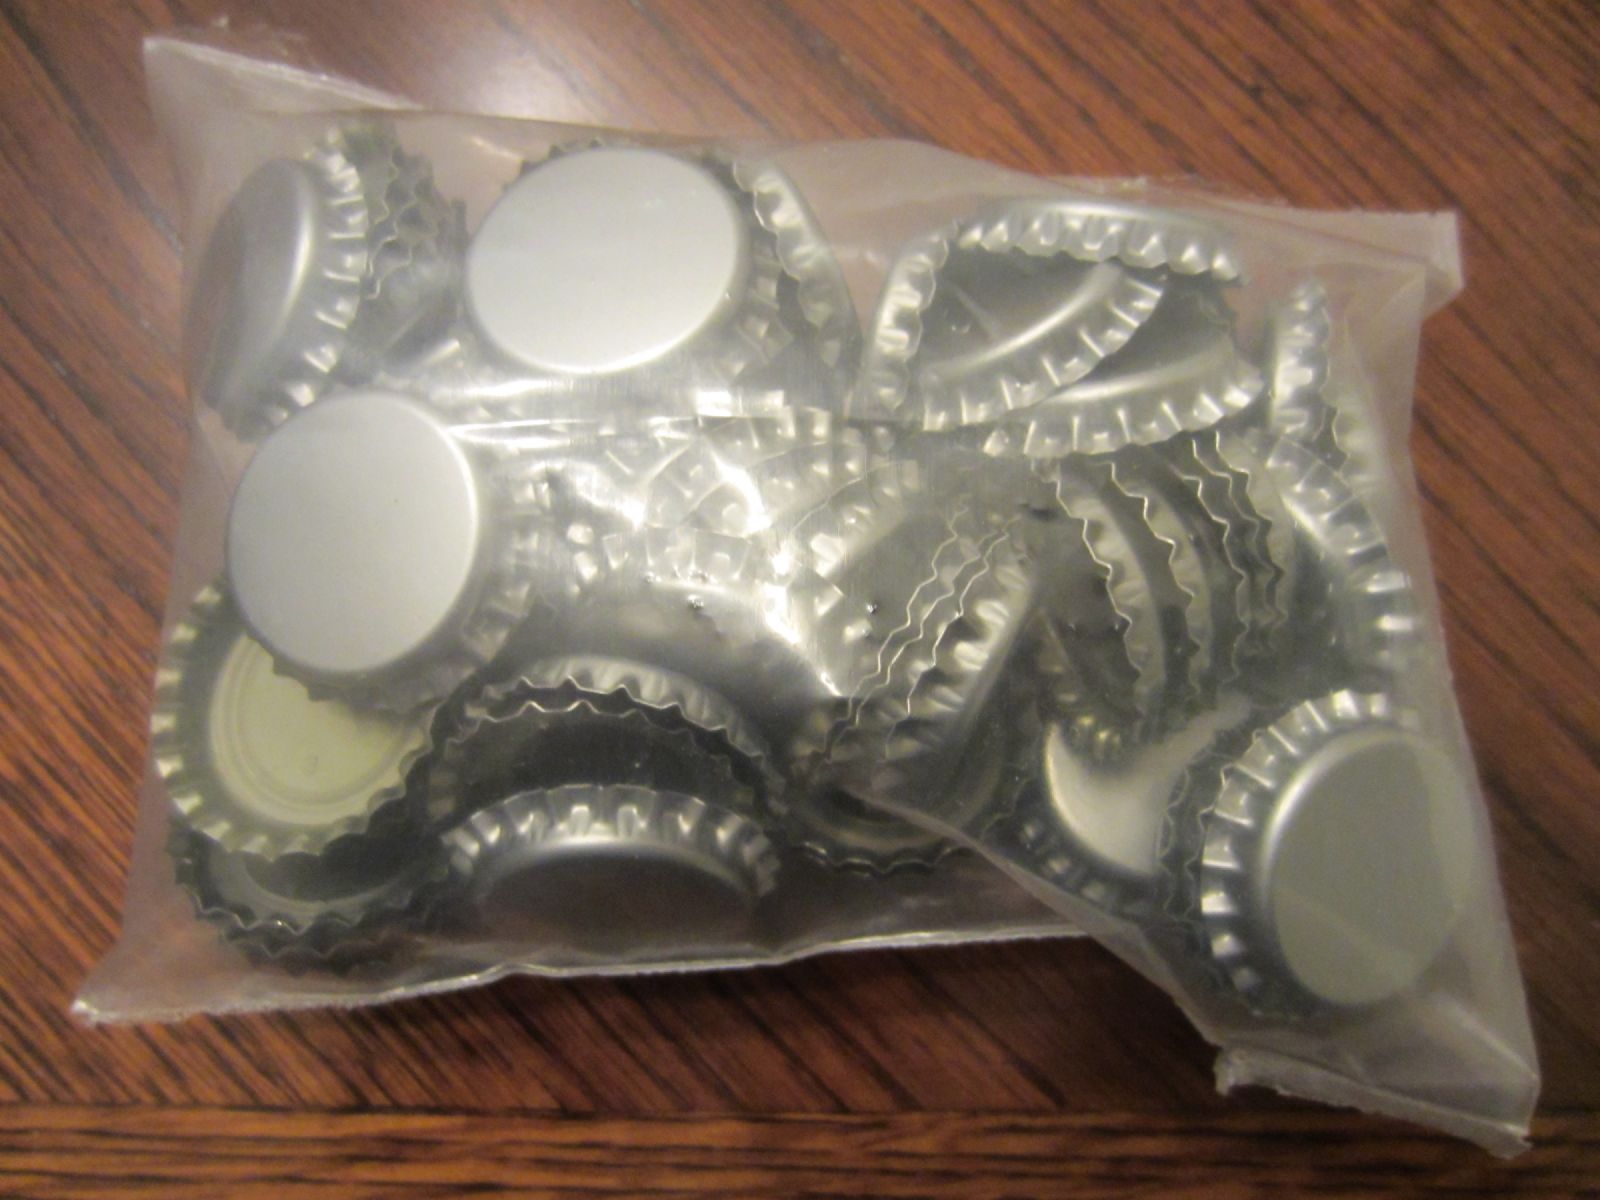
Bottle Caps:
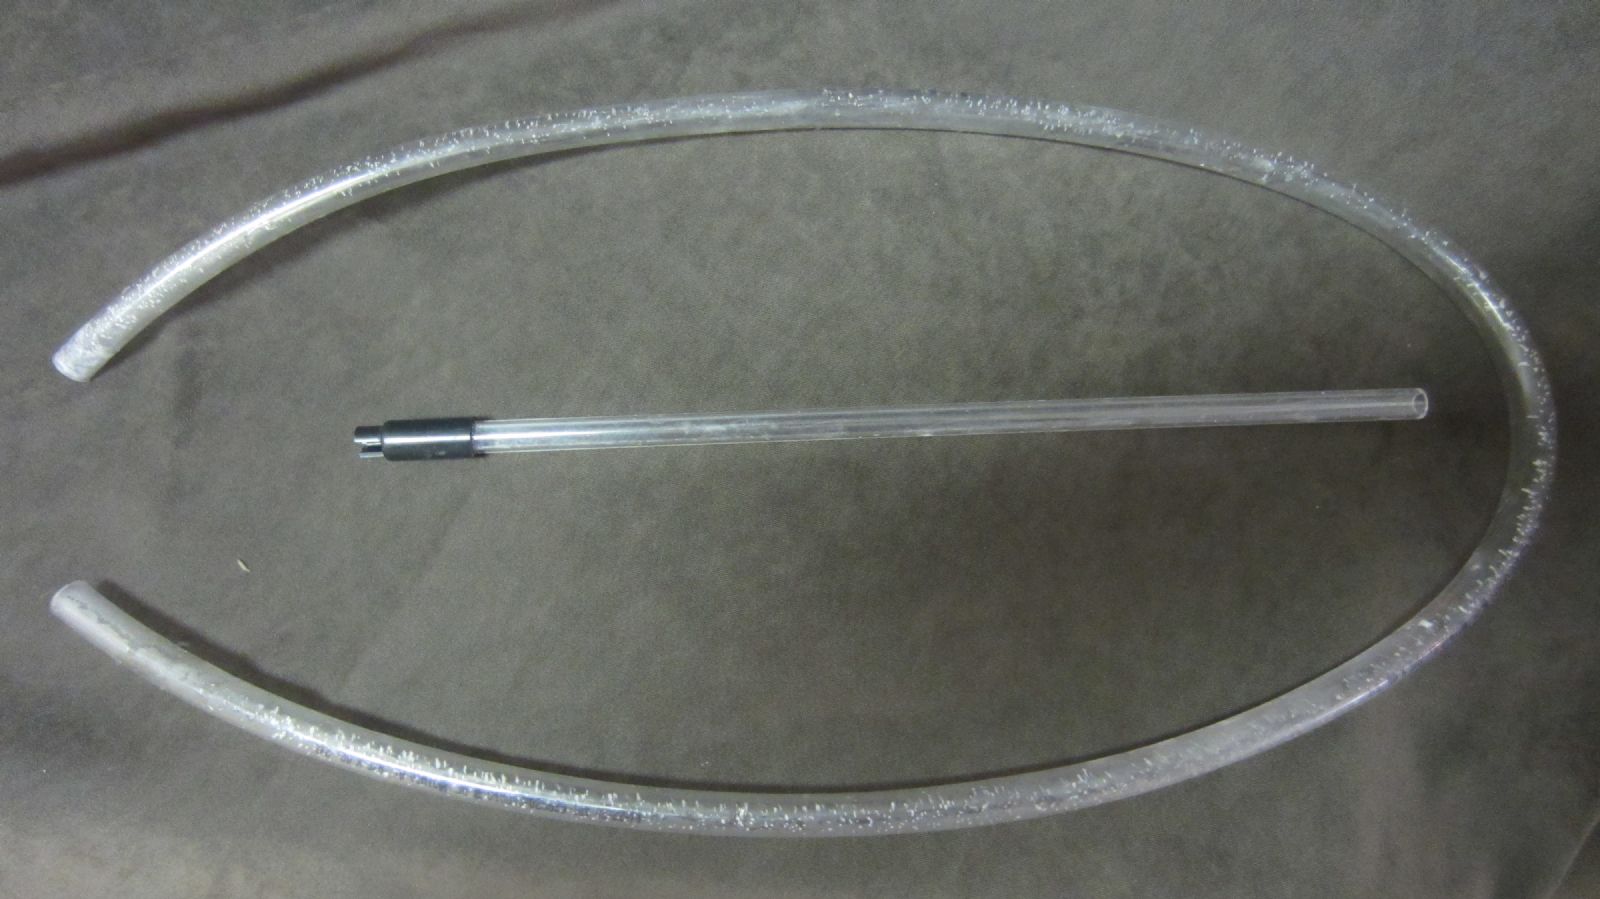
Bottling Wand and tubing:
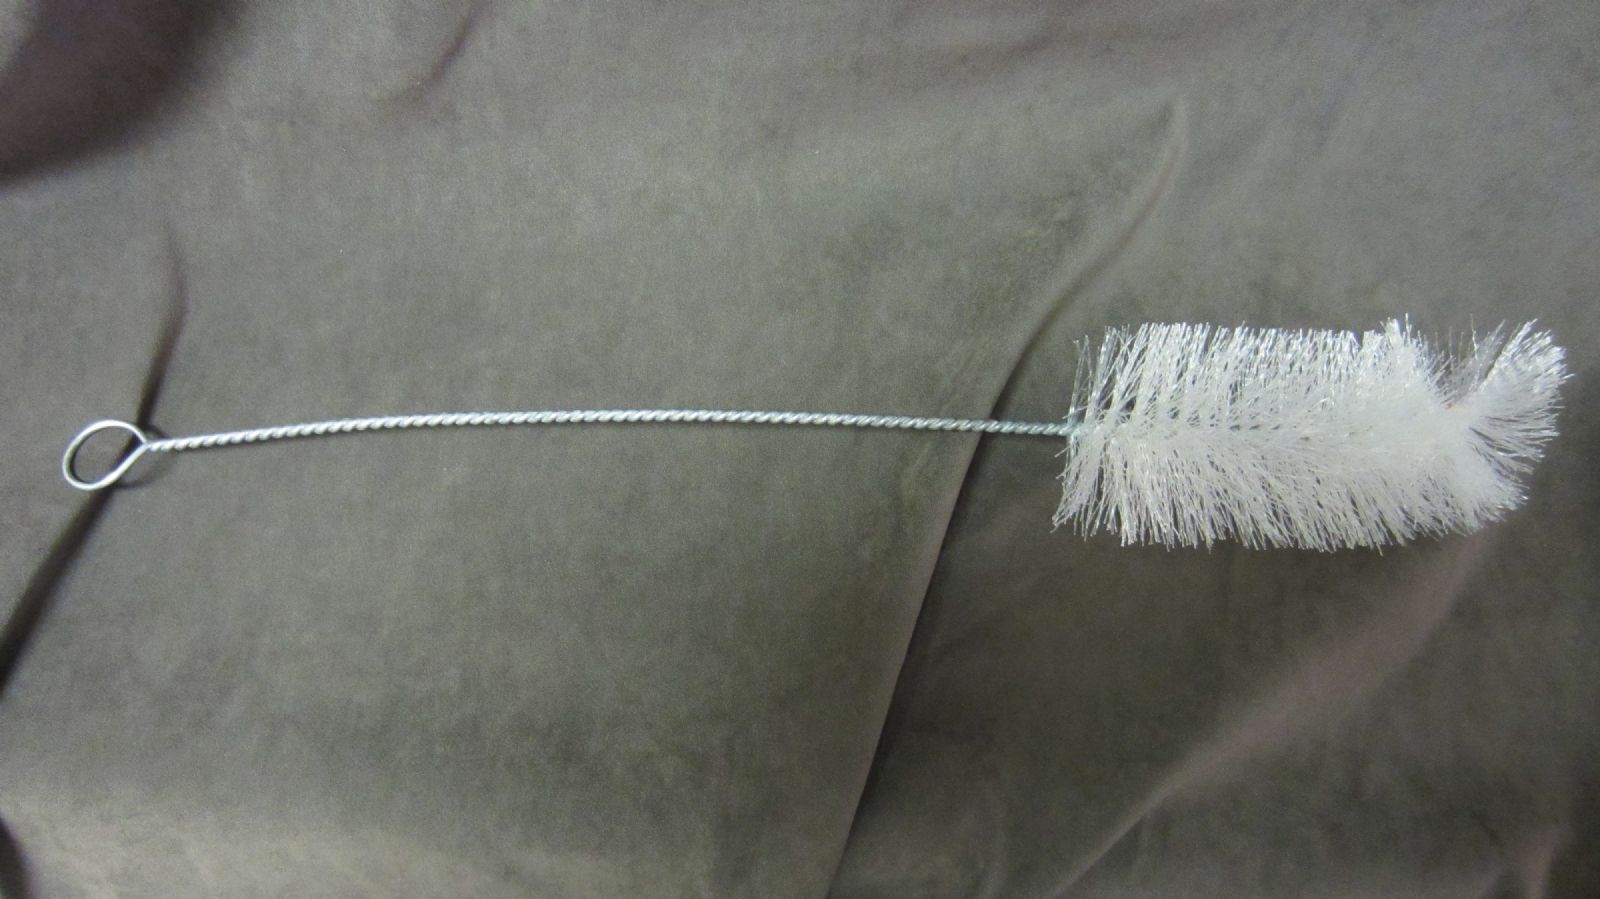
Bottling Brush:
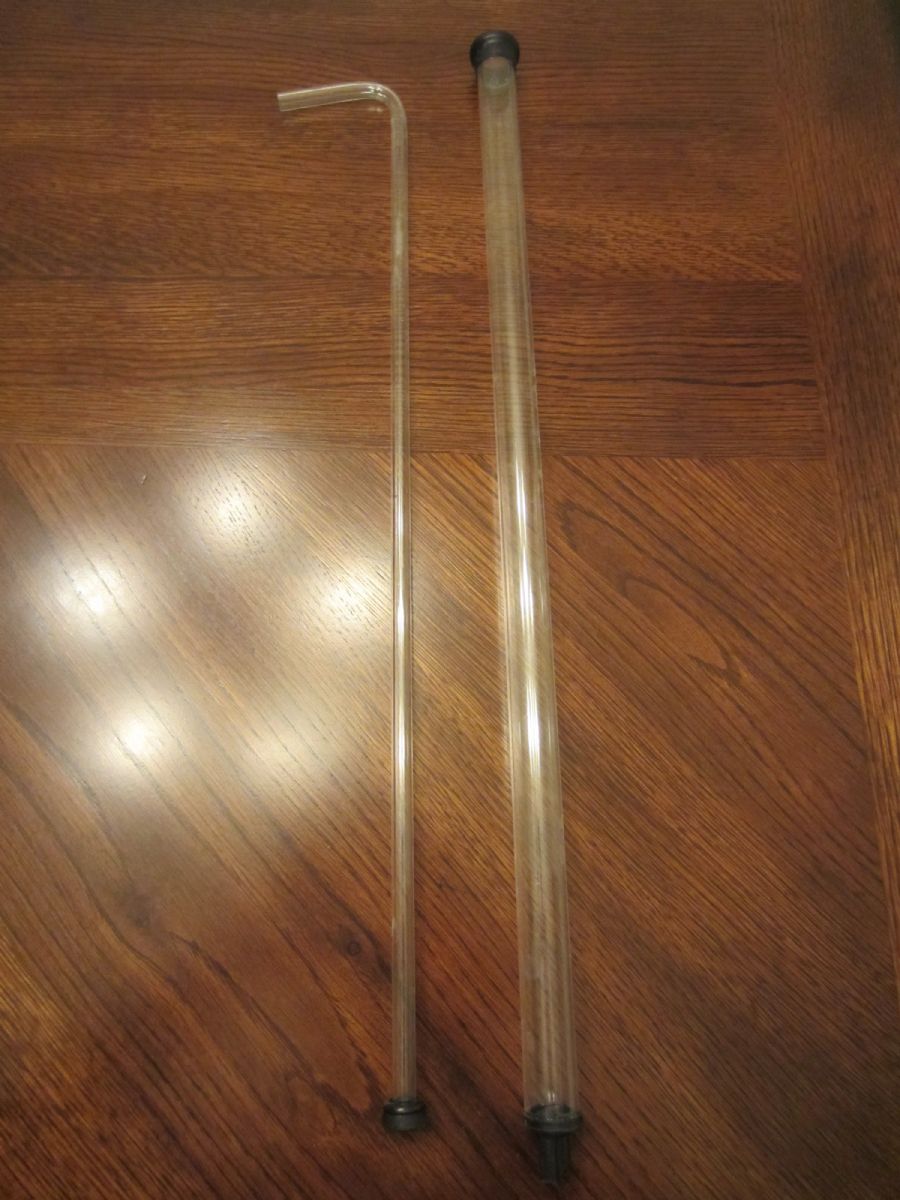
Racking Cane and Auto Siphon:
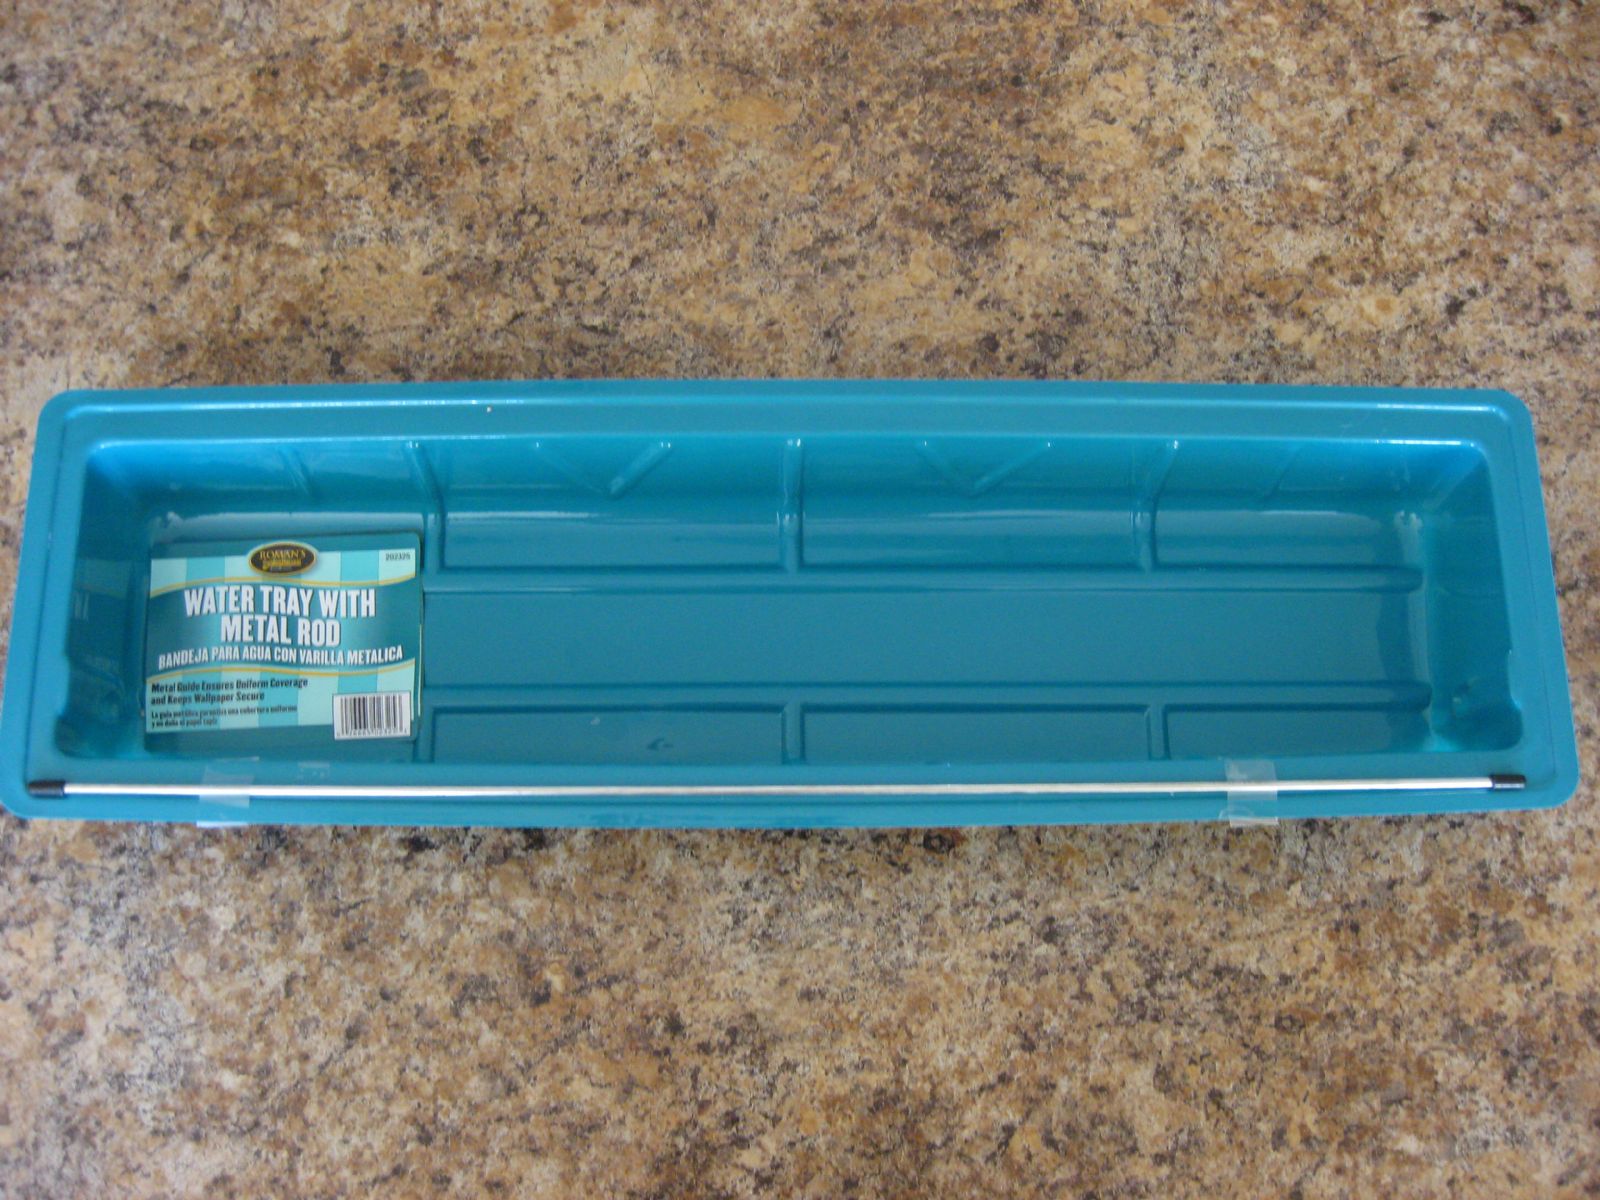
Wallpaper Tray:
Oxygen-Based Cleanser (One-Step, etc.):

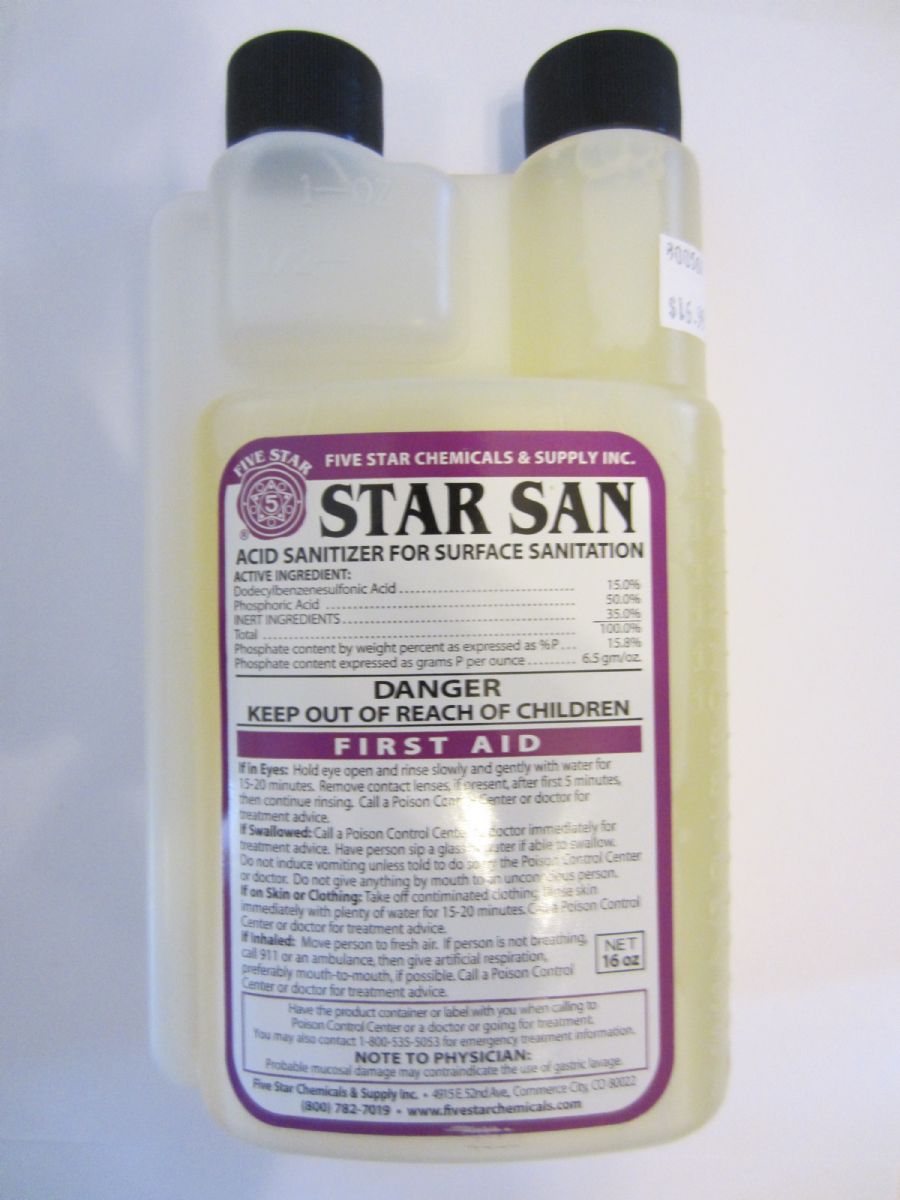
Or better yet, sanitizer like Star San:
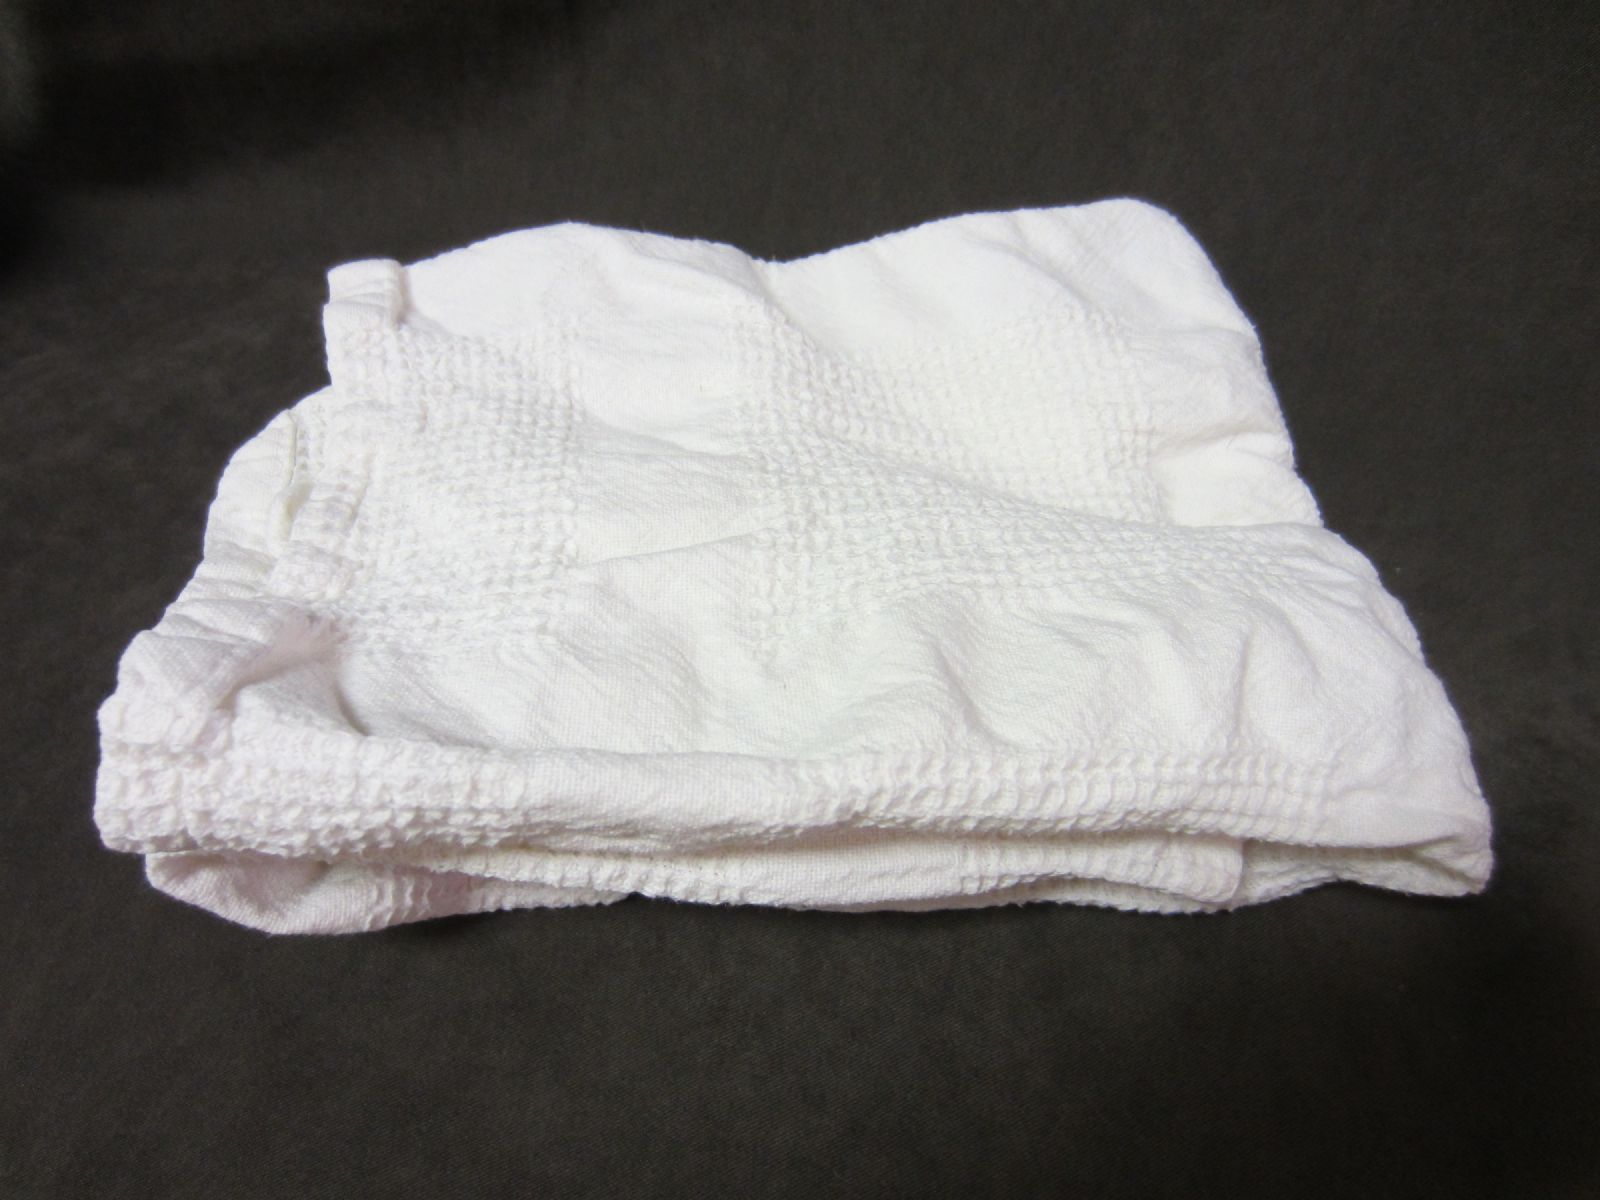
Dish Cloth:
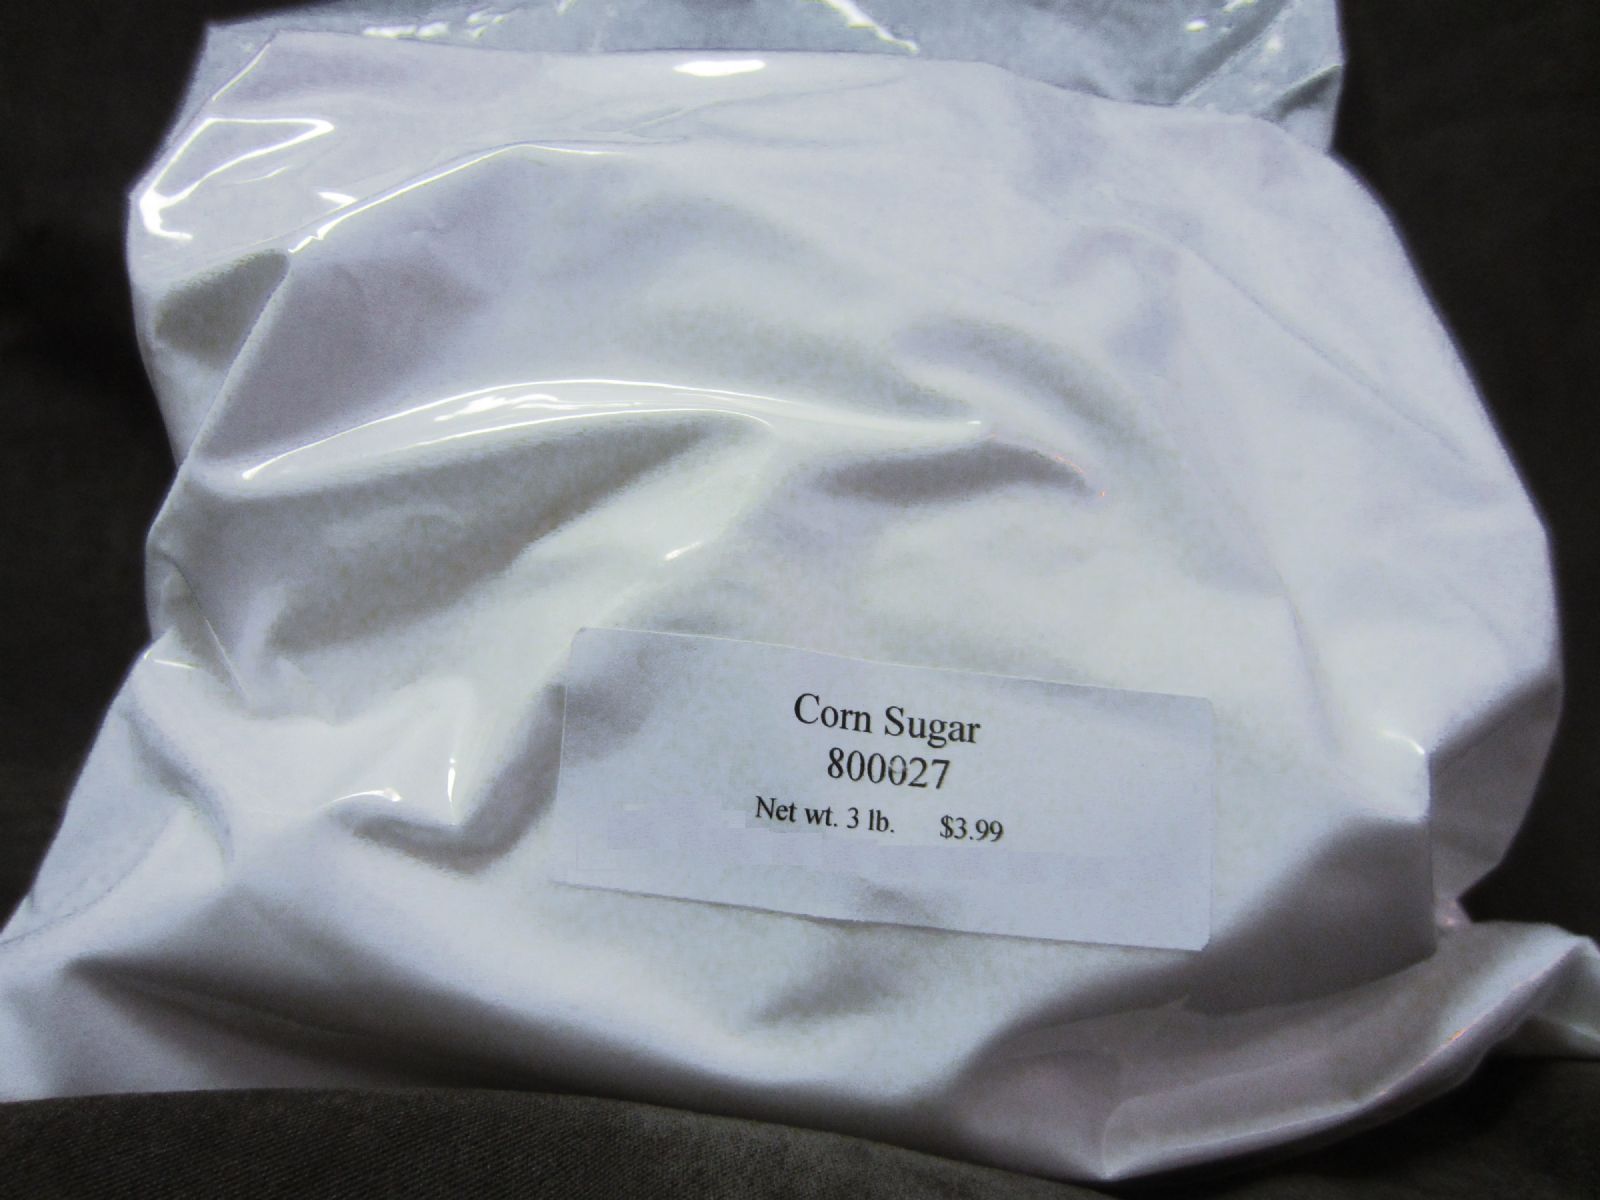
Priming Sugar:
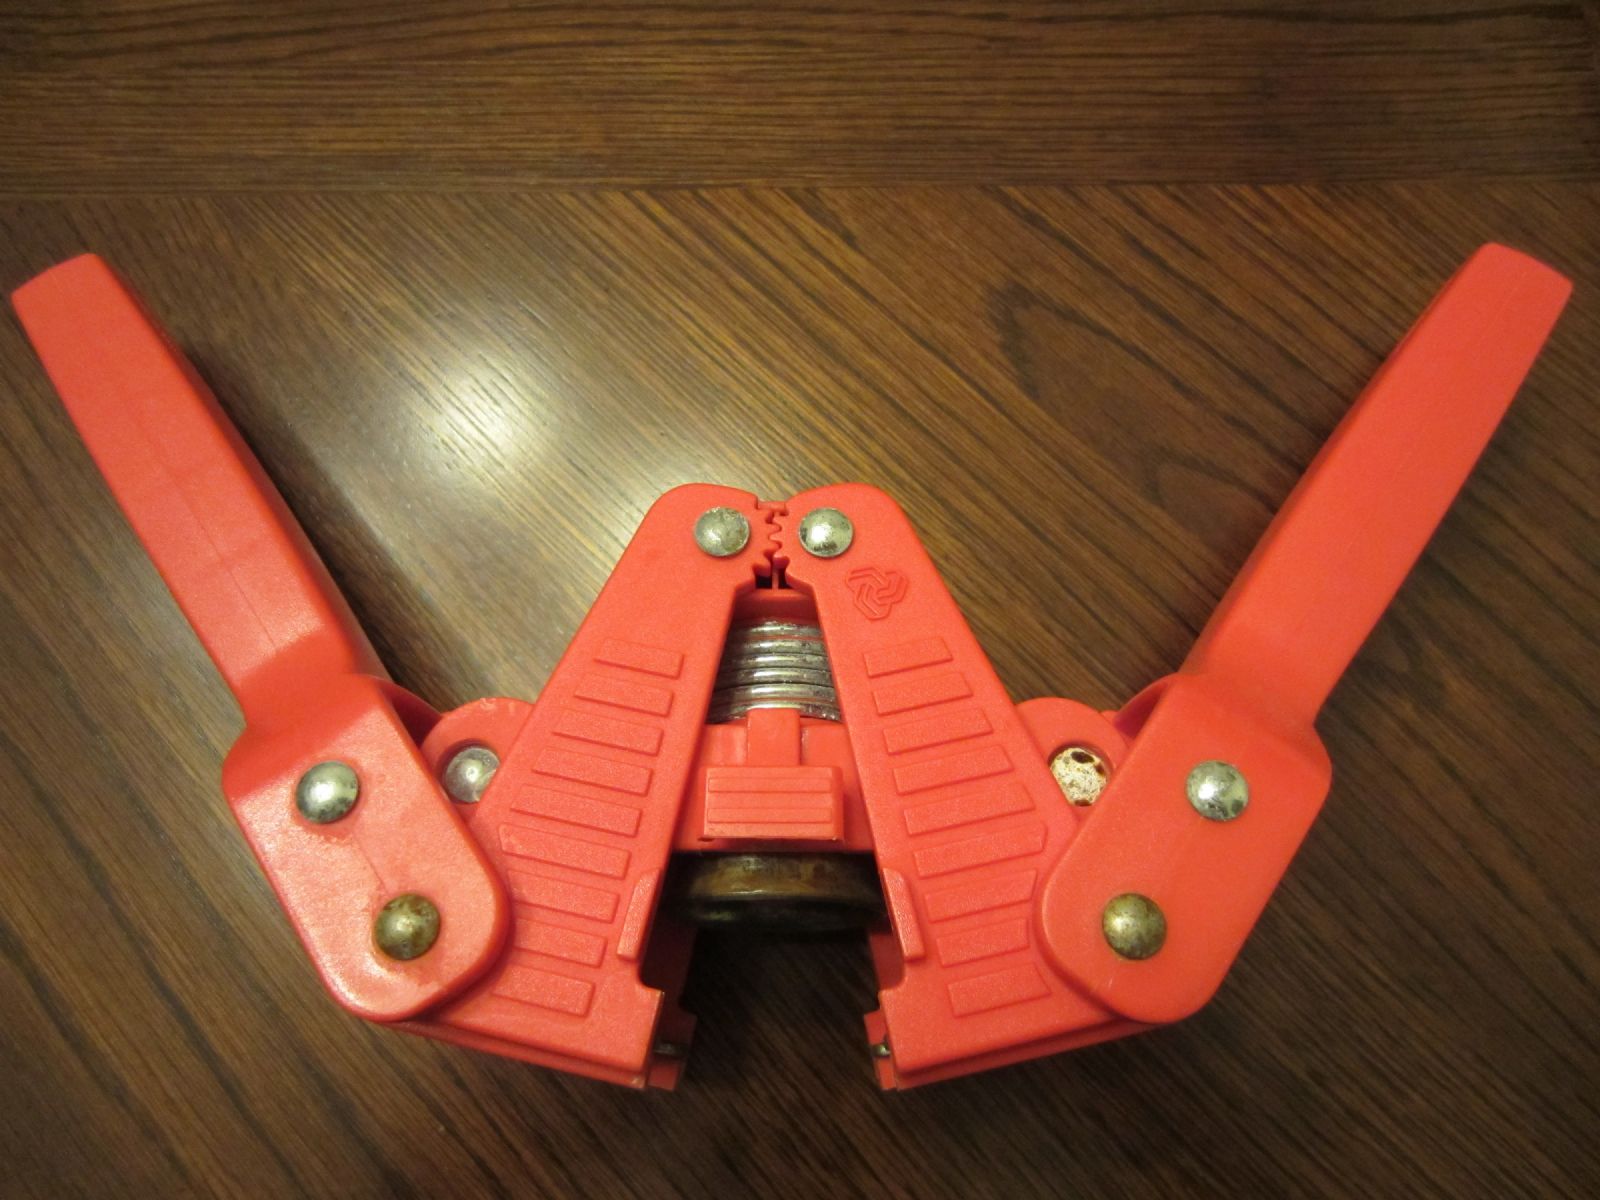
Bottle Capper:
Dish Washer (optional):

Collecting Bottles: This is the easy part. Get in the habit of pouring your store-bought beer into a glass instead of drinking straight from the bottle, and then wash out the bottle afterwards. This accomplishes three goals: (1) You're not getting saliva and other mouth germs into your bottle, (2) rinsing the bottle right after you use it prevents the beer from drying and crusting up the inside of your bottles, and (3) you don't have to pay for bottles at the brew store.
When rinsing your bottles out for the first time, especially with bottle conditioned brews, sometimes you have to swish the water around a bit more vigorously to get any residual yeast and other gunk out of the bottom of the inside of your bottles.
Generally speaking, brown, non-twist-off bottles are the best because the brown colored bottles better protect the beer from becoming skunky, and although twist-off top bottles will probably work, there may be a greater chance of them not forming a seal as well as non-twist-off bottles. On a personal note, I don't like other breweries painted on images or embossments on my bottles, so I pitch those, but there's certainly no harm in using them.
Store your rinsed bottles in a closed 12 pack box, or some other closed container so that bugs and other critters have a tough time crawling inside the bottles while in storage (you'll need to clean these properly before use).
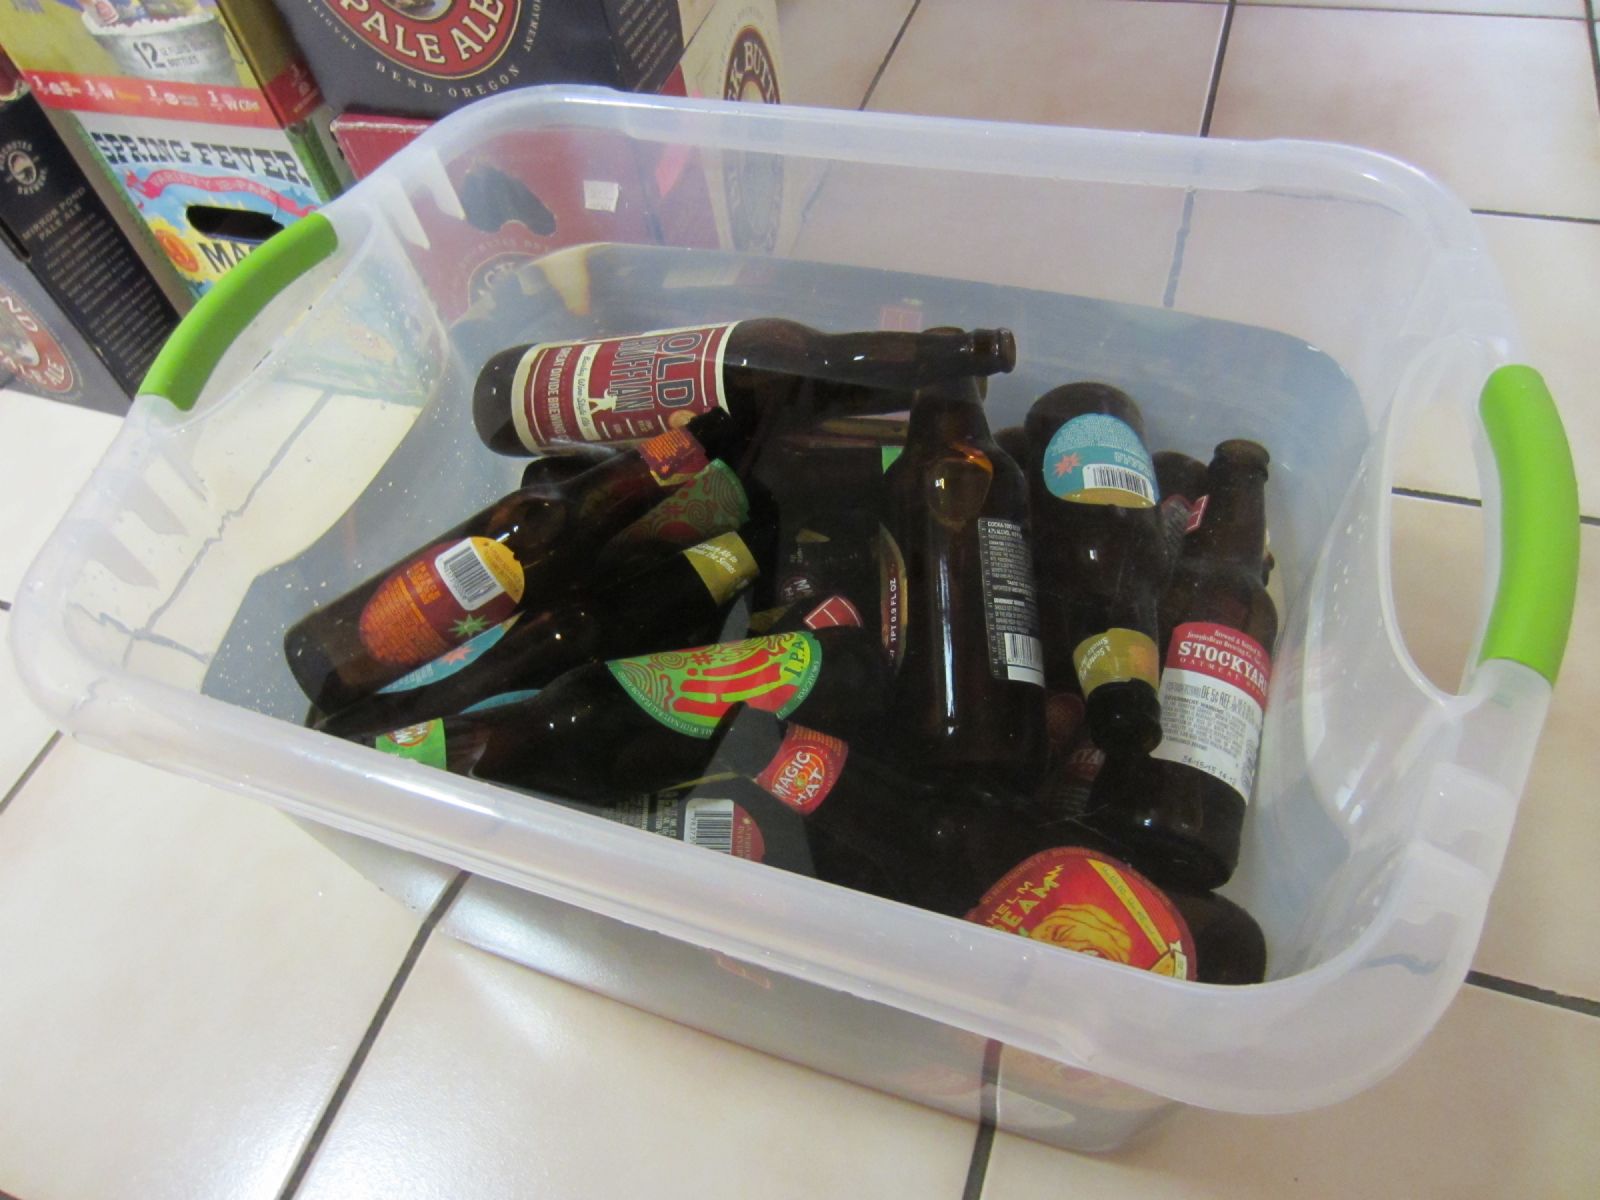
Getting the Labels Off: One of the better ways to de-label beer bottles is to soak the bottles in warm/hot water. You could thoroughly scrub out your sink with Comet or bleach (or Comet with Bleach--- two-fer!), fill your bottles and the sink up with water, and leave your bottles to soak for 30 minutes to an hour in order to loosen the labels. OR, if you didn't want to tie up the sink or go through the hassle of scrubbing it, you could purchase a plastic bin from a big-box store, and soak your bottles in there. The one in the picture below is a 40 quart bin which accommodates quite a few bottles.
After your labels are nice and loosey goosey, pull one bottle out at a time and peel the label off. Now, not all labels will simply fall off like butter. Sometimes you've got to scrap the label off with a scraper. In any case, once the label is off, you can scrub the remaining glue and whatnot off with a little green scrubbie.
.JPG)
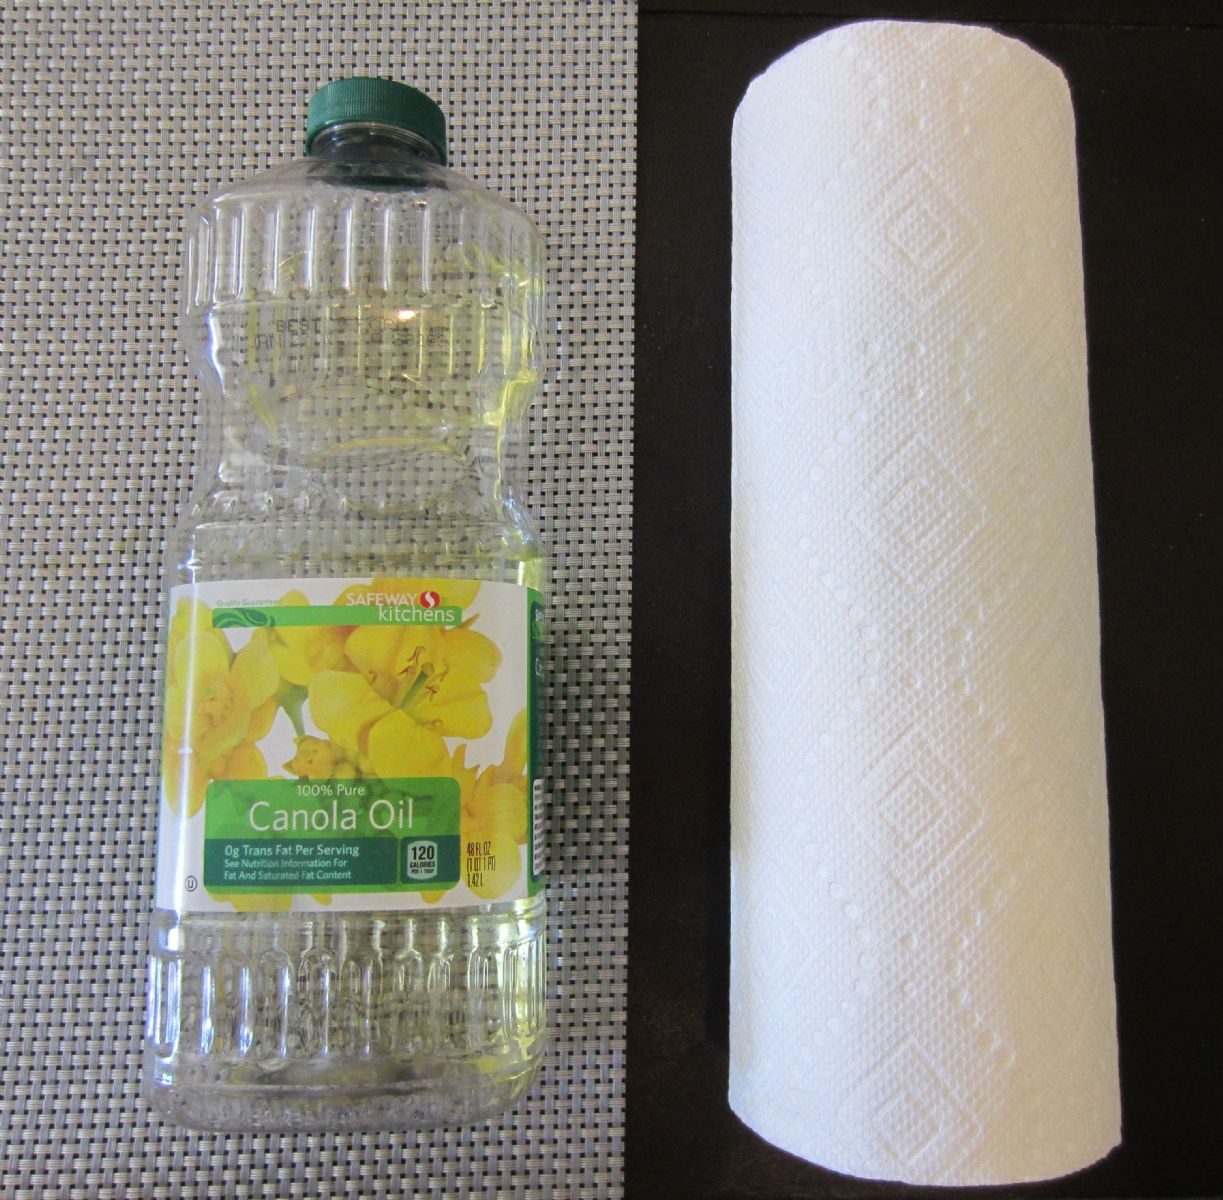
You might eventually come across a problem bottle that leaves a really sticky glue residue behind that a little green scrubbie just won't scrub away. Generally speaking, these bottles aren't worth the effort of de-glue-ifing and keeping. That said, if you want to re-use a more expensive Belgian-style bottle that happens to be extra sticky, or some other particular bottle that has this issue, it might be worth the extra work of getting the glue off. If you find yourself in this type of sticky situation, one simple trick is to apply some cheap vegetable oil to a paper towel, and rub the paper towel on the gluey part of the bottle; eventually the glue will loosen and come off. Once the glue is off, wipe off the excess oil on the bottle with a clean paper towel.
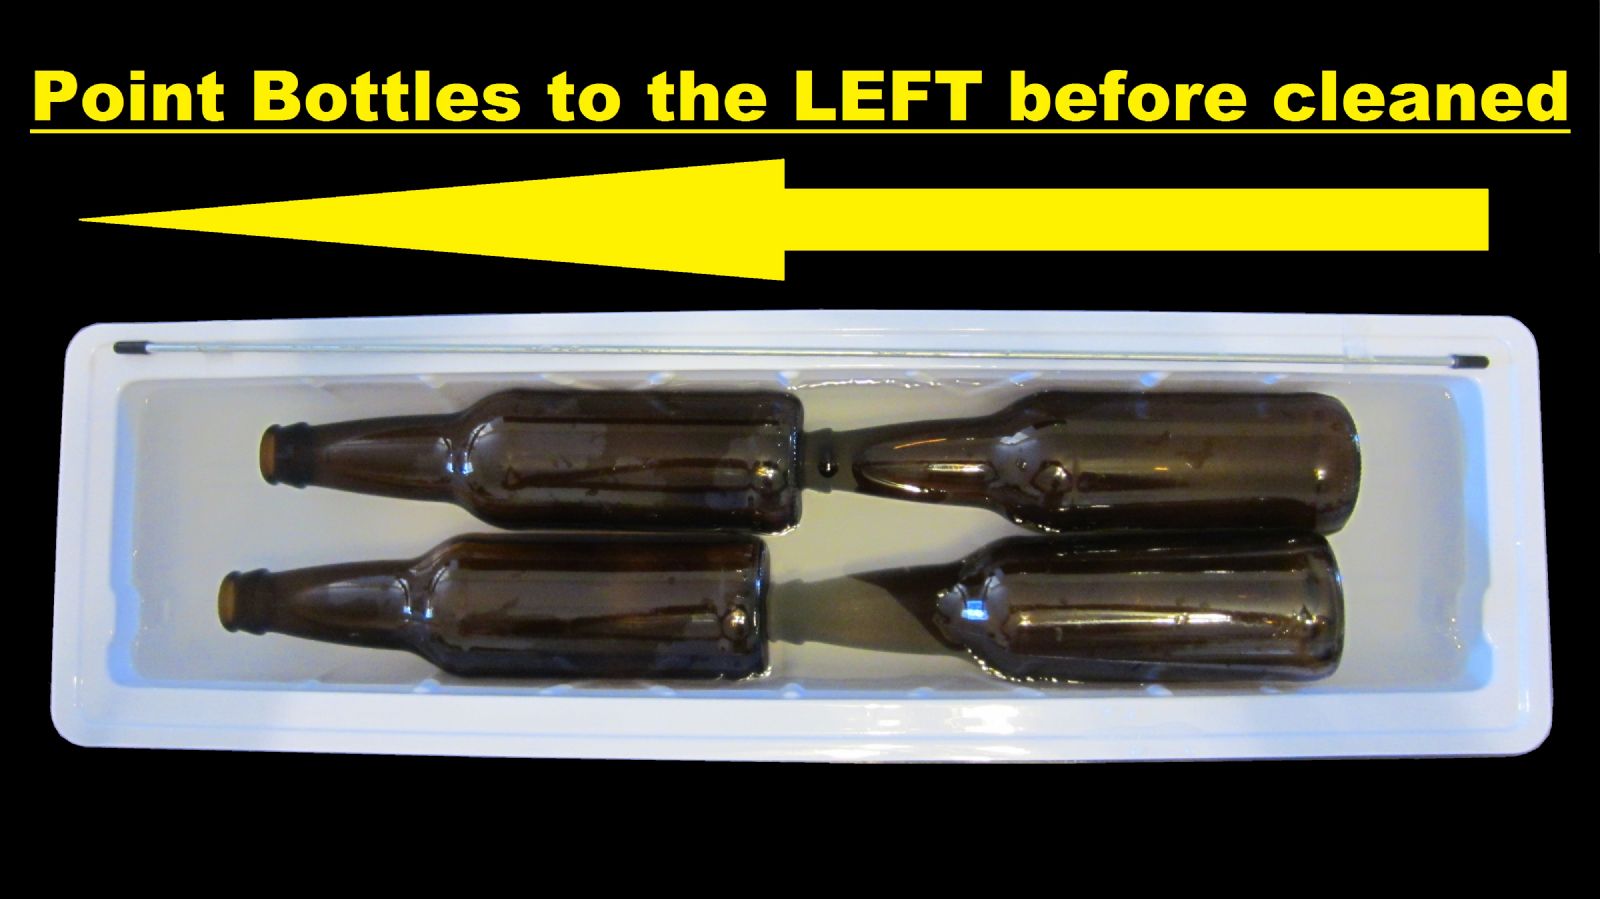
Preparing Your Bottles on Bottling Day: Mix up a one-gallon batch of One-Step, and pour most of it into the plastic wallpaper tray. You can lay four 12 oz bottles down into the wallpaper tray all facing the same direction. Once you've scrubbed one bottle with a bottling brush, you can face the bottle in the opposite direction so you know it's already scrubbed.
.jpg)
The reason you scrub the inside of the bottles with a bottling brush even if you’re using some type of cleanser or sanitizer is because cleansers/sanitizer don't necessarily dissolve any mineral deposits or general grime that may have clung to the inside of your bottles.
Dishwasher Option: Although not necessary, if you have a dishwasher, you can take the extra step of placing the bottles upside down in the dishwasher, and running the scrubbed bottles through a no-detergent, heat cycle in order to better sanitize the bottles with heat. Using a dishwasher doesn't replace the step of scrubbing the inside of the bottles with a bottling brush because the water from the dishwasher mainly will cover the outside of the bottles, and won't thoroughly get inside the bottles. I avoid using dishwashing detergent because the soap may cause poor head retention if it gets inside the bottles. Not to mention, I typically don't want my beer smelling "lemon fresh". I prefer this option over baking bottles in an oven.
Using a dishwasher also makes for a great bottling station because all of the bottles are kept clean in a sealed place until ready for use. Not to mention, the bottles are upside down so that dust or other debris doesn't fall into the bottles while bottling. The other really convenient benefit is that you can pull the door of the dishwasher open and bottle right on it so that if you spill, the sticky beer spills on the plastic door instead of your counter tops or floors.
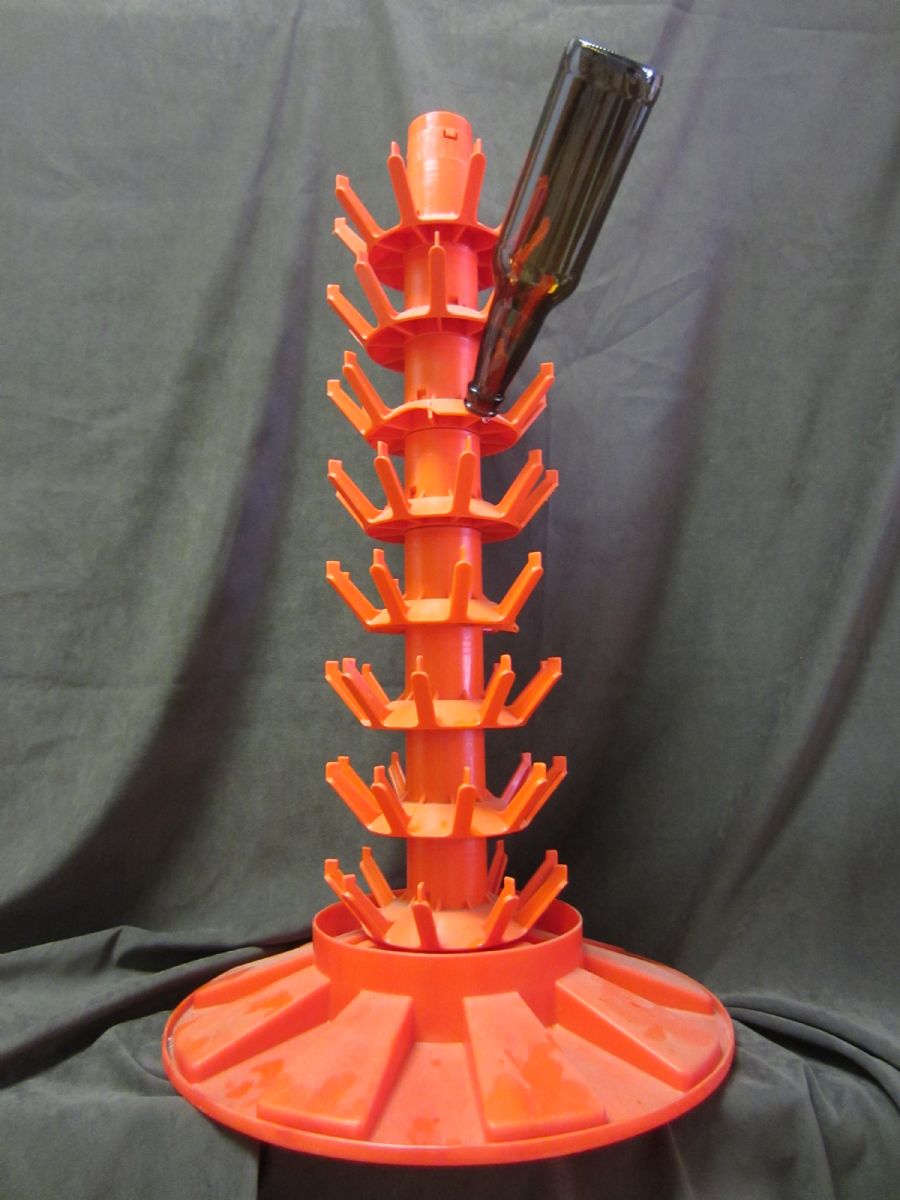
The Bottle Tree: Although some homebrewers use a bottle tree to dry their bottles out for bottling, many others have expressed the frustration that the bottle tree itself must be cleansed or sanitized before use, otherwise you risk adding freshly cleaned bottles to a potentially dirty area. And even then, the bottling tree still presents the risk of exposure to the atmosphere in the kitchen (wild yeast and bacteria) after being cleansed/sanitized but before all of the bottles have been added to the tree. Bulky storage also makes the bottling tree not the first choice for many a homebrewer. You can skip the added cost, storage space, and extra hassle of using a bottling tree by following the procrastinators method below.
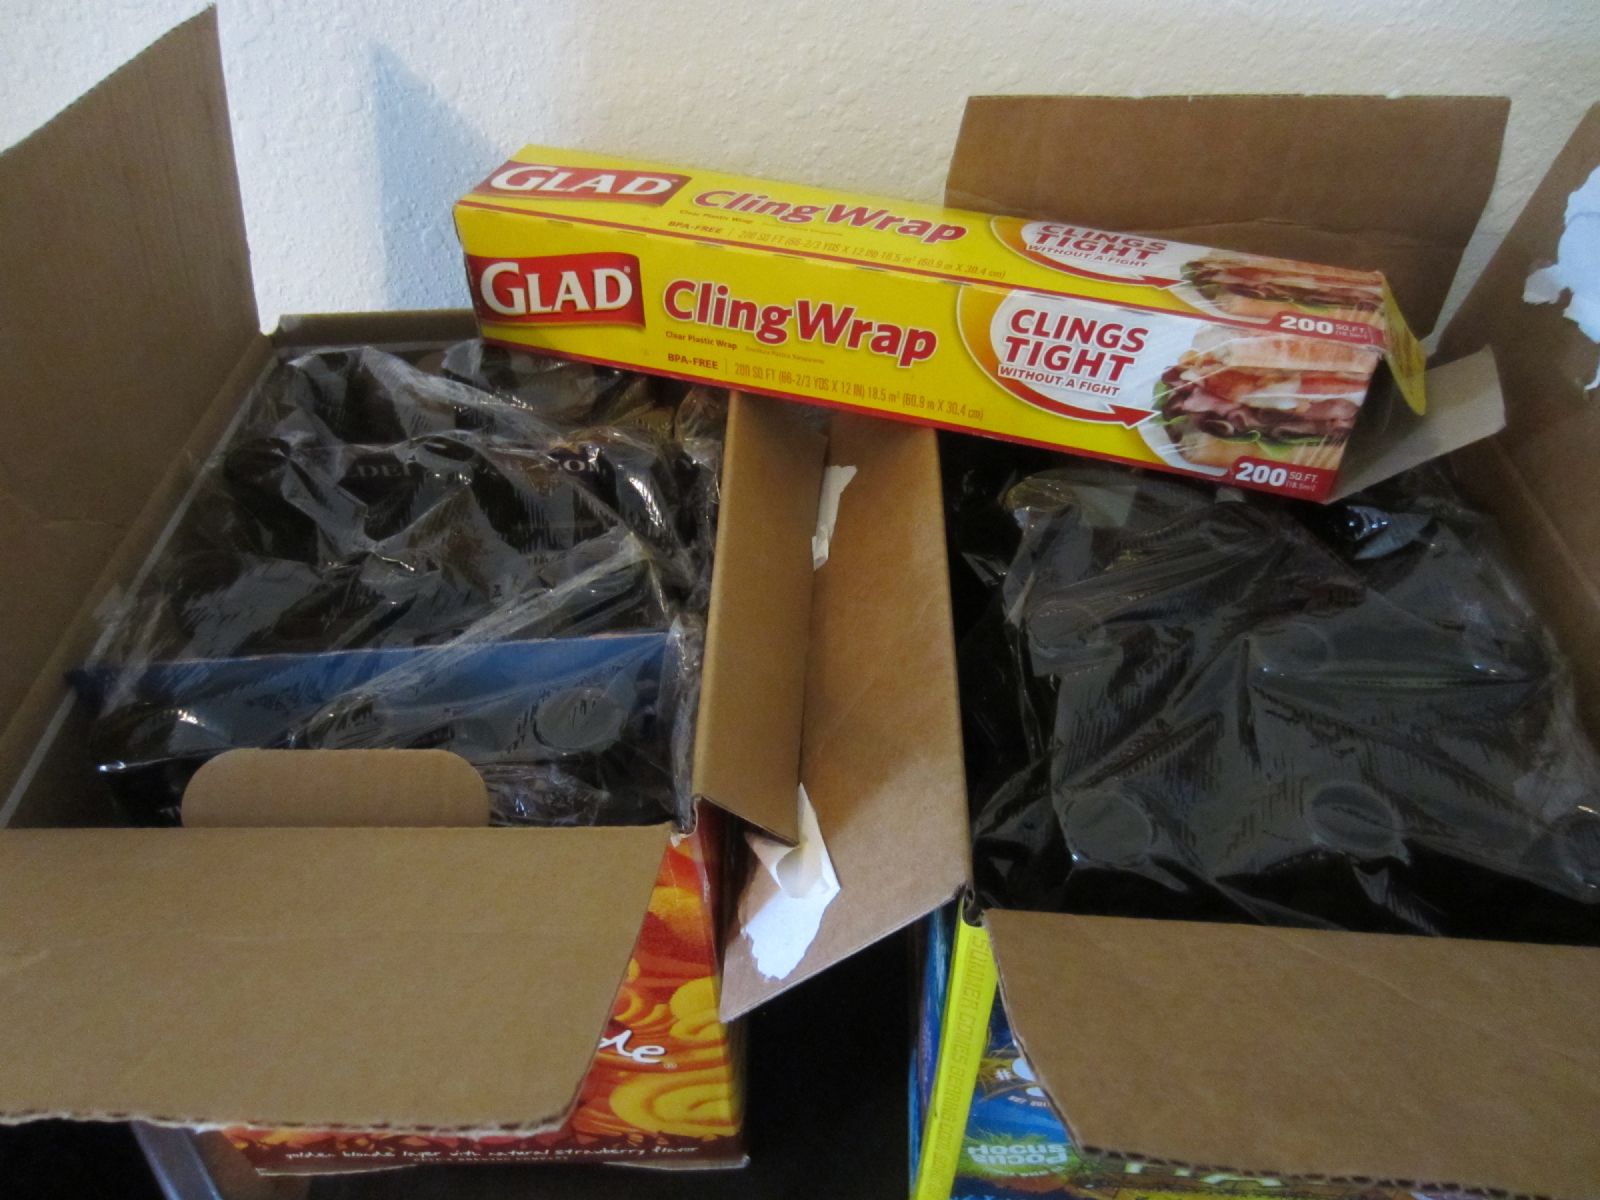
Need to Procrastinate? If you've cleaned your bottles and don't want to, or can't, bottle right away (especially if you've run the bottles through the dishwasher and don't want to tie up the dishwasher for other use), simply place your cleaned bottles in a box, cover with plastic wrap, and your bottles will stay clean and be waiting for you when you're ready.
Keeping It Clean: Once you're ready to bottle, using a bottling bucket with a spigot can make your life a lot easier. When using a bottling bucket, it's a good practice to cleanse the spigot by removing it, soaking it in One-Step or sanitizing it with some other brew-safe sanitizer like Five Star's PBW. Once clean, attach the spigot back onto the bottling bucket, and then cover the spigot up with Saran wrap or a small plastic baggie until ready to transfer your beer to the bottles.
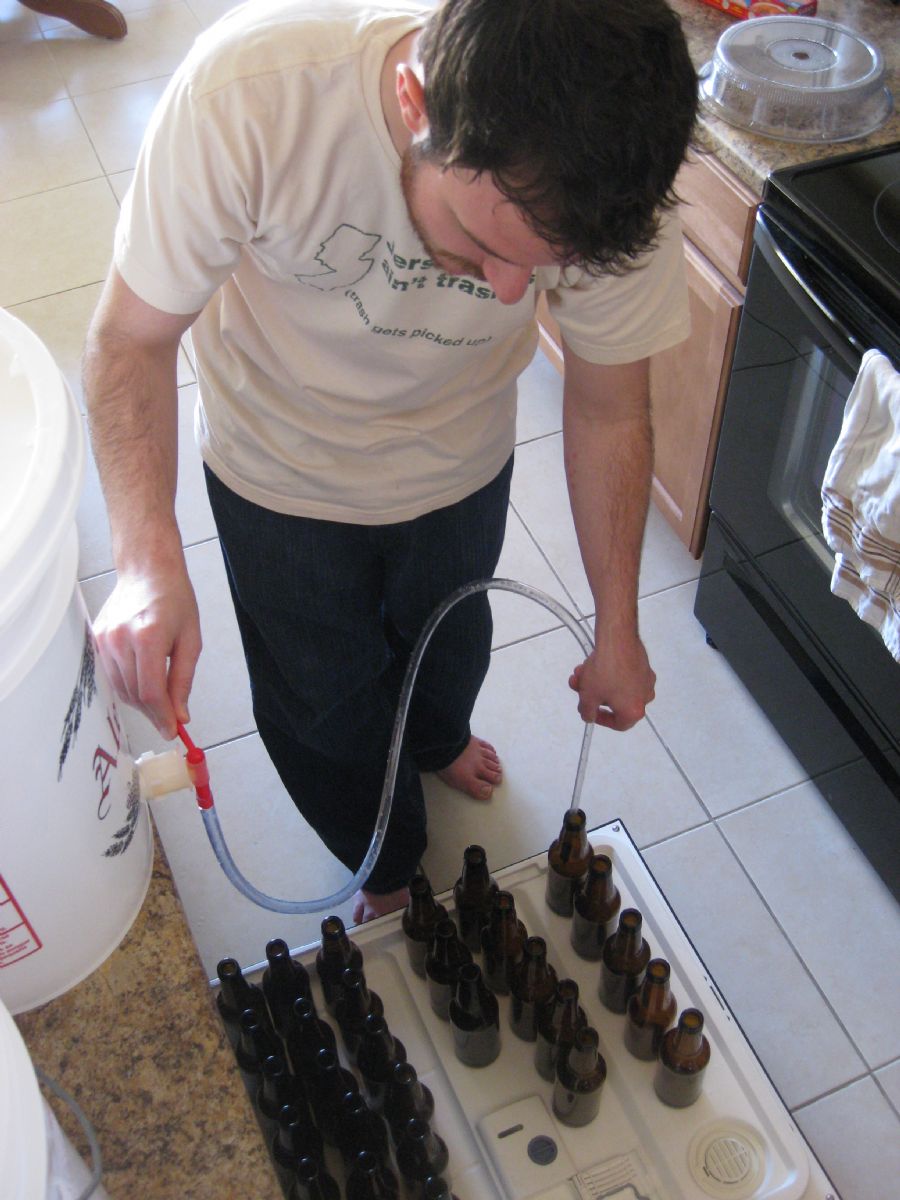
Rack 'em Up: When racking (or transferring) beer from the fermenter to the bottling bucket, consider using a funnel with a strainer net/filter placed inside the funnel to catch additional unwanted trub (sediment). Or simply place your transferring hose over a fine mesh strainer and gently pour down the side of the bottling bucket in order to avoid splashing which can add oxygen to your beer which is a big no-no at this stage.
Your bottling bucket should already contain the appropriate amount of priming sugar before you rack your beer into the bucket. If you're not 100% sure about how to prepare the right amount of priming sugar, here's a quick tutorial: How to Prepare Priming Sugar Solution for Bottling
Even if you’re using a bottling bucket with a spigot attached, consider attaching a bottle filler to the spigot when filling your bottles. Using a bottle filler ensures more evenly filled bottles, and also reduces splashing and therefore oxidation as compared to just filling your bottles and letting the beer splash from the spigot to the bottom of the empty beer bottle. Oxidation increases beer instability thereby reducing its shelf-life. Either as an eventual result of increased instability or simply as a direct and immediate result, oxidation may result in increased cardboard/stale flavors.
Capping: Once your bottles are filled, use your bottle capper to crimp your bottle caps onto the bottle. If you press hard enough, you'll notice an indentation on the top of the bottle cap. This is fine, however the better you get at capping, you'll have a feel for exactly how much pressure to use to cap the bottle and leave no impression behind. That's when you know you're a bottling champ.
Like my tutorial? Questions, comments, free beer? Feel free to drop me a line at dan@beersyndicate.com, or follow us on Twitter at twitter.com/beersyndicate.
From The Blog
Tips for Craft Brewery Success
The best business secrets wikileaked from the private records of the most successful craft breweries in the United States.
Beer Names You Might Be Saying Wrong
Enlighten yourself, but please don't correct others. It's just one of those Catch-69 situations, like when somebody has ketchup on their face.
The Beer Quiz
What's your beer IQ? This test measures an individual’s beer knowledge through a series of questions of varying levels of difficulty: Normal, Hard, and Insane.
Homebrewing Techniques
Beat the Stuck Fermentation Monster
You've brewed the perfect wort. You bullseyed your strike temp, you had a most excellent cold break, your OG was right on the money...
How to Cork Belgian Beer Bottles
So you wanna up your bottling game, huh? Well, you've come to the right place.
Top 40 Ways to Improve Your Homebrew
Admit it: No matter if in a DeLorean, TARDIS, or a hot tub, we’ve all thought about what advice we might give our younger selves if we could go back in time.
DIY Projects
How to Polish a Keg
Shining up your keg will probably not improve the taste of your beer, but it looks cool and inspires epic brewing sessions!
Convert a Refrigerator Into a Fermentation Chamber
Decided to take a huge step in improving your homebrew and set up a temperature controlled fermentation system, have ya? Smart thinking.
How to Convert a Keg Into a Brew Kettle
Convert that old keg into a brewing kettle. The advantages of using a keg for homebrewing pretty much come down to quality and cost.
|
|