How to Culture & Harvest Yeast from a Beer Bottle
By DANIEL J. LEONARD
Before going through the trouble of attempting to culture yeast from a commercial bottle of beer, you'll want to be pretty sure that particular bottle has live yeast AND contains the actual type of yeast you're hoping to propagate. For example, some breweries will ferment its beer with a specific house yeast, but then remove that yeast after primary fermentation and then bottle with say a generic lager strain in order to prevent others such as yourself from cultivating their house yeast.
To that end, the following link provides information regarding commercial beers which potentially contain the house yeast with which the beer was fermented:
List of Potentially Viable House Yeast from Commercial Beer
Pro tip: You may want to consider culturing yeast from a few different bottles of beer individually just in case one or two bottles don't make it. In addition, you may increase your chances of success by transferring the yeast sediment from multiple bottles into one, and the fresher the yeast, the better.
How to Culture and Harvest Yeast from a Beer Bottle
*** NOTE: This whole process can take 5-12 DAYS before your harvested yeast is ready to pitch to your beer, so starting a day before you need the yeast probably ain't gonna turn out too great. P.S. Always make sure to have a pack of viable yeast on hand for brew day in case your harvesting adventures go awry.***
1) Preparing an Appropriate Yeast Starter: You will need to prepare some wort with a specific gravity of 1.015–1.020. You can reach an approximate gravity of 1.022 by combining 8 oz of water with 1/2 oz (approx. 14 grams or 1 tablespoon) of extra light dry malt extract (DME)*. Boil your wort for at least 2 minutes along with a few crystals of yeast nutrient, and let cool to 65-80 °F. While you are waiting for your wort to cool to 65-80 °F, you can begin to sterilize your bottle.
Extra light DME is typically recommended because it will have the least flavor contribution if added to the final beer.
[*Most DME is 44 gravity points per gallon per pound. 16 oz in a pound, 128 oz in a gallon , 16/128= 8 oz of water to 1 oz of DME, then = 44 gravity pts, therefore 1/2 oz of DME in 8 oz = 22 pts, or 1.022 specific gravity.]
2) Sanitizing/Sterilizing the Bottle:
The following materials are recommended to sterilize your bottle:
.JPG)
Before opening the bottle, wipe the neck and cap off with isopropyl alcohol soaked into a paper towel. After this, open the bottle and pour out approximately 80% of the beer into a separate glass for drinking purposes. Clean mouth of the bottle (inside and out) with isopropyl alcohol (70% alc. content or more).

[Photo above displays proper paper towel soaking method.]

[Photo above displays superior bottle wiping technique. ]
Flame from a butane lighter until alcohol burns off, them flame the mouth (inside and out) of the bottle, and let cool.

3) Measure out and Add Wort to the Beer Bottle: If harvesting yeast from a 750 mL bottle, then add 6 mL of cooled wort into your thoroughly sanitized bottle with a sanitized funnel with a sanitized dropper or a sanitized 1/2 tsb measuring spoon (7.39 mL). Cover the remaining wort and refrigerate as it will be used again in this process.
Cover the bottle with a piece of sanitized aluminum foil and arete by shaking vigorously for about 15-30 seconds, and let sit in the bottle for 1-3 days at 65-80 °F, removed from direct light. If visual signs of fermentation are present, then no need to wait the full three days before the next addition of wort. However, it is not unusual to witness no signs of yeast growth until the second or third increase of wort.
.JPG)
(Poking a few holes in the aluminum foil covering the bottle is optional, but not necessary at all.)
4) Add More Wort to the Beer Bottle (First Wort Increase): Re-boil the already prepared wort from step one, cool the wort to 60-80 °F, and add approximately 15 mL (about 1 tbs) of the wort to the beer bottle after flaming the tip of the bottle and letting cool. Consider adding a tiny pinch of lysozyme or yeast nutrient — just one or two crystals — to your wort before transferring. Incubate again 65 – 80 °F for another 1-3 days.
5) Add More Wort to the Beer Bottle (Second Wort Increase): Add 150 mL (about 5 fl oz), at a specific gravity of 1.030–1.035 (7/8 oz or 28 grams of DME to 150 mL water) leaving out the lysozyme unless the culture smells sour, and incubate for 2-5 days at 65-80 °F, or closer to whatever temperature you’ll be fermenting your brew at.
You should be able to see physical signs of yeast growth during the second step-up stage as little white islands of tiny bubbles begin to form and float on top of the wort like in the image below. If no visible signs of fermentation are present, you'll have one more opportunity see if you can grow the yeast with the third and final increase of wort in step 6 below.
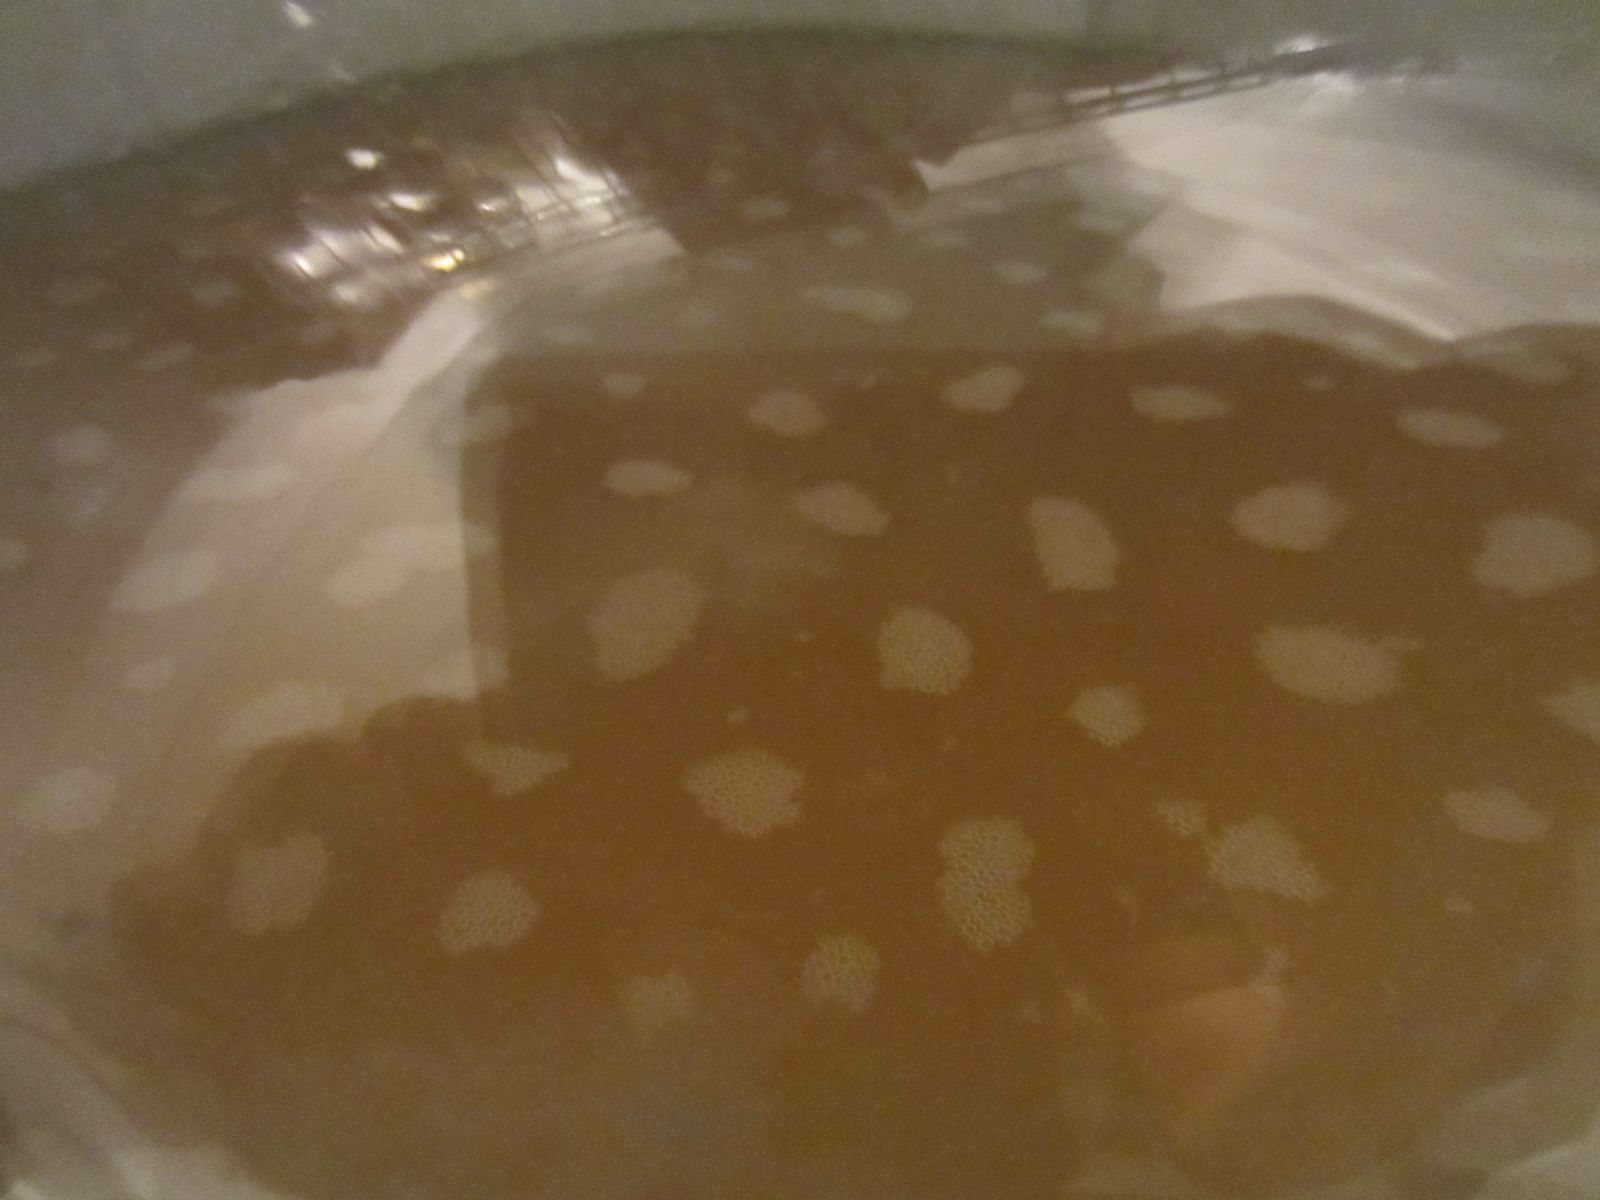
(Above: Small islands of yeast activity on the surface of wort.)
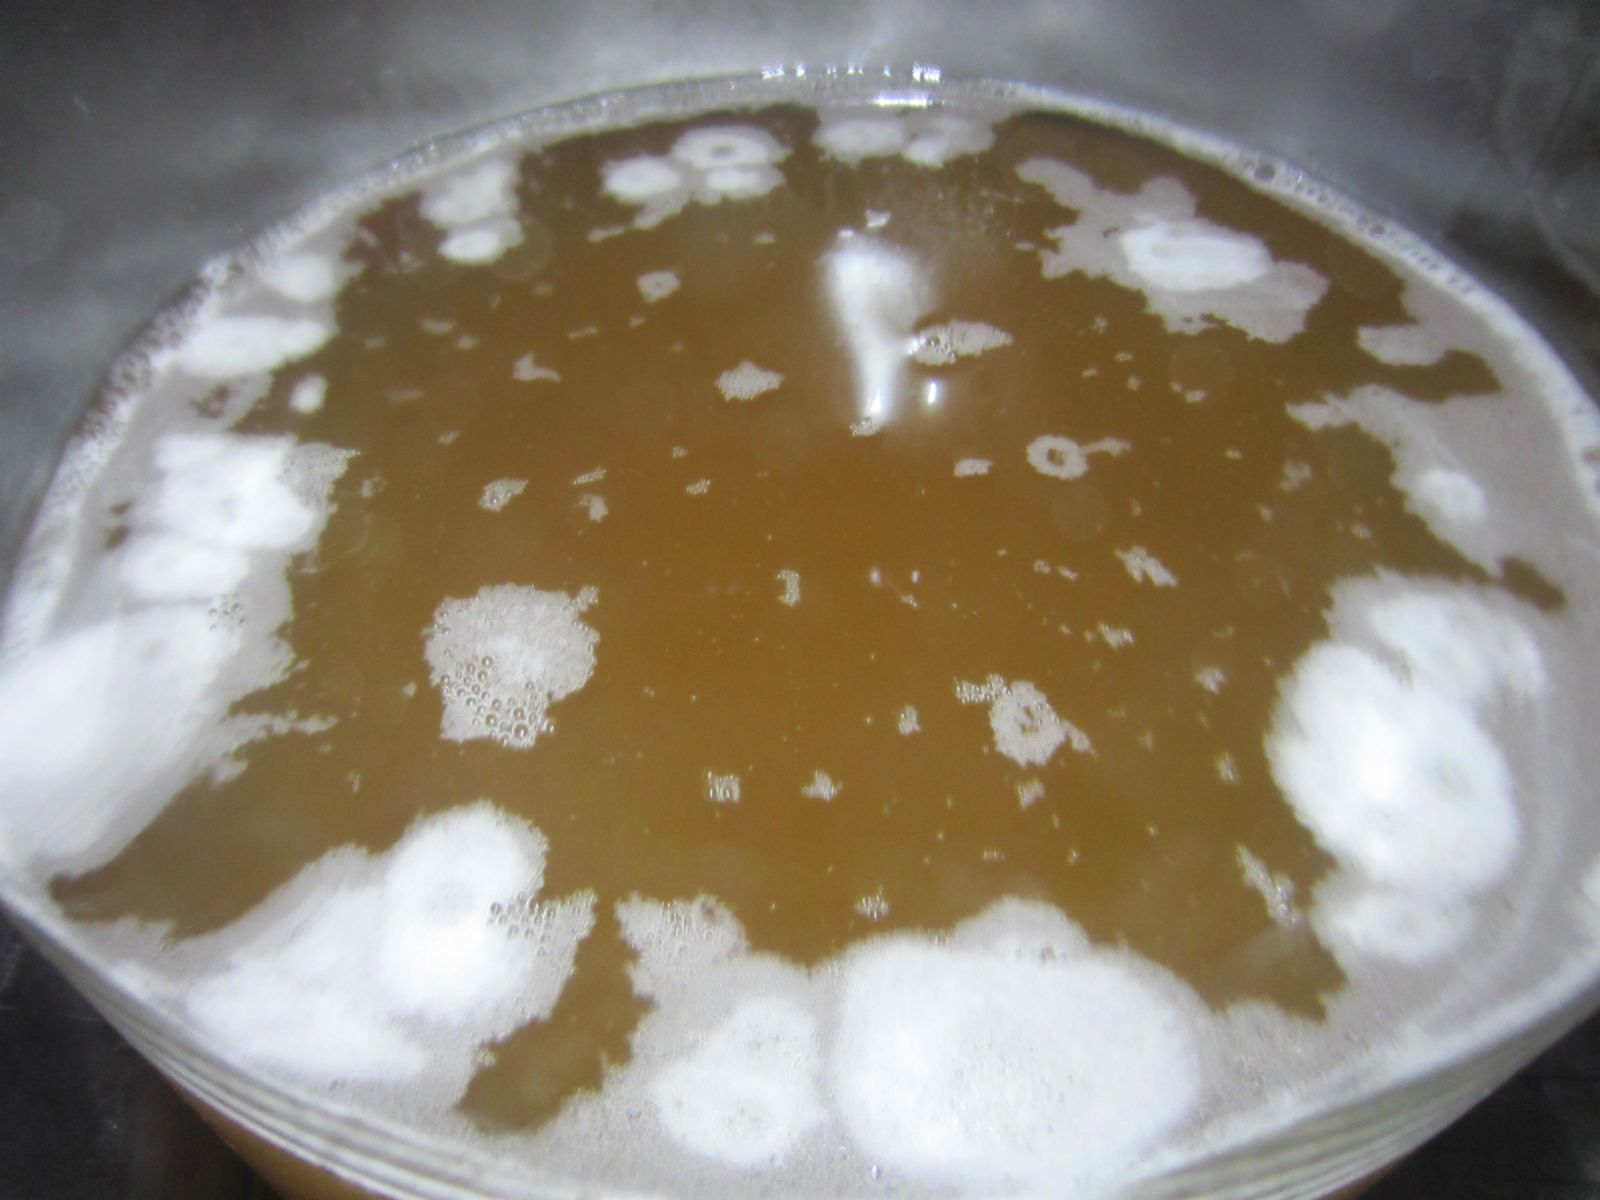
(Above: Increased yeast activity.)
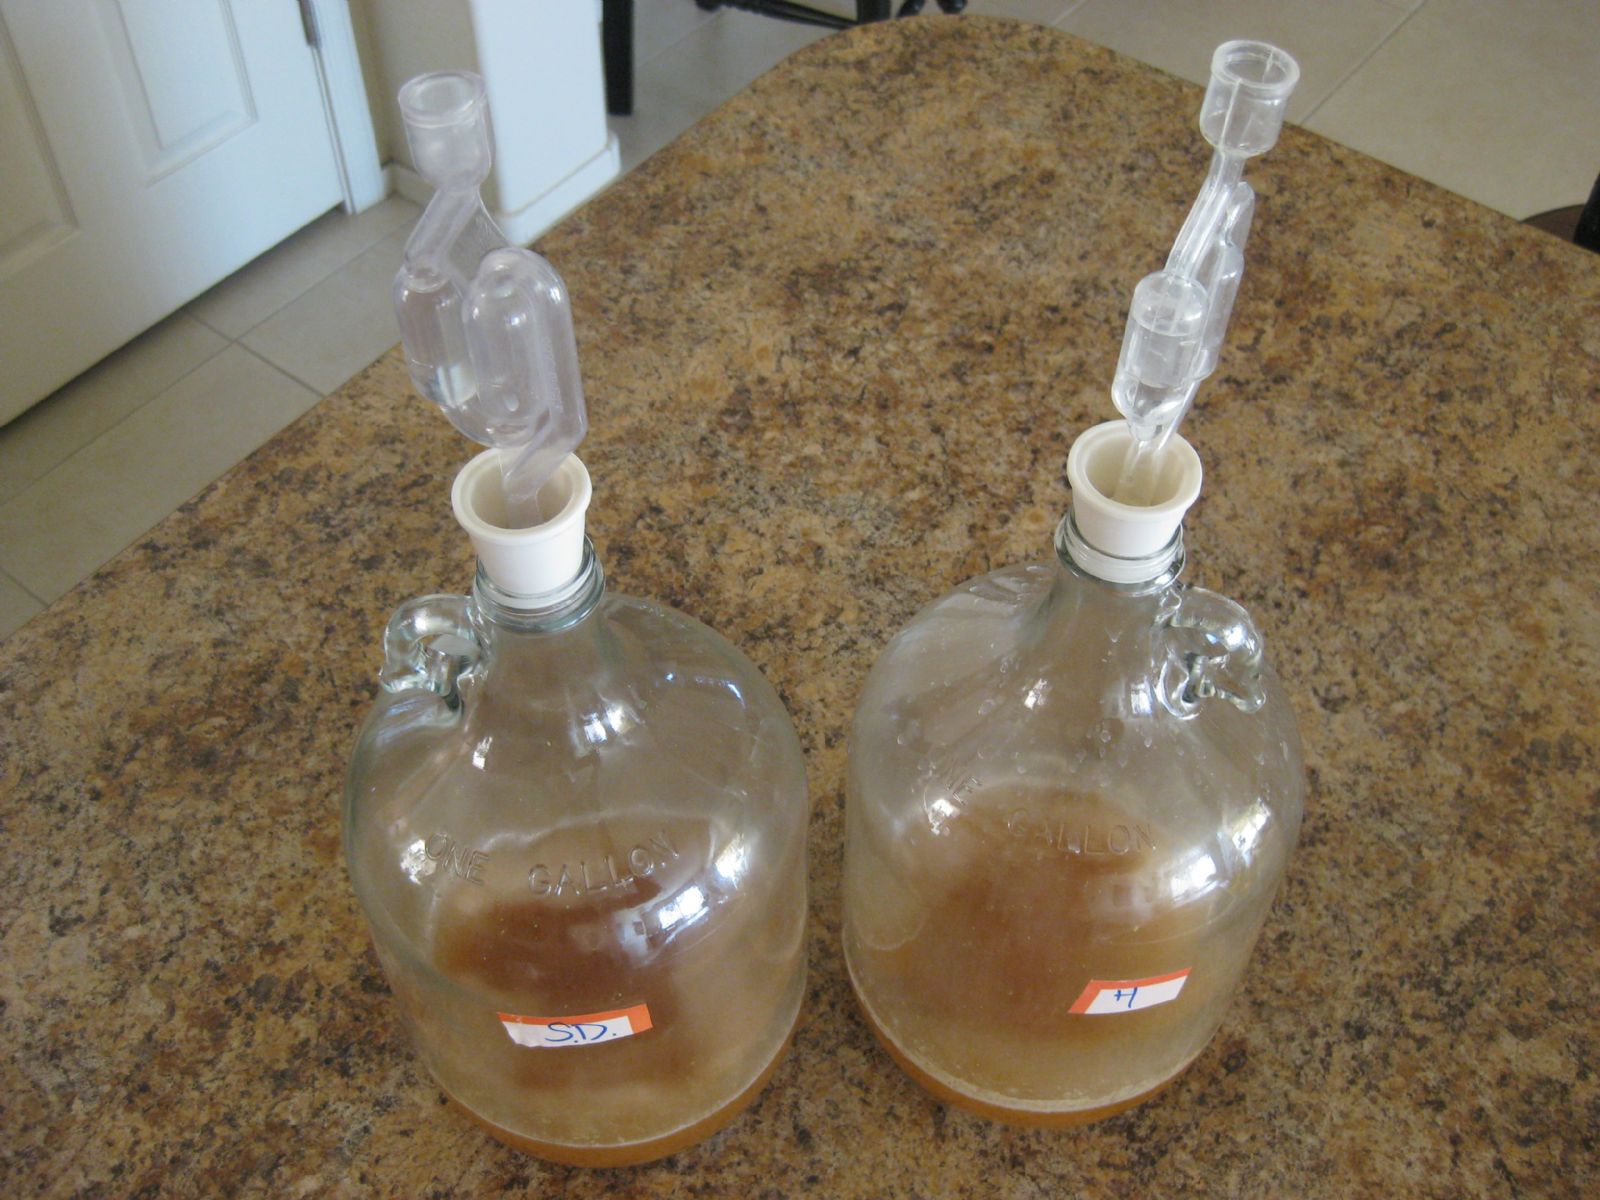
Remember, if culturing two different strains of yeast, label the different vessels accordingly so that they don't get mixed up.
6) Third and Final Increase of Wort: Decant (pour out) about 50 mL of the clearer liquid off the top of your vessel into a glass for a taste-test, and pour the rest of the remaining beer off the top into a glass leaving the yeast behind in its original container in order to remove non-flocculant mutant yeast cells.
Taste-Test: This is sort of the moment of truth. If the sample beer tastes ok (not uncharacteristically sour/funky or too sweet), then prepare a 1500 mL batch of wort (51 oz water with 6.375 oz DME) and chill the wort to 65 - 80 °F.
If you haven't already, you'll need to transfer your yeast to a larger sanitized glass vessel, which can be made easier by placing a sanitized funnel in the mouth of the new vessel, and then pouring in the yeast and the fresh wort. As soon as the 1500 mL starter shows activity, it is ready to pitch to a 5 gallon batch. Just before pitching the yeast for use in your actual beer, you may wish to preform one last taste-test from the 1500 mL culture. If so, decant a small amount of beer off the top of your starter and sample.
If your original taste-test from the 150 mL edition turned out uncharacteristically sour/funky, then your sample was likely infected, and you may wish to dump the batch if you don't like the result. Likewise, if the original beer sample tasted especially sweet, then it's likely that little or no fermentation occurred and culturing the yeast was unsuccessful.
In the case of an especially sweet tasting sample, it's really up to you if you want to try make the 1500 mL starter to see if any yeast will grow, just make sure you keep the sample on the warm side--- closer to 80 °F. Look, you've come this far! Just remember to have a pack of viable yeast on hand for brew day in case your yeast-harvesting attempts were less than successful.
Pitch the whole yeast starter or decant off the beer and just pitch the yeast?
If pitching a 1500 mL starter to a 5+ gallon batch of beer, it probably won't affect the final taste of your beer whether you pitch the whole starter or not. That said, if you used stale DME to make your starter and are worried about adding odd flavor contributions if pitching the entire starter, or if you really don't want the starter marginally reducing the ABV of a really big beer, then by all means, decant the beer off the starter and just pitch the yeast slurry. Simple.
Trouble Shooting
1. Problem: The taste test was too sweet.
Answer: If the taste test was too sweet, this indicates that little or no yeast was cultivated, which can be somewhat confirmed if you don't notice any additional yeast sediment at the bottom of the bottle. Three common reasons why this may have happened are: (1) the yeast was kept too cold during the harvesting process, (2) there wasn't any or not enough viable yeast in the bottle, (3) the wort prepared was either too strong or too weak.
2. Problem: The taste test didn't smell or taste like the yeast I was hoping to harvest.
Answer: Remember, sometimes breweries use a different kind of yeast to bottle condition its beer. This means that you may not have done anything wrong in growing the yeast from the bottle, it just wasn't the yeast you were hoping for because the brewery pulled a little switcheroo on you! For example, if your taste taste seems particularly bland, the brewery may have bottled its beer with a clean lager yeast.
Alternatively, sometimes breweries use more than one yeast strain at different ratios to brew their beer. Harvesting yeast in this case becomes somewhat problematic because it's difficult at the home level to ensure that all strains grew at the proper ratio.
3. Problem: The taste test smelled or tasted uncharacteristically sour or funky.
Answer: This is typically due to less than stellar sanitation practices by the, ahem, harvester. Remember not to add yeast nutrient to your yeast culture unless you've boiled the yeast nutrient for at least two minutes in water first and then chilled... we know of a certain Beer Syndicate author who shall remain nameless who's made that mistake. Twice.
Like this tutorial? Questions, comments, free beer? Feel free to drop me a line at dan@beersyndicate.com, or follow us on Twitter at twitter.com/beersyndicate.
From The Blog
Tips for Craft Brewery Success
The best business secrets wikileaked from the private records of the most successful craft breweries in the United States.
Beer Names You Might Be Saying Wrong
Enlighten yourself, but please don't correct others. It's just one of those Catch-69 situations, like when somebody has ketchup on their face.
The Beer Quiz
What's your beer IQ? This test measures an individual’s beer knowledge through a series of questions of varying levels of difficulty: Normal, Hard, and Insane.
Homebrewing Techniques
Beat the Stuck Fermentation Monster
You've brewed the perfect wort. You bullseyed your strike temp, you had a most excellent cold break, your OG was right on the money...
How to Cork Belgian Beer Bottles
So you wanna up your bottling game, huh? Well, you've come to the right place.
Top 40 Ways to Improve Your Homebrew
Admit it: No matter if in a DeLorean, TARDIS, or a hot tub, we’ve all thought about what advice we might give our younger selves if we could go back in time.
DIY Projects
How to Polish a Keg
Shining up your keg will probably not improve the taste of your beer, but it looks cool and inspires epic brewing sessions!
Convert a Refrigerator Into a Fermentation Chamber
Decided to take a huge step in improving your homebrew and set up a temperature controlled fermentation system, have ya? Smart thinking.
How to Convert a Keg Into a Brew Kettle
Convert that old keg into a brewing kettle. The advantages of using a keg for homebrewing pretty much come down to quality and cost.
|
|